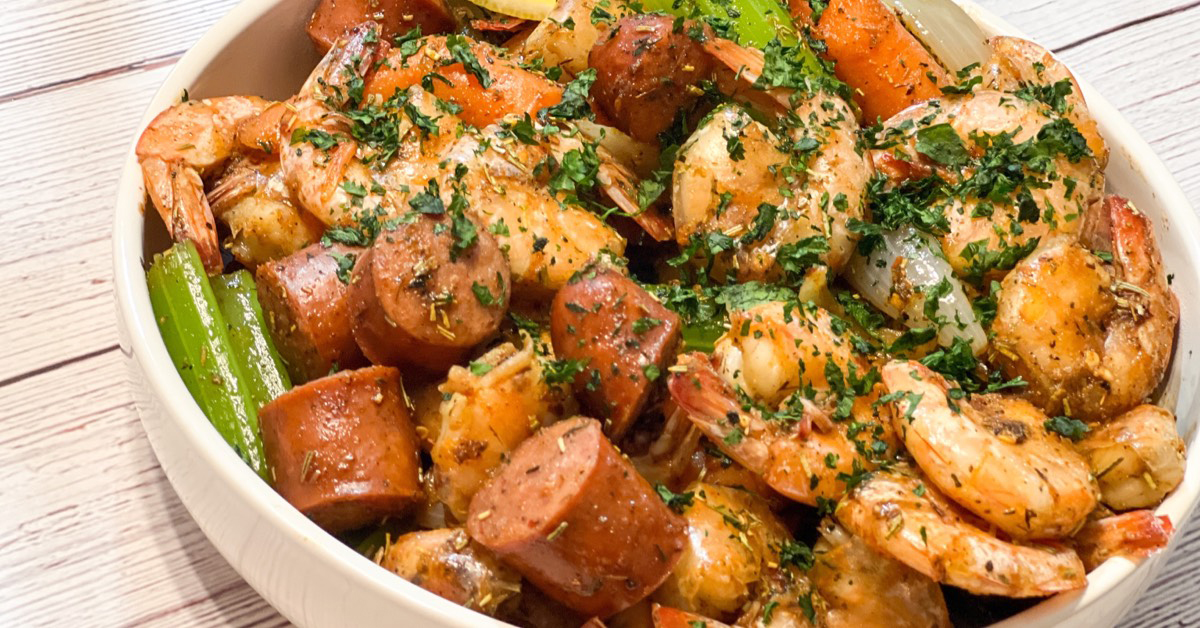
Hey there seafood lovers! I’m super excited to share my tried-and-true method for cooking ez peel shrimp. Trust me, once you get this down, you’ll never look at shrimp the same way again! I’ve spent countless hours perfecting this technique, and now I’m gonna spill all my secrets.
What Makes EZ Peel Shrimp So Special?
Ez peel shrimp are basically shrimp that are partially prepped for ya – they’re split and deveined but still have their shells on This is actually genius because
- The shells keep all the yummy flavors locked in
- You don’t gotta worry so much about overcooking
- It’s way less messy than cooking peeled shrimp
- You save tons of prep time
- The shells come off super easy when it’s time to eat
Picking the Perfect Shrimp
Before we jump into cooking let’s talk about choosing the right shrimp
Size Matters
- Go for large shrimp (21-25 count per pound)
- Or jumbo shrimp (16-20 count per pound)
- Avoid tiny ones – they’re a pain to peel!
Fresh vs Frozen
- Fresh wild-caught is best (Gulf of Mexico or US coastal waters)
- If using frozen, thaw completely in fridge overnight
- Skip farm-raised or imported Asian shrimp
My Fool-Proof Cooking Method
What You’ll Need:
- 2 pounds ez peel shrimp
- 6 cups water
- 1/4 cup Old Bay seasoning
- 1 lemon
- 2 bay leaves
- Butter for serving
- Your fave cocktail sauce
Step-by-Step Instructions:
-
Prep the Cooking Liquid
- Fill pot with water
- Add Old Bay, squeeze in lemon juice
- Toss in bay leaves
- Bring to a rolling boil
-
Cook Those Shrimpies:
- Drop shrimp in carefully
- Cook 2-3 minutes till pink
- Don’t overcook! (seriously, this is crucial)
- They should look like perfect little C’s
-
The Ice Bath Trick:
- Drain shrimp immediately
- Plunge into ice water
- This stops the cooking process
- Makes peeling easier too!
Pro Tips from My Kitchen
Listen up, these tips gonna take your shrimp game to the next level:
-
Seasoning Secrets:
- Season the water generously
- Try using beer instead of water
- Add extra Old Bay after cooking
- Don’t forget the lemon!
-
Serving Suggestions:
- Serve warm or chilled
- Set out plenty of napkins
- Small plates for shells
- Lots of dipping sauces
-
Common Mistakes to Avoid:
- Don’t overcrowd the pot
- Never skip the ice bath
- Don’t use old shrimp
- Don’t underflavor the water
Awesome Flavor Variations
Wanna switch things up? Try these tasty variations:
-
Cajun Style:
- Replace Old Bay with Cajun seasoning
- Add hot sauce
- Throw in some garlic
- Include Worcestershire sauce
-
Beer Boil:
- Use half beer, half water
- Add extra garlic
- Splash of hot sauce
- Squeeze extra lemon
-
Coconut Curry:
- Use coconut milk
- Add curry powder
- Fresh ginger
- Lime instead of lemon
Storing and Reheating
Got leftovers? No problemo:
- Store in airtight container
- Keep in fridge up to 3 days
- Best served cold next day
- If reheating, do it gently!
FAQs (Cause Y’all Always Ask)
Q: Should I devein before cooking?
A: You can, but not necessary. The shell’s still gonna let flavors in!
Q: Can I leave the tails on?
A: Yep! Actually better for grabbing when peeling.
Q: How do I know they’re done?
A: Pink, opaque, and curled into a C-shape. About 2-3 minutes is all it takes!
Final Thoughts
Ya know what’s crazy? People think cooking ez peel shrimp is complicated, but it’s actually super simple once you know these tricks. Just remember: don’t overcook, season well, and shock in ice water. Follow these steps and you’ll be the shrimp master at your next gathering!
Now go forth and cook some amazing shrimp! And hey, if you try this method, lemme know how it turns out in the comments below. I love hearing your success stories!
P.S. Don’t forget to grab some extra napkins – eating ez peel shrimp can get messy, but that’s half the fun!
Video: How To Make Shrimp Cocktail
First, to make restaurant-quality shrimp cocktail, you need a great-tasting cocktail sauce. If you buy one that you like, you can use that. I find the ones from the store to be a bit bland so I either make my own, or I add to them with some horseradish sauce and hot sauce.
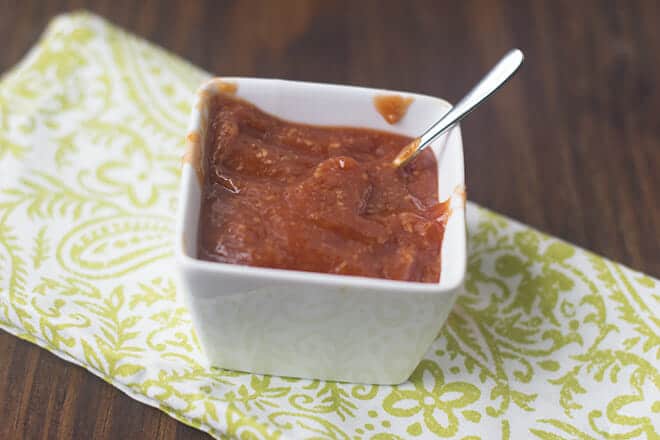
Making your own cocktail sauce isn’t very hard though. It uses ingredients that you probably already have at home. Ketchup mixed with horseradish and a pinch of salt are the basics. Make sure that you have a good-tasting horseradish sauce. Taste it by itself and make sure you like it. I prefer the prepared horseradish over horseradish sauce, and specifically the prepared horseradish that is sold in jars in the refrigerated section of the grocery store with the refrigerated pickles. It tends to have a spicier and more robust flavor.
After the ketchup, horseradish, and salt, you can also add a bit of Worcestershire sauce, lemon juice, and/or hot sauce (like Tabasco). Here’s my favorite cocktail sauce recipe, but you could also make cocktail sauce without horseradish. You could also make British cocktail sauce which is called Marie Rose sauce, or use this Shrimp Dipping Sauce recipe which is sort of a middle ground between the sauces.
Why Poach The Shrimp Like This?
By taking the pot off of the heat and then adding the shrimp to it, you cool the water down a bit. The less intense heat is then more gentle on the shrimp. They don’t tense and curl up as much but retain something closer to their uncooked size and shape, while still becoming cooked through, opaque, and pink. This poaching method also results in very tender and juicy shrimp.
If you prefer step-by-step instructions with pictures, get your poaching shrimp how-to here. You can also poach shrimp from frozen, which is actually my favorite way to cook shrimp for many preparations. I tend to buy my shrimp frozen so this is really convenient, and it works amazingly well.
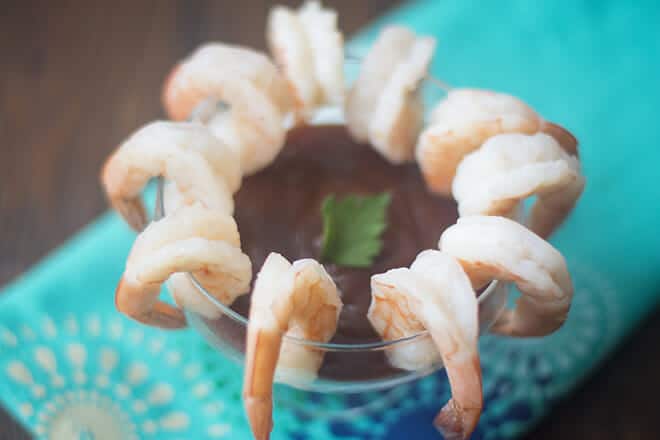
There are no real rules here. If you’re doing individual appetizers, then small bowls, wine glasses, or martini glasses are best. Put about 1/4 cup of cocktail sauce into the bowl or glass and then hang 5-6 shrimp around the glass.
If you’re doing a homemade shrimp ring to serve several people, you can use a dish specially designed for this kind of thing, like this. Put ice in the bottom and then the sauce in the middle and hang the shrimp around the outside rim. If you don’t have a dish like that (I don’t), then use a shallow round serving dish or roasting dish, like this. Put a bowl of cocktail sauce in the middle of the dish. A napkin under it will stop it from sliding around. Put ice cubes around the cocktail sauce, filling the dish nearly to the top. This will make the dish cold and the cold will transfer to the shrimp once they’re in place. Then hang your shrimp around the rim of the cocktail sauce bowl, adding more right on the ice, if you’d like.
If you don’t care whether the shrimp are hanging and arranged in a ring, I have another great idea for you. You can keep the shrimp cold by putting a bag of ice into a bowl, topping the bag of ice with lettuce leaves, and then piling the shrimp into there. The lettuce makes it look pretty, and the shrimp stay perfectly chilled. Here’s a picture to show what I mean, and note that this technique can be used to keep all kinds of cold appetizers and dips chilled until all the ice melts and the water in the bag gets cold.

There you go! The perfect shrimp cocktail at home. Enjoy!
If you want to try some variations on the classic shrimp cocktail, try my recipes for Mexican Shrimp Cocktail or a Tropical Shrimp Cocktail.