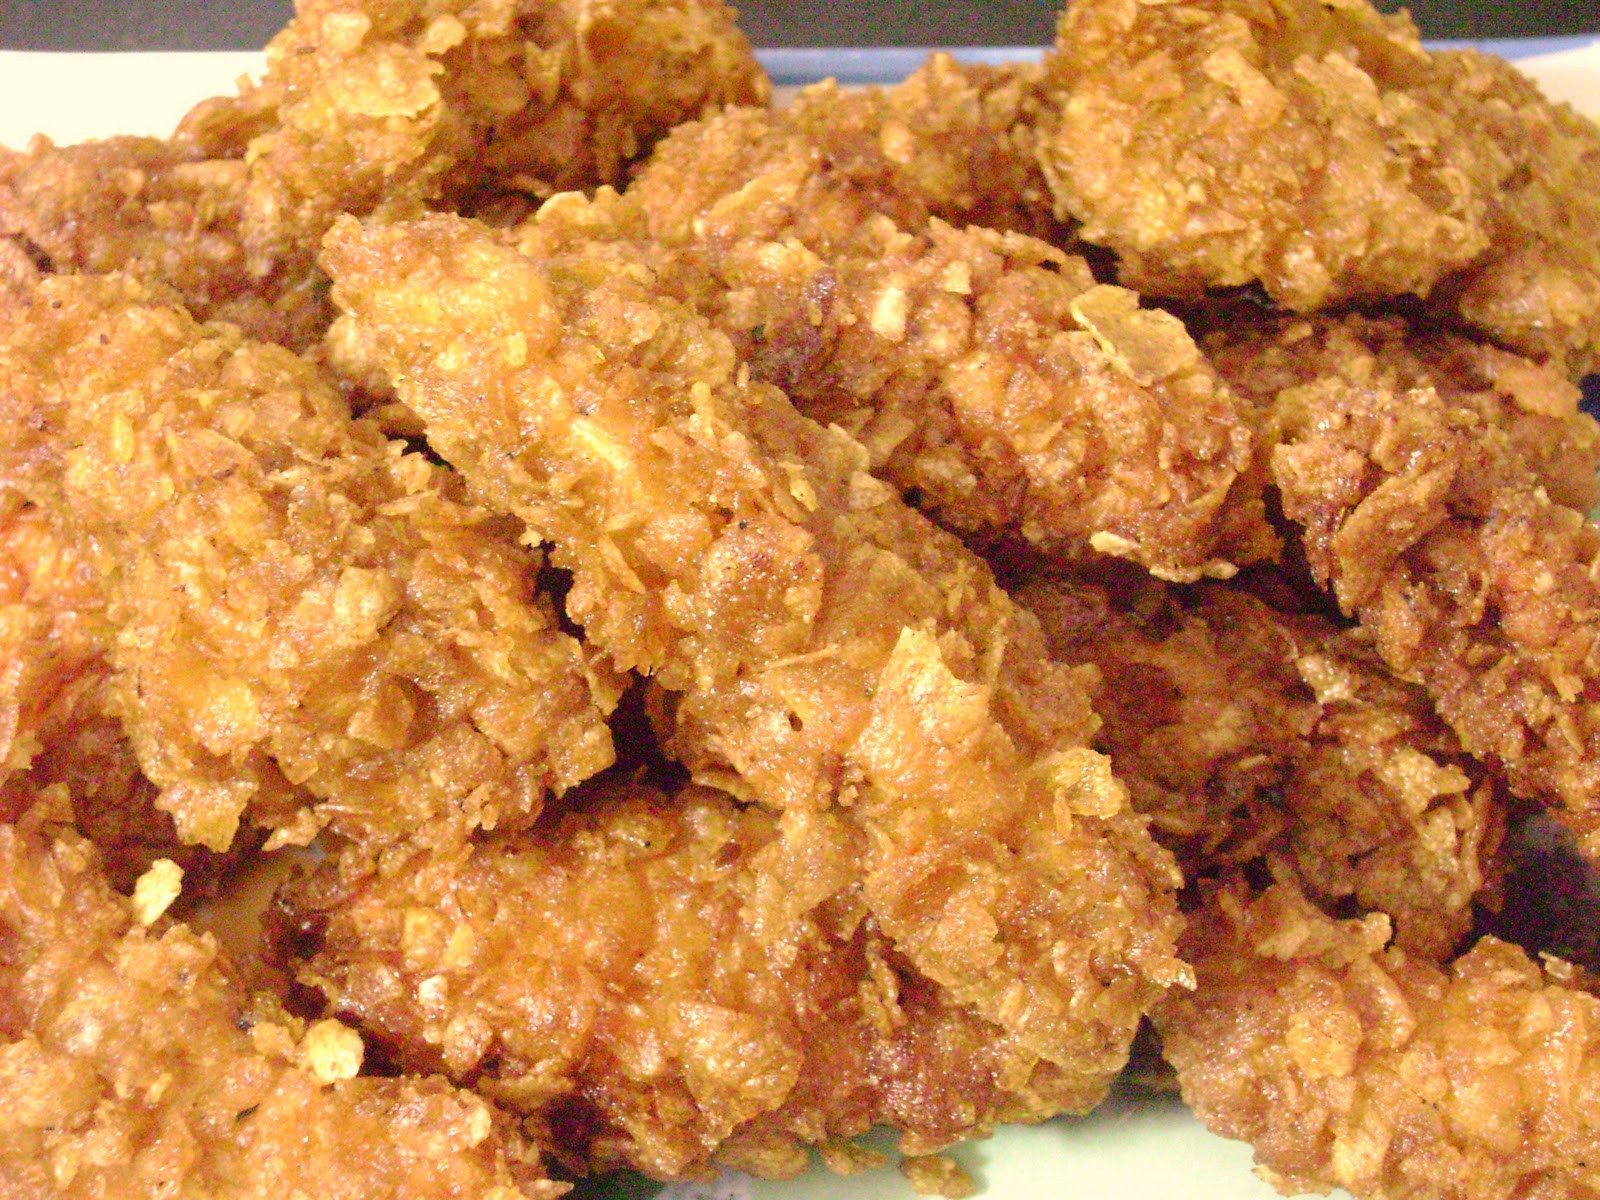
Hey there, fellow food lovers! Today I’m super excited to share one of my absolute favorite kitchen hacks – using corn flakes to make the CRUNCHIEST fried chicken you’ve ever tasted! If you’ve got a box of corn flakes sitting in your pantry (maybe even getting a bit stale), don’t throw them out! Those humble breakfast flakes are about to transform your chicken into something magical.
I discovered this technique a few years back when I was looking for an alternative to traditional breadcrumbs, and lemme tell you – I ain’t never going back! The texture is out of this world, and the subtle sweetness of the corn flakes creates this amazing flavor profile that regular flour coating just can’t match
So grab your apron and let’s dive into the wonderful world of corn flakes fried chicken!
Why Corn Flakes Make the Perfect Chicken Coating
Before we jump into the recipe, let’s talk about why corn flakes work so darn well for fried chicken:
- Superior Crunch Factor: Corn flakes maintain their crispiness even after frying, giving you that satisfying crunch with every bite
- Enhanced Flavor: They add a subtle sweetness that balances beautifully with savory seasonings
- Better Coating Adhesion: The unique texture helps the coating stick to the chicken better than many alternatives
- Healthier Option: When baked instead of fried, corn flakes still deliver amazing crispiness with fewer calories
- Great for Using Up Stale Cereal: It’s a brilliant way to use up those almost-finished boxes of cereal!
As Tom Hunt from The Guardian points out, this is a fantastic “waste-free twist on fried chicken” that gives your chicken a “much superior crust” compared to traditional breadcrumbs. I couldn’t agree more!
What You’ll Need: Ingredients & Equipment
Essential Ingredients:
| Ingredient | Amount | Notes |
|---|---|---|
| Chicken pieces | 2-3 pounds | Thighs, drumsticks, wings work best |
| Corn flakes | 6-7 cups | Crushed to medium-fine consistency |
| All-purpose flour | 1 cup | For initial dredging |
| Eggs | 2-3 large | Beaten |
| Milk or buttermilk | ½ cup | Buttermilk adds tang & tenderizes |
| Seasonings | To taste | See spice blend suggestions below |
| Vegetable oil | For frying | Enough for 3-4 inches in pan |
Recommended Spice Blend:
- 1 teaspoon paprika
- 1 teaspoon garlic powder
- ½ teaspoon onion powder
- 2¾ teaspoons salt
- 1 teaspoon black pepper
- ¼ teaspoon cayenne pepper (optional, for heat)
Equipment You’ll Need:
- Three shallow dishes for the dredging station
- Large, heavy-bottomed pot or Dutch oven
- Deep-fry thermometer
- Tongs for handling chicken
- Wire rack placed over a baking sheet
- Paper towels for patting chicken dry
Step-by-Step Guide to Perfect Corn Flakes Fried Chicken
1. Prepare the Chicken
First things first – prep your chicken properly:
- Pat the chicken pieces completely dry with paper towels (this helps the coating stick better)
- If you have time, marinate the chicken in buttermilk or yogurt with some of your seasonings for 30 minutes to overnight (this is optional but highly recommended for extra tender chicken)
- If you did marinate, pat the chicken dry again before proceeding
2. Set Up Your Dredging Station
The key to a well-organized frying session is having your dredging station ready to go:
- First Station: Mix flour with half of your seasoning blend in a shallow dish
- Second Station: Beat eggs with milk or buttermilk in another dish
- Third Station: Crush corn flakes (not too fine – you want some texture!) and mix with remaining seasonings
I like to crush my corn flakes by putting them in a ziplock bag and using a rolling pin. It’s strangely therapeutic and gives you more control over the texture than a food processor.
3. Coat the Chicken
Now for the fun part – getting that perfect coating:
- Take a piece of chicken and dredge it thoroughly in the seasoned flour, shaking off any excess
- Dip the floured chicken into the egg mixture, ensuring it’s fully coated
- Finally, press the chicken into the seasoned corn flakes, really making sure they adhere well
- Place on a plate or rack and repeat with all chicken pieces
Pro tip: Use one hand for dry ingredients and one for wet to avoid creating a gunky mess on your fingers!
4. Fry to Golden Perfection
Time to transform that chicken into crispy goodness:
- Heat your oil to 350°F (175°C) – using a thermometer is super important here!
- Carefully place a few pieces of chicken into the hot oil, skin side down first
- Don’t overcrowd the pot – this will drop the temperature and give you soggy chicken (nobody wants that!)
- Fry for about 6-8 minutes per side, until the coating is beautifully golden brown
- Check that the internal temperature reaches 165°F (74°C) using a meat thermometer
- Transfer to a wire rack over a baking sheet to drain excess oil
5. Keep Warm While Finishing Batches
If you’re cooking for a crowd, keep your first batches warm while finishing the rest:
- Heat your oven to 200°F (93°C)
- Place the wire rack with fried chicken inside to keep warm
- This keeps everything crispy while you finish the remaining pieces
Healthier Alternative: Oven-Baked Corn Flakes Chicken
Not feeling like dealing with hot oil today? No problem! You can bake this chicken for a healthier but still delicious version:
- Preheat your oven to 400°F (200°C)
- Follow all the steps for coating the chicken as described above
- Place the coated chicken pieces on a baking sheet lined with parchment paper
- Lightly spray or drizzle the chicken with a bit of oil for extra crispiness
- Bake for 25-30 minutes, flipping halfway through, until golden and the internal temperature reaches 165°F (74°C)
This method cuts down significantly on calories while still giving you that amazing corn flake crunch!
Tips for Corn Flakes Chicken Success
After making this dozens of times, I’ve picked up some tricks that make a huge difference:
Maintaining the Perfect Crunch
- Oil Temperature: Keep that oil at a steady 350°F – too hot and the coating burns before the chicken cooks; too cool and it gets greasy
- Proper Draining: Always use a wire rack instead of paper towels for draining, as this prevents the bottom from getting soggy
- Cornflake Texture: Don’t crush the flakes too finely – you want some texture for maximum crunch
Flavor Enhancements
- Experiment with Spices: Try adding smoked paprika, curry powder, or Italian herbs to your corn flake mixture
- Add Some Heat: A dash of hot sauce in the egg mixture gives a nice kick
- Try Different Corn Flakes: Multi-grain or flavored corn flakes can add interesting flavor dimensions
Common Problems and Solutions
- Coating Falls Off: Make sure chicken is completely dry before starting and press the corn flakes firmly onto each piece
- Uneven Cooking: Ensure all chicken pieces are similar in size for even cooking
- Burnt Coating: If the coating is browning too quickly, lower your oil temperature slightly
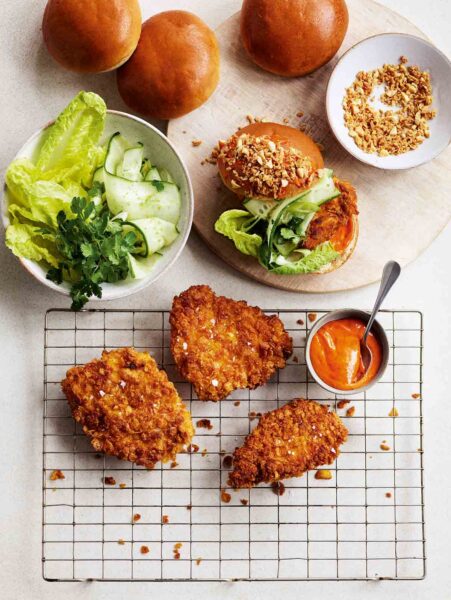
Perfect Pairings: What to Serve with Your Corn Flakes Chicken
This chicken is amazingly versatile! Here are some of my favorite sides to serve with it:
- Classic Sides: Creamy mashed potatoes, tangy coleslaw, or cornbread
- Lighter Options: Fresh green salad, roasted vegetables, or cucumber salad
- Dipping Sauces: Honey mustard, ranch, spicy aioli, or hot honey
- Fun Twist: Serve on waffles with maple syrup for an amazing chicken and waffles experience!
Storing and Reheating Leftovers
Got leftovers? Lucky you! Here’s how to keep them tasting great:
- Cooling: Allow chicken to cool completely before storing
- Storage: Place in an airtight container in the refrigerator for up to 3-4 days
- Reheating: For best results, reheat in a 375°F (190°C) oven for 15-20 minutes until hot and crispy again
- Avoid Microwaving: Microwaving will make your crispy coating soggy – just don’t do it!
Frequently Asked Questions
Can I use sweetened corn flakes?
It’s better to use unsweetened corn flakes, as sweetened ones can burn more easily. If you only have sweetened flakes, reduce any sugar in your seasoning blend.
What’s the best oil for frying?
Vegetable, canola, or peanut oil are all excellent choices due to their high smoke points and neutral flavors.
Can I use boneless chicken?
Absolutely! Just adjust your cooking time accordingly, as boneless pieces cook faster than bone-in.
Can I prepare the chicken ahead of time?
You can dredge the chicken and refrigerate it for up to 2 hours before frying, but not much longer or the coating may become soggy.
How do I know when the chicken is fully cooked?
The internal temperature should reach 165°F (74°C) in the thickest part of the meat, away from the bone.
Can I use gluten-free corn flakes?
Yes! Gluten-free corn flakes work perfectly for this recipe, making it a great option for those with gluten sensitivities.
My Final Thoughts
I gotta say, there’s something almost magical about that first bite of corn flakes chicken – the way the super crispy coating crunches and then gives way to juicy, tender meat underneath. It’s comfort food at its finest, and the fact that it helps reduce food waste by using up those almost-stale corn flakes? That’s just the cherry on top!
Whether you’re cooking for picky kids, hosting a game night, or just treating yourself to something special, this corn flakes fried chicken is guaranteed to impress. The technique is simple enough for beginners but the results are restaurant-quality delicious.
So next time you’re craving fried chicken, skip the takeout and give this corn flakes version a try. Your taste buds (and maybe even your wallet) will thank you!
What’s your favorite seasoning blend for fried chicken? Have you tried using corn flakes before? I’d love to hear about your experiences in the comments below!
Happy frying, friends!
Cornflake Chicken Sandwich FAQs
I’d avoid it. As the chicken sits, the coating becomes softer and loses its crispiness.
You can substitute Sriracha sauce or Thai chile paste for the gochujang to get similar heat in the mayo.
Want to Save This?
Ill email this to you, so you can come back to it later. Booyah!