Are you tired of dry, overcooked chicken tenders that taste like sawdust? You’re not alone! One of the biggest mistakes home cooks make is overcooking these delicate cuts of meat. Today, I’m going to share everything you need to know about how long to cook chicken tenderloins at 350°F for consistently juicy, flavorful results.
As someone who’s tested countless chicken recipes I can tell you that chicken tenderloins typically need between 15-30 minutes in a 350°F oven depending on several factors we’ll explore below. But there’s much more to perfect tenders than just time and temperature!
What Are Chicken Tenderloins?
Before we dive into cooking times let’s quickly clarify what we’re working with
Chicken tenderloins are the small, tender strips of meat attached to the underside of chicken breasts. They’re naturally more tender than the breast itself (hence the name!) and cook faster due to their smaller size. Each chicken has two tenderloins, and they’re perfect for quick meals when you need protein in a hurry.
Why Cook Chicken Tenderloins at 350°F?
There’s a good reason 350°F is often recommended for chicken tenderloins:
- It’s hot enough to cook the chicken through without drying it out
- It allows the chicken to cook evenly from edge to center
- It’s gentle enough to maintain moisture while still developing flavor
- It gives you a wider margin of error compared to higher temperatures
The Perfect Timeline: How Long to Cook Chicken Tenderloins at 350°F
In a 350-degree oven, chicken tenders will take between 20 to 30 minutes to bake. You want them to reach an internal temperature of 165°F and no longer be pink in the center.
However, cooking time varies based on several factors:
Factors That Affect Cooking Time
- Thickness of tenderloins: Thinner tenders cook faster (15-20 minutes), while thicker ones need more time (20-30 minutes)
- Starting temperature: Room temperature tenders cook more quickly than those straight from the refrigerator
- Oven accuracy: Many home ovens run hot or cold, affecting cooking time
- Baking dish material: Dark metal pans cook faster than glass or ceramic
- Quantity of tenders: More tenders in the pan may require slightly longer cooking time
- Frozen vs. thawed: Frozen tenderloins need significantly more time (30-35 minutes)
Prep Work: Setting Yourself Up for Success
Proper preparation is key to juicy chicken tenderloins. Here’s what to do before they even hit the oven:
Remove That Pesky Tendon
Most chicken tenderloins have a tough white tendon running through them. Here’s a quick trick to remove it:
- Grip the tendon with a paper towel in one hand
- Place the tendon between the tines of a fork
- Pull the tendon up while pushing the chicken down with the fork
- The tendon should slide right out!
This might split your tender a bit, but trust me – it’s worth it to avoid that chewy bit in your finished dish.
Marinade Magic
Marinating your tenderloins isn’t just about flavor – it also helps keep them moist during cooking. Even a quick 15-minute marinade while your oven preheats can make a difference!
Here’s a simple but delicious marinade option:
- 2 tablespoons oil (olive or avocado work great)
- 2 tablespoons soy sauce or tamari
- 1 tablespoon spicy brown mustard or dijon
- 1/4 teaspoon garlic powder
- 1/4 teaspoon ground ginger
Pat Dry for Better Browning
Before seasoning or marinating, pat your chicken tenderloins dry with paper towels. This removes excess moisture that would otherwise steam the chicken instead of allowing it to brown.
Step-by-Step Cooking Instructions
Now that we’ve covered the basics, here’s exactly how to cook perfect chicken tenderloins at 350°F:
- Preheat your oven to 350°F. This is important – don’t put chicken in a cold oven!
- Prepare your baking sheet by lining it with parchment paper or foil and giving it a light spray with cooking oil.
- Season or marinate your tenderloins as desired.
- Arrange tenderloins on the baking sheet, making sure they don’t touch each other.
- Bake for 15 minutes, then check temperature.
- Continue baking until internal temperature reaches 165°F (usually 20-30 minutes total).
- Let rest for 5 minutes before serving to allow juices to redistribute.
How to Tell When Chicken Tenderloins Are Done
The most reliable way to check doneness is with a meat thermometer. Insert it into the thickest part of a tenderloin – when it reads 165°F, your chicken is safe to eat.
If you don’t have a thermometer, you can:
- Cut into the thickest tenderloin – it should be white throughout with no pink
- Check that the juices run clear, not pink
- Gently press the meat – it should feel firm but slightly springy
But really, a good meat thermometer is one of the best kitchen investments you can make!
Preventing Dry Chicken Tenderloins
Nobody wants dry chicken! Here are my top tips for keeping those tenders juicy:
- Don’t overcook – start checking at 15 minutes
- Use a meat thermometer for precision
- Add a splash of liquid to the baking pan (chicken broth works great)
- Cover with foil for the first half of cooking time
- Let the chicken rest after cooking
- Consider brining the tenderloins for 30 minutes before cooking
- Brush with oil or butter before baking
Flavor Variations to Try
One of the best things about chicken tenderloins is how versatile they are! Here are some of my favorite seasoning combinations:
- Mediterranean: Olive oil, lemon juice, garlic, oregano
- BBQ: Your favorite BBQ rub or sauce (add sauce in last 5 minutes)
- Buffalo: Hot sauce, butter, garlic powder
- Asian-inspired: Soy sauce, honey, ginger, garlic
- Tex-Mex: Chili powder, cumin, lime juice, cilantro
- Italian: Italian seasoning, parmesan, olive oil
What to Serve With Baked Chicken Tenderloins
Turn your tenderloins into a complete meal with these side dish ideas:
- Rice or quinoa
- Roasted vegetables
- Fresh salad
- Mashed potatoes or cauliflower
- Pasta or mac and cheese
- Dinner rolls or garlic bread
Air Fryer Method: A Quicker Alternative
Got an air fryer? You can cook chicken tenderloins even faster! At 350°F, they’ll take just 12-15 minutes in an air fryer. Be sure to:
- Preheat your air fryer
- Arrange tenderloins in a single layer (work in batches if needed)
- Flip halfway through cooking
- Check temperature to ensure they reach 165°F
Storage and Leftovers
Cooked chicken tenderloins make great leftovers! They’ll keep in the refrigerator for 3-4 days in an airtight container. Use them for:
- Quick protein on salads
- Sliced in wraps or sandwiches
- Added to pasta dishes
- Chopped in quesadillas
To reheat without drying out, cover and microwave on 70% power, or wrap in foil and heat in a 300°F oven until warmed through.
Frequently Asked Questions
Is it better to bake chicken tenderloins at 350°F or 400°F?
Both temperatures work, but 350°F generally produces juicier results with more even cooking. If you’re short on time, 400°F will cook them faster, but watch carefully to prevent drying out.
Can I bake frozen chicken tenderloins?
Yes! Add about 10-15 minutes to the cooking time (30-35 minutes total). For best results, however, thaw them first.
How do I prevent my chicken tenderloins from sticking to the pan?
Line your baking sheet with parchment paper or foil, and spray lightly with cooking spray before adding the chicken.
Can I cook vegetables alongside my chicken tenderloins?
Absolutely! Choose quick-cooking vegetables like bell peppers, zucchini, or broccoli florets. Cut them into similar-sized pieces and toss with a bit of oil and seasoning.
Conclusion
Mastering how long to cook chicken tenderloins at 350°F is a game-changer for quick, healthy meals. Remember the key points:
- Chicken tenderloins need about 20-30 minutes at 350°F
- Always cook to an internal temperature of 165°F
- Proper preparation and marinade make a huge difference
- Let them rest before serving
- Use a meat thermometer for best results
With these tips, you’ll never have to suffer through dry, overcooked chicken tenders again! What’s your favorite way to season chicken tenderloins? I’d love to hear in the comments below!
Happy cooking!

How to make healthy baked chicken tenders
These homemade chicken tenders do not require a breadcrumb mixture so they are perfect for someone following a gluten-free diet. That means less prep time!

- Pre-heat the oven to 350 degrees F and marinate the tenders: In a medium bowl, combine the chicken strips with the oil, tamari, and seasonings. For best results, let coated tenders sit in the bowl while the oven preheats to absorb the marinade.

- Place the chicken pieces on a baking sheet in a single layer. You could line the sheet pan with parchment paper if you want easier cleanup.
- Bake in the pre-heated oven for 15 minutes, or until an instant read thermometer gives an internal temperature of 165F.
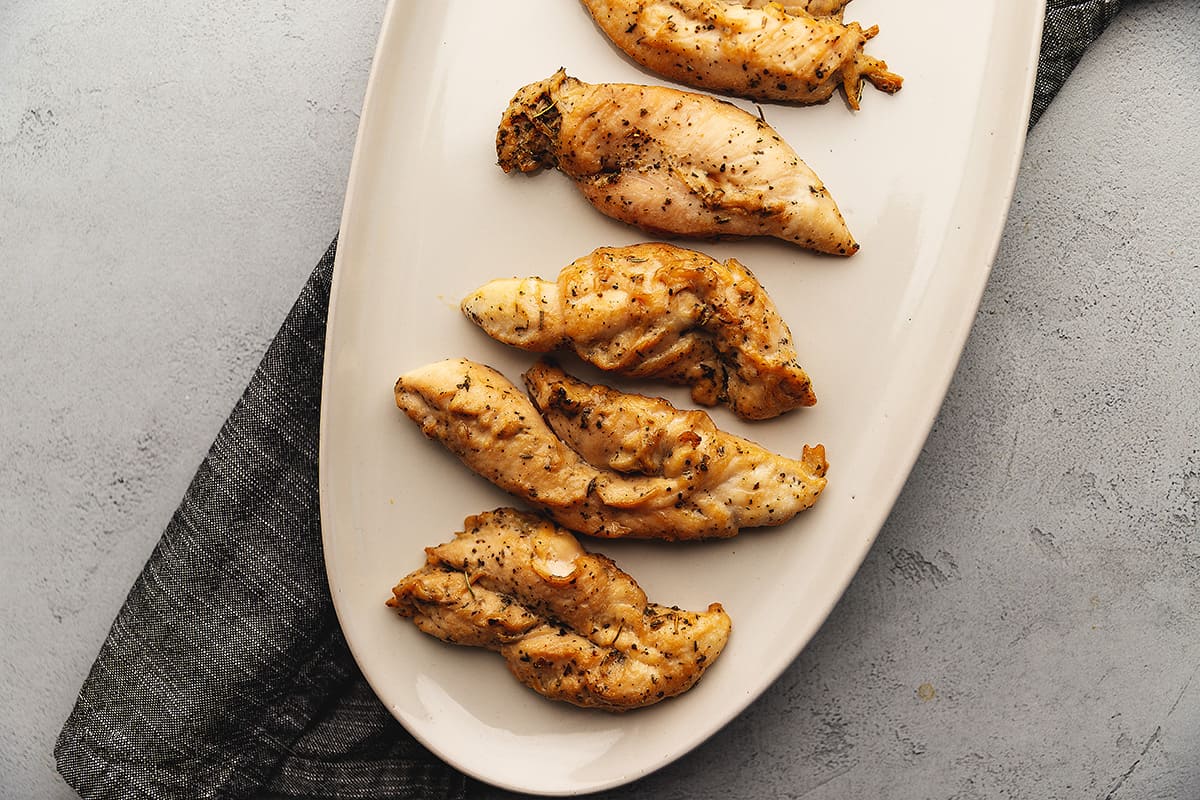
As you can see, this chicken tenders recipe produces golden brown, juicy chicken without a crunchy coating that will be soggy 5 minutes later.
How to remove the tendon from chicken tenders
Your tenders are not going to be at their best if they still have that tough tendon running through the center. Let me show you the best way to remove it in about 10 seconds.
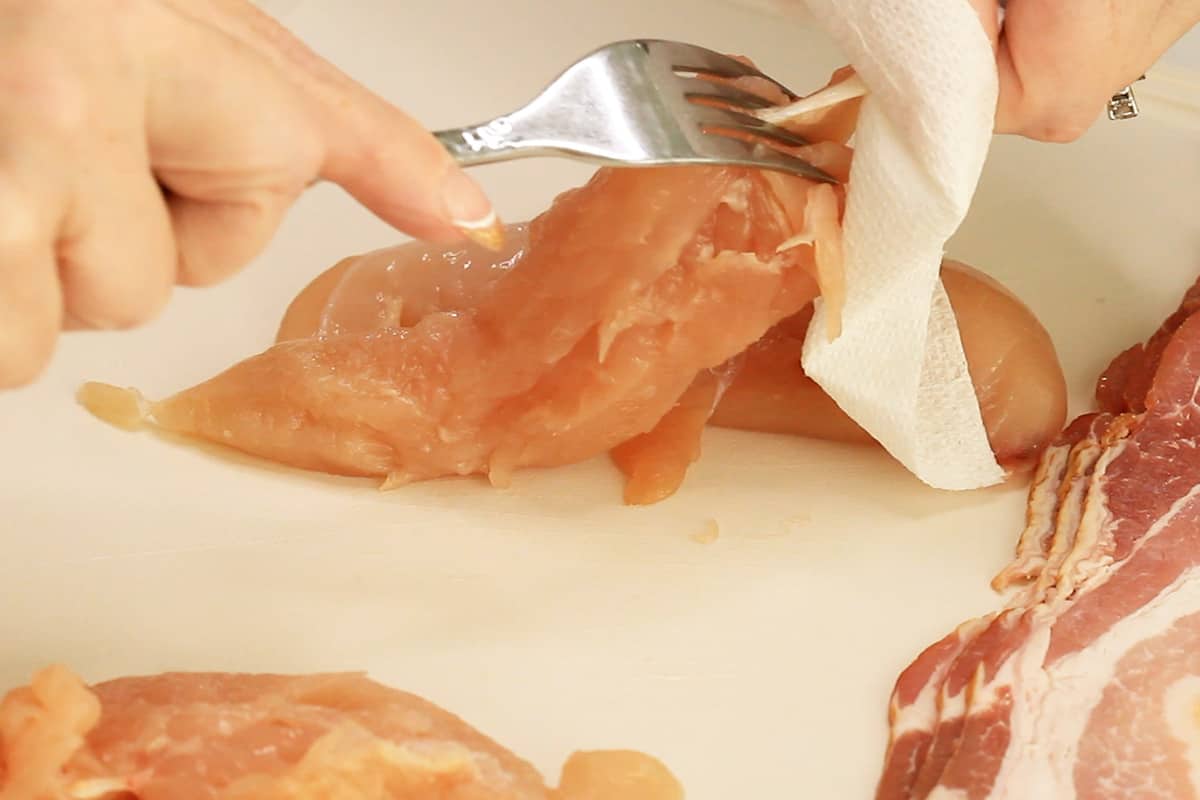
Grip the tendon in one hand with a small piece of paper towel. In The other hand, put the tendon between the tines of a fork.
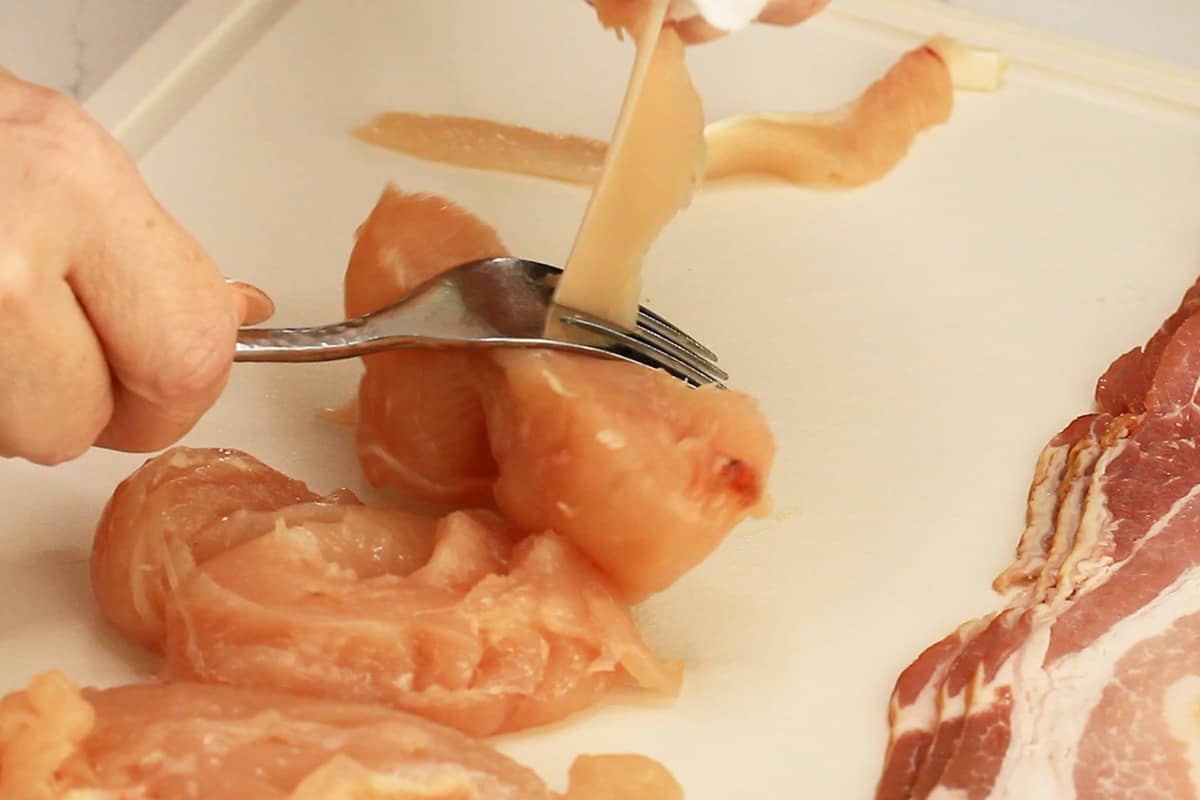
In one forceful motion, pull the tendon up using the paper towel, and push the chicken tender down with the fork. The tendon will pull right out.
This will split your tender almost completely down the center, but I would rather have that over a tough tendon in my chicken any day.
