Hey there fellow chicken processors! If you’ve ever tried to pluck a chicken without properly scalding it first, you know what a nightmare that can be. Trust me, I’ve been there – fighting with feathers that just won’t budge while my arms get tired and my patience wears thin. But over the years, I’ve learned that the secret to easy plucking isn’t about having strong fingers or fancy equipment – it’s all about getting that scald just right.
After processing nearly a thousand birds myself, I’ve developed a foolproof approach to scalding that I’m excited to share with y’all today. So let’s dive into everything you need to know about how long to scald a chicken before plucking!
Why Scalding is Essential Before Plucking
Before we talk timing. let’s quickly cover why we scald chickens in the first place
- Loosens the feather follicles so feathers come out easily and cleanly
- Prevents tearing or damaging the skin during plucking
- Helps prepare an attractive, marketable bird
- Makes the plucking process WAY faster (whether by hand or machine)
Without proper scalding, you’ll spend forever plucking and still end up with a bird that looks like it went through a tornado. Not ideal!
The Perfect Scalding Formula
The most important thing to understand about scalding is that there’s no magic, one-size-fits-all time that works for every bird in every situation Instead, successful scalding comes down to this formula
Time + Temperature + Agitation + Testing = Perfect Scald
There’s an inverse relationship between time and temperature – the hotter your water, the less time needed in the scald. Understanding this principle will make you the chicken scalding boss in any situation!
Factors That Affect Scalding Time
Several factors impact how long you should scald your chicken:
- Water Temperature: Hotter water requires less time
- Bird Age: Older birds with tougher feathers need longer scalds
- Bird Size: Larger birds require more time to scald thoroughly
- Bird Breed: Heavy-plumaged breeds might need extra time
- Scalding Method: Your dunking/stirring technique matters!
- Water Hardness: Hard water may need vinegar added as a softener
How Long to Scald Different Types of Poultry
Alright, now for the specifics you came for! Here’s a handy guide for scalding times based on bird type when using water at approximately 140-150°F:
| Bird Type | Age/Size | Scalding Time |
|---|---|---|
| Cornish Game Hens | 4 weeks | 30-45 seconds |
| Broilers | 6-8 weeks | 45-60 seconds |
| Roasters | 9-12 weeks | 60-75 seconds |
| Stews/Layers | 12+ weeks | 60-90 seconds |
| Spent Layers | 70+ weeks | 90-120 seconds |
| Turkeys | – | 90-120 seconds |
| Ducks | – | 2-5 minutes |
These times assume proper agitation in the water. If you’re immersing birds completely and agitating well, you might be able to cut these times in half.
Remember, these are starting points! Your specific birds might need slight adjustments.
My Never-Fail Scalding Technique
After years of experience, here’s the foolproof method I’ve developed:
-
Heat water to the proper temperature – 145-150°F is ideal. Use a thermometer for accuracy!
-
Kill and bleed the bird properly – Allow it to cool slightly before scalding.
-
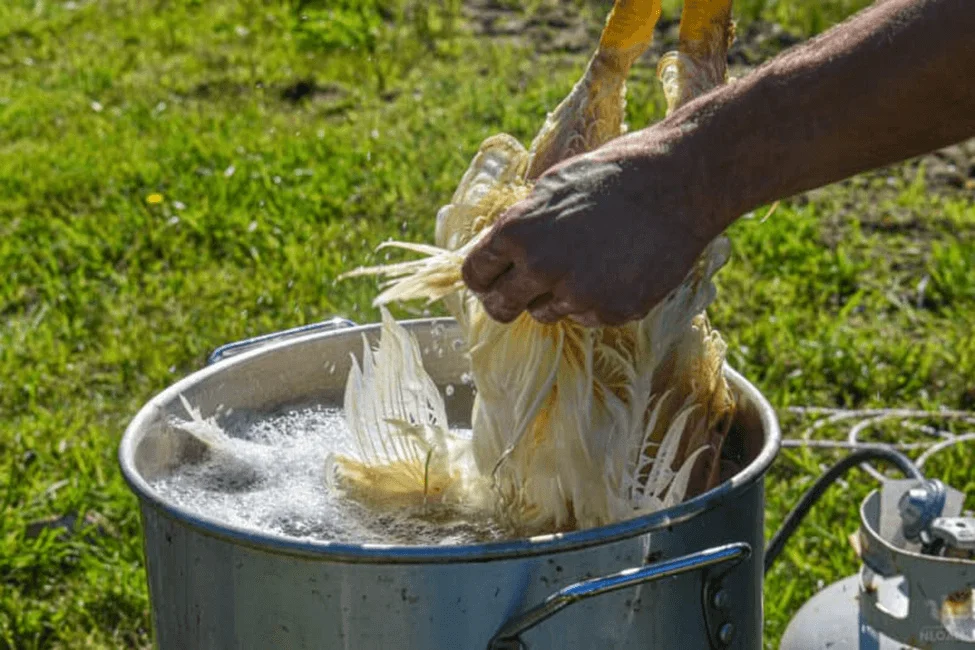
Dunk the bird in hot water – Submerge fully, making sure to get those leg feathers.
-
Agitate properly – This is KEY! Don’t just dunk up and down (that results in uneven scalds and unscalded feet). Instead, stir the bird around in the water to ensure even penetration of heat.
-
Perform the feather pull test – After the minimum recommended time, pull ONE large wing or tail feather. If it slides out with absolutely no resistance, you’re good to go!
-
Continue scalding if needed – If feathers offer resistance, continue scalding in 30-second increments until a test feather pulls out easily.
-
Start plucking immediately once feathers are loosened.
How to Test for the Perfect Scald
There are two reliable ways to check if your bird is properly scalded:
-
The Wing Feather Test: Pull a single large wing feather. It should slide out effortlessly with zero resistance.
-
The Middle Toe Test: My personal favorite! Try to pull the skin off the middle toe. If it slides off easily, your bird is perfectly scalded and ready for plucking.
If either test shows resistance, dunk the bird back in for another 30 seconds and test again.
Common Scalding Equipment and Methods
You’ve got several options for scalding equipment:
- Turkey fryer setup: Convenient but temperature control can be tricky
- Rotary scalder: Great for consistent results with multiple birds
- Regular pot on a heat source: Works fine for small batches!
For homesteaders processing just a few birds, a large pot of water heated to the proper temperature works perfectly. Commercial operations might invest in specialized scalding equipment for efficiency.
Common Scalding Mistakes to Avoid
Learn from my errors! Here are mistakes I’ve made that you should avoid:
- Water too hot (above 155°F): This will cook the skin and meat – yuck!
- Over-scalding: Leads to torn skin during plucking
- Under-scalding: Makes plucking frustratingly difficult
- Inconsistent water temps: Use a thermometer!
- Poor agitation: Just dunking doesn’t get water to all feathers
- Dirty scald water: Change it regularly when processing multiple birds
The Secret That Changed My Scalding Game
Here’s what transformed my chicken processing experience: AGITATION IS EVERYTHING!
Many folks think the magic is in dunking chickens up and down, but that’s not it! The real secret is proper agitation that allows the hot water to penetrate and loosen all the feather follicles evenly.
Instead of just dunking up and down (which often leaves feet unscalded), try this: fully immerse the bird in the water and stir it around. This simple change made a world of difference in my scalding results!
Final Thoughts
Mastering the art of scalding takes practice, but once you get it right, you’ll never struggle with plucking again. Remember that scalding is what makes or breaks your plucking experience – even the best plucker (mechanical or human) can’t overcome a poor scald!
Track your results with different birds, make notes about what works, and adjust your technique as needed. Soon you’ll develop an intuitive sense for scalding times based just on looking at your birds.
Whether you’re processing a few backyard chickens or running a small-scale poultry operation, getting the scald right will save you time, frustration, and result in better-looking birds.
FAQ: Chicken Scalding Questions
Do you have to boil a chicken before plucking?
No! You should never use boiling water for scalding. Water that’s too hot will literally cook the chicken. The hot water (145-150°F) is meant to loosen the skin and feather follicles for easier plucking, not to cook the bird.
How long does it take to let a chicken bleed out?
Birds should be left to bleed for about 2.25-3 minutes before scalding. Proper bleeding improves meat quality and is an important step before scalding.
What’s the difference between soft, medium, and hard scalding?
Soft (semi) scalding uses lower temperatures (125-130°F) for longer times and is used for most broilers and young turkeys. Medium scalding ranges from 129-136°F for 60-120 seconds. Hard scalding uses higher temperatures (140-150°F) for shorter times (15-60 seconds).
Can you scald and pluck a chicken manually without special equipment?
Absolutely! While it takes more time and effort, many homesteaders successfully scald in a regular pot of hot water and pluck by hand. Special equipment just makes the process more efficient.
Should I add anything to my scald water?
Some processors add a small amount of dish soap or baking soda to help the water penetrate feathers better. Others add vinegar if they have hard water. These additives can help but aren’t strictly necessary for a good scald.
Happy processing, everyone!