Have you ever craved those perfect restaurant-style chicken tenders but didn’t know how to recreate that magic at home? Well, I’ve been there too! After trying countless recipes and techniques, I’ve finally mastered the art of frying chicken tenders that come out crispy on the outside and juicy on the inside every single time
Fried chicken tenders are a family favorite in my house – my kids literally cheer when they see me getting the oil ready! Today, I’m gonna share all my secrets so you can become the chicken tender champion in your household too.
What You’ll Need for Perfect Fried Chicken Tenders
First things first, let’s gather our ingredients:
For the chicken
- 2 lbs chicken tenderloins (or boneless skinless chicken breasts cut into strips)
- Kosher salt and black pepper to taste
For the coating:
- 2 large eggs
- ¾ cup buttermilk
- 1 teaspoon garlic salt
- 1½ cups all-purpose flour
- Optional: breadcrumbs for extra crunch
- Optional seasonings: paprika, cayenne pepper, seasoned salt
For frying:
- Oil for deep-fat frying (peanut oil, vegetable oil, or canola oil work best)
Equipment
- Cast iron skillet, Dutch oven, or deep-fat fryer
- Meat thermometer
- Paper towels
- Wire rack
- Baking sheet
Two Methods for Amazing Fried Chicken Tenders
I’ve discovered there are two great approaches to making perfectly fried chicken tenders. Let me share both so you can pick what works best for you!
Method 1: The Buttermilk Dip Method
This is the classic Southern approach that delivers that restaurant-quality taste:
-
Season the chicken: Lightly season your chicken tenderloins with salt and pepper.
-
Prepare your stations: In one shallow bowl, whisk together eggs, buttermilk, and garlic salt. In another bowl, combine flour with ¾ teaspoon salt and ¼ teaspoon pepper.
-
Dip and dredge: Working with one piece at a time, dip chicken in the egg mixture, then dredge in the flour mixture, making sure to coat completely.
-
Let it rest: Place the coated tenders on a wire rack and let them rest for a few minutes while your oil heats up. This helps the coating stick better!
-
Heat the oil: In your skillet or fryer, heat about 2 inches of oil to 375°F. Use a thermometer to check – this temperature is super important!
-
Fry in batches: Don’t overcrowd! Fry a few pieces at a time for about 3-4 minutes per side until they’re golden brown and crispy. The internal temperature should reach 165°F.
-
Drain and season: Transfer to paper towel-lined plate to drain excess oil, then season with a little more salt while still hot.
-
Keep warm: Place finished batches on a wire rack over a baking sheet in a 200°F oven while you finish frying the rest.
Method 2: The Dry Brine Technique
This method creates EXTRA crispy tenders and doesn’t require buttermilk:
-
Prep and dry brine: Cut chicken breasts into strips about ¾ inch thick. Pat them completely dry, then sprinkle with salt and pepper. Place them uncovered in the fridge for 4 hours (this is called dry brining).
-
Create texture: Remove from fridge 20 minutes before cooking. Place plastic wrap over the chicken and use the rough side of a meat mallet to create texture on the outside – this helps the breading stick better!
-
Prep the coating: Beat 3 egg whites until fluffy and frothy. In a separate bowl, combine 1 cup flour, 1/3 cup breadcrumbs, 1½ teaspoons seasoned salt, ½ teaspoon paprika, ¼ teaspoon cayenne pepper, and 1 teaspoon black pepper.
-
Coat the chicken: Dip each piece in the egg whites, then coat generously in the breading mixture.
-
Fry perfectly: Heat oil to 350-375°F and fry in batches, about 4 minutes per side until golden brown.
Pro Tips for Fried Chicken Tender Success
After making these countless times, I’ve picked up some tricks that make a HUGE difference:
-
The oil temperature is crucial! Too cool = soggy, greasy chicken. Too hot = burned outside, raw inside. Get a thermometer!
-
Don’t crowd the pan – this drops the oil temperature too much. Be patient and cook in batches.
-
Season the tenders while they’re still hot – the salt sticks better.
-
Use a wire rack instead of paper towels for resting cooked tenders – this keeps them crispy on all sides.
-
If you can’t find chicken tenders, just buy boneless skinless chicken breasts and slice them into strips yourself.
-
No buttermilk? Make your own by adding 1 tablespoon of white vinegar or lemon juice to 1 cup of regular milk and letting it sit for 5 minutes.
Common Mistakes to Avoid
I’ve made all these mistakes so you don’t have to!
-
Skipping the resting period after breading – those few minutes help the coating stick.
-
Flipping the chicken too often – let it cook undisturbed for a few minutes on each side.
-
Not maintaining oil temperature – it fluctuates when you add chicken, so adjust your heat as needed.
-
Using cold chicken straight from the fridge – this drops oil temp dramatically and results in uneven cooking.
What to Serve with Your Chicken Tenders
These crispy delights pair perfectly with:
- Honey mustard sauce
- Ranch dressing
- BBQ sauce
- Ketchup
- French fries
- Coleslaw
- Mac and cheese
- Biscuits
- Hush puppies
Storing and Reheating Leftover Chicken Tenders
If you somehow have leftovers (which rarely happens in my house!):
- Refrigerate in an airtight container for 2-3 days.
- Freeze for up to 3 months – flash freeze on a baking sheet first, then transfer to freezer bags.
- Reheat in a 400°F oven for about 10 minutes from refrigerated or 20 minutes from frozen. Avoid the microwave as it makes them soggy!
Can You Air Fry These Chicken Tenders?
While nothing beats deep-fried chicken tenders, you can use an air fryer:
- Preheat air fryer to 375°F
- Place breaded chicken in a single layer, spray generously with canola oil cooking spray
- Air fry for 6 minutes, flip, spray again, and cook 3-4 more minutes
- Check internal temperature has reached 165°F
The texture won’t be identical, but it’s a decent alternative if you’re watching calories or don’t want to deal with hot oil.
Why This Recipe Works Every Time
What makes this recipe foolproof? It’s all about the layers of flavor and the right techniques:
- Seasoning the chicken before coating ensures flavor throughout, not just in the crust
- The right oil temperature creates that perfect crispy exterior while keeping the inside juicy
- Resting between steps lets the coating set up properly
- Keeping finished tenders warm without getting soggy while you finish cooking
Final Thoughts
Learning how to fry chicken tenders perfectly has been a game-changer for family dinners at my house. Yes, it takes a little practice, but once you nail the technique, you’ll never want to buy frozen tenders again!
Remember, the key is patience – don’t rush the process. Keep that oil at the right temperature, season generously, and you’ll have restaurant-quality tenders that’ll make everyone think you’ve been hiding professional chef skills!
So what are you waiting for? Grab some chicken, heat up that oil, and get frying! Your family will thank you, and you might just become known for having the best chicken tenders in town.
Happy frying, y’all!
Step 2: Fry the chicken
Heat the oil to 375°F in an electric skillet or deep-fat fryer. Fry the chicken a few pieces at a time, being careful not to overcrowd the pan. Cook until the chicken is golden brown and the juices run clear, about seven to eight minutes per side. Drain the chicken on a paper towel-lined plate or wire rack.
Editor’s Tip: Hold the chicken warm in a 250° oven while you cook the remaining pieces. Keeping the chicken elevated will keep it crispy, so we like to line a baking sheet with an ovenproof cooling rack.
How to Store Fried Chicken
Store leftover fried chicken in an airtight container in the refrigerator for four to five days. Allow the chicken to cool before covering the container, as the chicken retains a crispier coating when the steam isn’t trapped inside.
Reheat fried chicken in a 350° oven for about 15 minutes before bumping it to 400° to crisp the skin. To use an air fryer, preheat the unit to 350°, spray each side of the chicken with cooking spray, and cook, flipping every three minutes until each piece reaches an internal temperature of 165°.
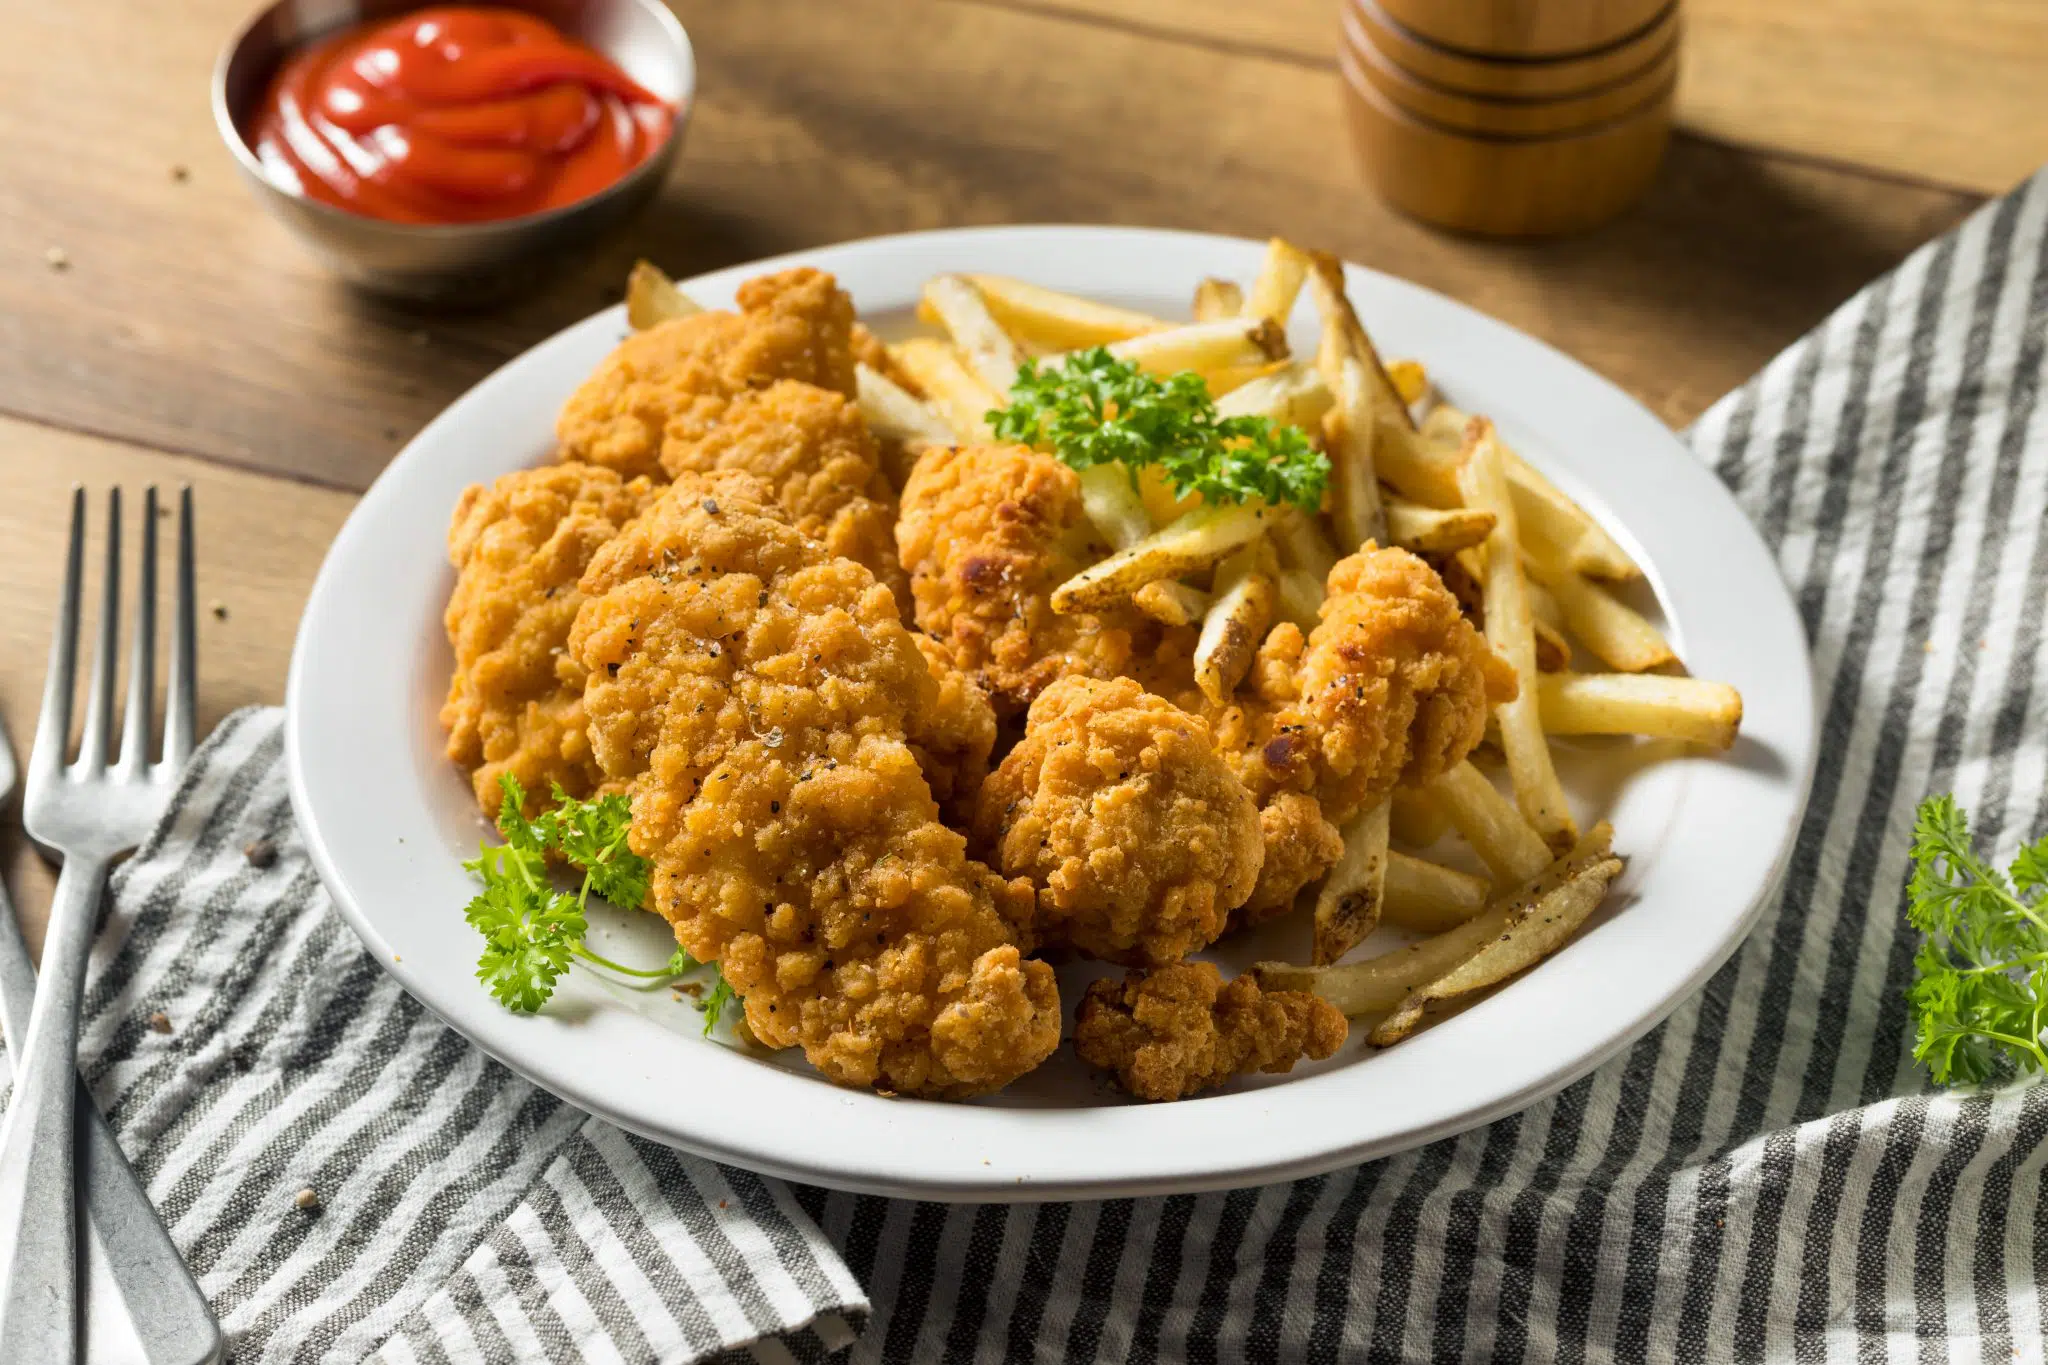
Easy fried chicken tenders | recipe your kids will love this.
FAQ
How do you pan fry chicken tenders without breading?
How to pan fry chicken tenders so they’re crisp on the outside and juicy on the inside. The pan fried chicken tenders without breading and without eggs is perfect sliced, chopped, or shredded for your favorite recipe. Preheat a large skillet over medium-high heat. Add the extra virgin olive oil to the pan.
How do you make fried chicken tenders crispy?
Press the breading on your chicken tenders really firmly, then let them sit for a couple of minutes before you fry them. This makes the breading soft of gooey and it crisps up even better. Add a skillet of cornbread and you’ll be all set!
How do you cook fried chicken tenders in a cast iron skillet?
Crispy fried chicken is a great addition to your dinnertime table and tenders are a quick and easy way to do it. Fill a 9-inch cast iron or standard skillet with about 2 inches of oil. Start heating it over medium-high heat while you bread the chicken. (Keep an eye on it!) In a large bowl, mix the flour, salt and pepper.
How long do you fry chicken tenders?
When it comes to cooking chicken tenders, achieving the perfect level of crispiness without drying them out is crucial. The ideal frying time for chicken tenders is approximately 3-4 minutes per side. This timeframe will ensure that the chicken is cooked through, thoroughly golden, and maintains its juiciness.
How to deep fry chicken tenders?
Preparing the chicken tenders is a crucial step in the deep frying process. Here’s how to do it: Rinse the chicken tenders under cold water and pat them dry with paper towels. Season the chicken tenders with salt and pepper. In a shallow dish, mix together the flour, a pinch of salt, and a few grinds of pepper. In a separate dish, beat the eggs.
What temperature should chicken tenders be fried at?
The ideal temperature for deep-frying chicken tenders is between 350°F and 375°F. This temperature range allows for a crispy exterior and a juicy interior. If the temperature is too low, the chicken tenders will absorb excess oil and be greasy.
How long are you supposed to fry chicken tenders for?
What oil to use when frying chicken tenders?