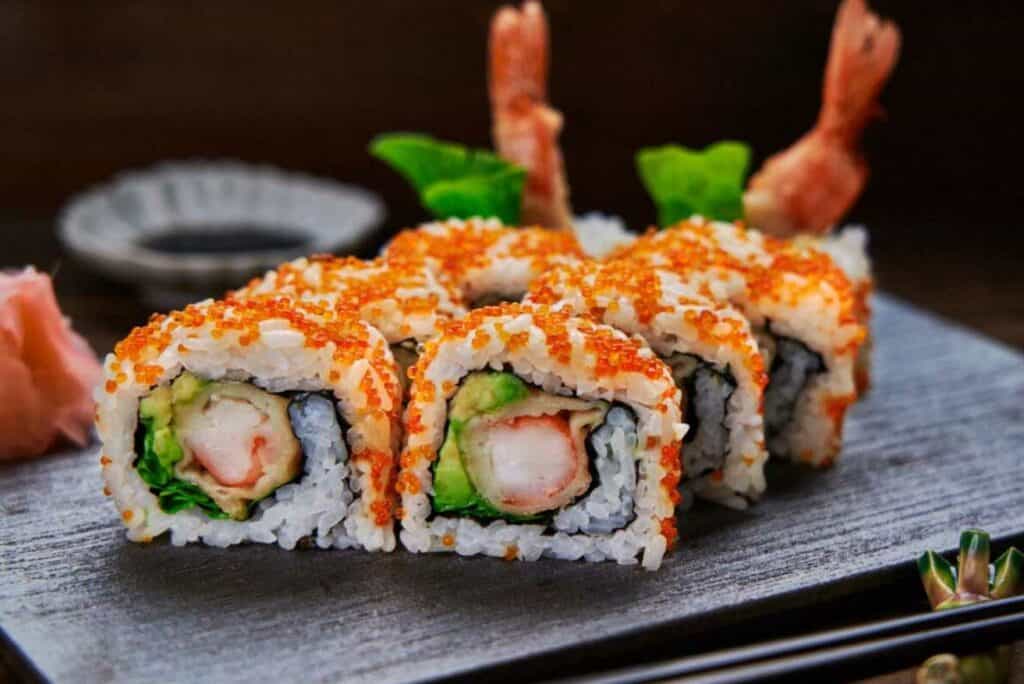
Hey sushi lovers! I’m a home cook who’s spent countless hours perfecting shrimp sushi and today I’m gonna share my fool-proof method for cooking shrimp that’ll make your homemade sushi taste like it’s from that fancy Japanese restaurant downtown!
Why Cook Shrimp for Sushi at Home?
- Save tons of money compared to restaurant prices
- Control exactly what goes into your rolls
- Impress your friends with restaurant-quality sushi
- Perfect for sushi beginners (way easier than raw fish!)
What You’ll Need
Essential Ingredients:
- Large shrimp (Black Tiger shrimp works best)
- Rice vinegar
- Butter
- Garlic
- Salt
- Bamboo skewers
- Ice for ice bath
Equipment:
- Large pot
- Bowl for ice bath
- Sharp knife (serrated works great)
- Paper towels
Step-by-Step Cooking Guide
1. Prep Your Shrimp
- Thaw completely if frozen
- Remove shells but keep tails on (if making nigiri)
- Devein the shrimp
- Straighten each shrimp gently using your thumb
2. Skewer Method (Traditional Japanese Style)
- Pierce shrimp from head to tail with bamboo skewer
- Aim for the vein line – you’ll feel little resistance
- Line up multiple shrimp on each skewer
3. Choose Your Cooking Method
Method A: Boiling (My Favorite!)
- Bring pot of water to boil
- Add shrimp for 60-90 seconds
- Watch for white/pink color change
- Remove when firm but not rubbery
Method B: Garlic Butter Sauté
- Melt butter with crushed garlic
- Cook shrimp until pink (about 2 mins per side)
- Don’t overcook – they’ll get tough!
4. Ice Bath Treatment
- Immediately plunge cooked shrimp in ice water
- This stops the cooking process
- Keeps shrimp tender and perfect for sushi
- Leave for 2-3 minutes
Pro Tips from My Kitchen
-
Seasoning Options:
- Light salt sprinkle
- Dash of lemon juice
- Pinch of paprika
- Ginger juice marinade overnight
-
Butterfly Technique:
- Turn shrimp belly-up
- Cut halfway through from head to tail
- Don’t slice completely through
- Rinse well after butterflying
-
Common Mistakes to Avoid:
- Don’t skip the ice bath
- Never overcook – tough shrimp = bad sushi
- Don’t use pre-cooked shrimp
- Always pat dry before using
Making Your Sushi Rolls
Now that you’ve got perfectly cooked shrimp, here’s how to use them:
- Spread sushi rice on nori
- Add your cooked shrimp
- Include yummy extras like:
- Avocado slices
- Cucumber strips
- Cream cheese
- Spicy mayo
Storage Tips
- Best eaten same day
- Can keep 24 hours max in fridge
- Store in airtight container
- Avoid freezing prepared rolls
FAQ
Q: Can I use frozen shrimp?
A: Yep! Just thaw completely first.
Q: Raw or cooked shrimp for sushi?
A: Always cook your shrimp! Raw shrimp isn’t safe.
Q: How many shrimp per roll?
A: Usually 2-3 large shrimp per roll, depending on size.
My Personal Take
I’ve messed up countless shrimp while learning this process (sorry, little guys! ). But trust me, once you get the hang of it you’ll be making amazing shrimp sushi at home. The key is really in not overcooking them – I literally set a timer for 90 seconds when boiling!
Remember, practice makes perfect, and even if your first rolls aren’t Instagram-worthy, they’ll still taste amazing. Keep at it and before you know it you’ll be the go-to sushi chef among your friends!

Make sure that your shrimp is completely thawed out before you start.
- Using your thumb on the spine and your fingers on the feet, straighten out the shrimp.
- Take a skewer and pierce the shrimp from head to tail, aiming for the vain along the top. If you successfully hit the vain, you should feel very little resistance!
- Repeat the previous step until you have skewered enough shrimp for your appetite.
- Bring a pot of water to a boil. I usually do this as I’m skewering the shrimp – that way you don’t have to wait for your water to boil.
- Boil the shrimp for about 60 – 90 seconds, or until the meat turns completely white. You want the shrimp to feel firm. Optional: add a dash of lemon juice, salt, or paprika to taste. You can use all three or any combination if you choose.
- After the shrimp have turned a nice orange/white color and have become firm, take them out and put them into an ice bath (Ice and water in a bowl). This helps make sure that the shrimp don’t continue to cook.
- Once the shrimp are cold, peel off the shells, but leave the tip of tails on. This is purely for aesthetic reasons. I leave the tails on in case I want to make Ebi nigiri. If you are only planning on using the shrimp on a roll, you can remove the tails.
