Hey there fellow seafood lovers! I’ve been cooking shrimp for years, and lemme tell you – baking shrimp at 350°F is one of the easiest ways to get perfectly cooked shrimp every single time. After countless experiments in my kitchen I’m excited to share everything you need to know about nailing this cooking method.
Quick Answer Generally shrimp takes 8-12 minutes to bake at 350°F, depending on their size. But there’s more to it than just time!
Baking Times by Shrimp Size
Here’s a handy breakdown of cooking times based on shrimp size:
- Extra small (36-40 per pound): 7-9 minutes
- Medium (31-35 per pound): 8-10 minutes
- Large (26-30 per pound): 9-13 minutes
- Jumbo (16-20 per pound): 11-14 minutes
- Extra Jumbo (under 15 per pound): 12-15 minutes
Why Choose 350°F for Baking Shrimp?
I love baking shrimp at 350°F because
- It provides even heating throughout
- Helps retain moisture inside
- Gives you better control over cooking
- Perfect for avoiding that dreaded rubbery texture
- Great for cooking large batches
How to Tell When Your Shrimp is Done
Look for these signs:
- Color: Should be opaque and pink/orange (no gray areas)
- Shape: A loose “C” shape (if it’s a tight “O”, it’s overcooked!)
- Texture: Firm but still springy to touch
- Temperature: Internal temp of 145°F if you’re using a thermometer
My Foolproof Method for Baking Shrimp
Here’s what works for me every time:
-
Prep Work
- Preheat oven to 350°F
- Pat shrimp dry with paper towels
- Remove shells if desired (I usually do)
- Devein the shrimp
-
Seasoning
- Drizzle with olive oil or melted butter
- Add your favorite seasonings
- Toss until evenly coated
-
Baking Setup
- Line baking sheet with parchment paper
- Arrange shrimp in single layer
- Don’t overcrowd the pan!
-
Baking Process
- Place in preheated oven
- Set timer for minimum recommended time
- Check doneness before adding more time
Pro Tips from My Kitchen
-
For Frozen Shrimp
- Thaw completely before baking
- Add 2-3 minutes to cooking time if cooking from frozen
- Pat dry thoroughly to remove excess moisture
-
Seasoning Ideas
- Garlic and lemon (my go-to!)
- Cajun seasoning
- Simple salt and pepper
- Italian herbs
- Spicy chili lime
-
Storage Tips
- Keep leftovers in airtight container
- Good for 3-4 days in fridge
- Can be frozen for up to 3 months
Common Mistakes to Avoid
- Overcrowding the pan
- Not patting shrimp dry
- Forgetting to preheat the oven
- Overcooking (better to undercook slightly and add time)
- Using wrong-sized shrimp for your recipe
FAQs I Often Get Asked
Q: Can I use frozen shrimp?
A: Yep! Just thaw first for best results.
Q: Should I leave the shells on?
A: Your choice! Shells on = more moisture, shells off = better seasoning absorption.
Q: Can I prep these ahead?
A: Sure can! Season and store in fridge until ready to bake.
Serving Suggestions
These baked shrimp are super versatile! Try them:
- Over pasta
- In salads
- As an appetizer
- In tacos
- With cocktail sauce
- Added to stir-fries
Remember, cooking shrimp isn’t rocket science, but it does need attention. Keep an eye on them, and you’ll have perfectly cooked shrimp every time. Trust me, once you get the hang of it, you’ll never want to cook them any other way!
Would you like me to explain anything in more detail? Drop a comment below – I’d love to help! Happy cooking!

How to Make Baked Shrimp
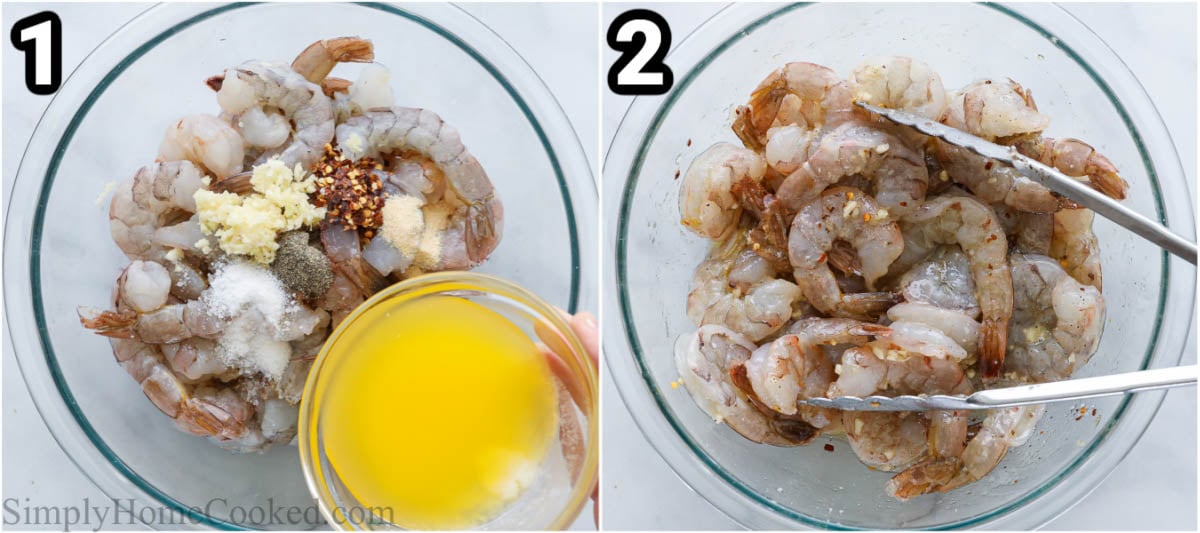
- Season the shrimp. Place the shrimp into a large bowl with the melted butter, minced garlic, salt, pepper, onion powder, and crushed red pepper flakes.
- Mix. Now toss everything together until well combined.
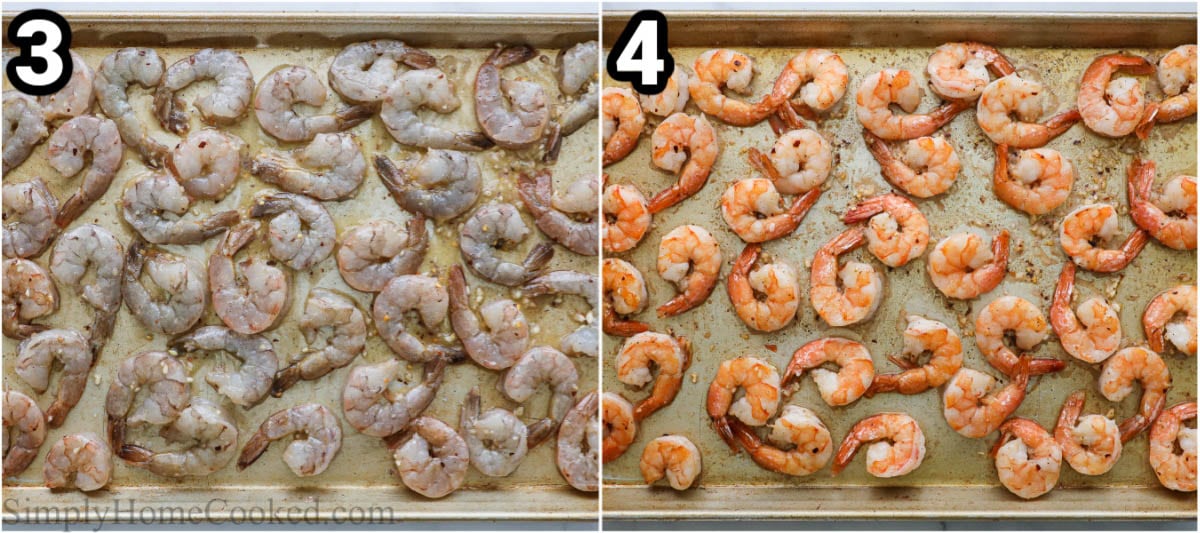
- Bake. Transfer the seasoned shrimp to a rimmed baking sheet in a single layer. Preheat the oven to 350 degrees Fahrenheit and bake the shrimp for about 10-12 minutes, until pink and opaque.
- Garnish. To serve, squeeze some fresh lemon juice on top and garnish with chopped parsley.
Pro Tip: Lay the shrimp out in a single layer so they cook evenly and some are not underdone because they weren’t exposed to enough heat.
- Buy your shrimp deveined and peeled- Save yourself a lot of time and effort by buying your shrimp already deveined and peeled.
- Toss the butter and shrimp well- Thoroughly combine the seasoned butter and shrimp to get the best flavor by evenly coating them.
- Bake them in a single layer- Avoid raw spots and shrimp sticking together by laying the shrimp out in a single layer to bake on the sheet pan. This way, they all get exposed to the heat.
- Don’t overcook them- Watch the shrimp and don’t cook them longer than suggested. As soon as they are opaque and pink, they are done.
If you’re reheating your already cooked shrimp, then just place them in the oven at 225 degrees for about 5 minutes. Heating them at a low temperature will help avoid overcooking them and making them rubbery.
The easiest way to tell is when your shrimp have curled into a little C shape, they have turned pink and opaque, are firm, and they have a bit of a sheen. If they have overcooked, they look more white or grayish in color.
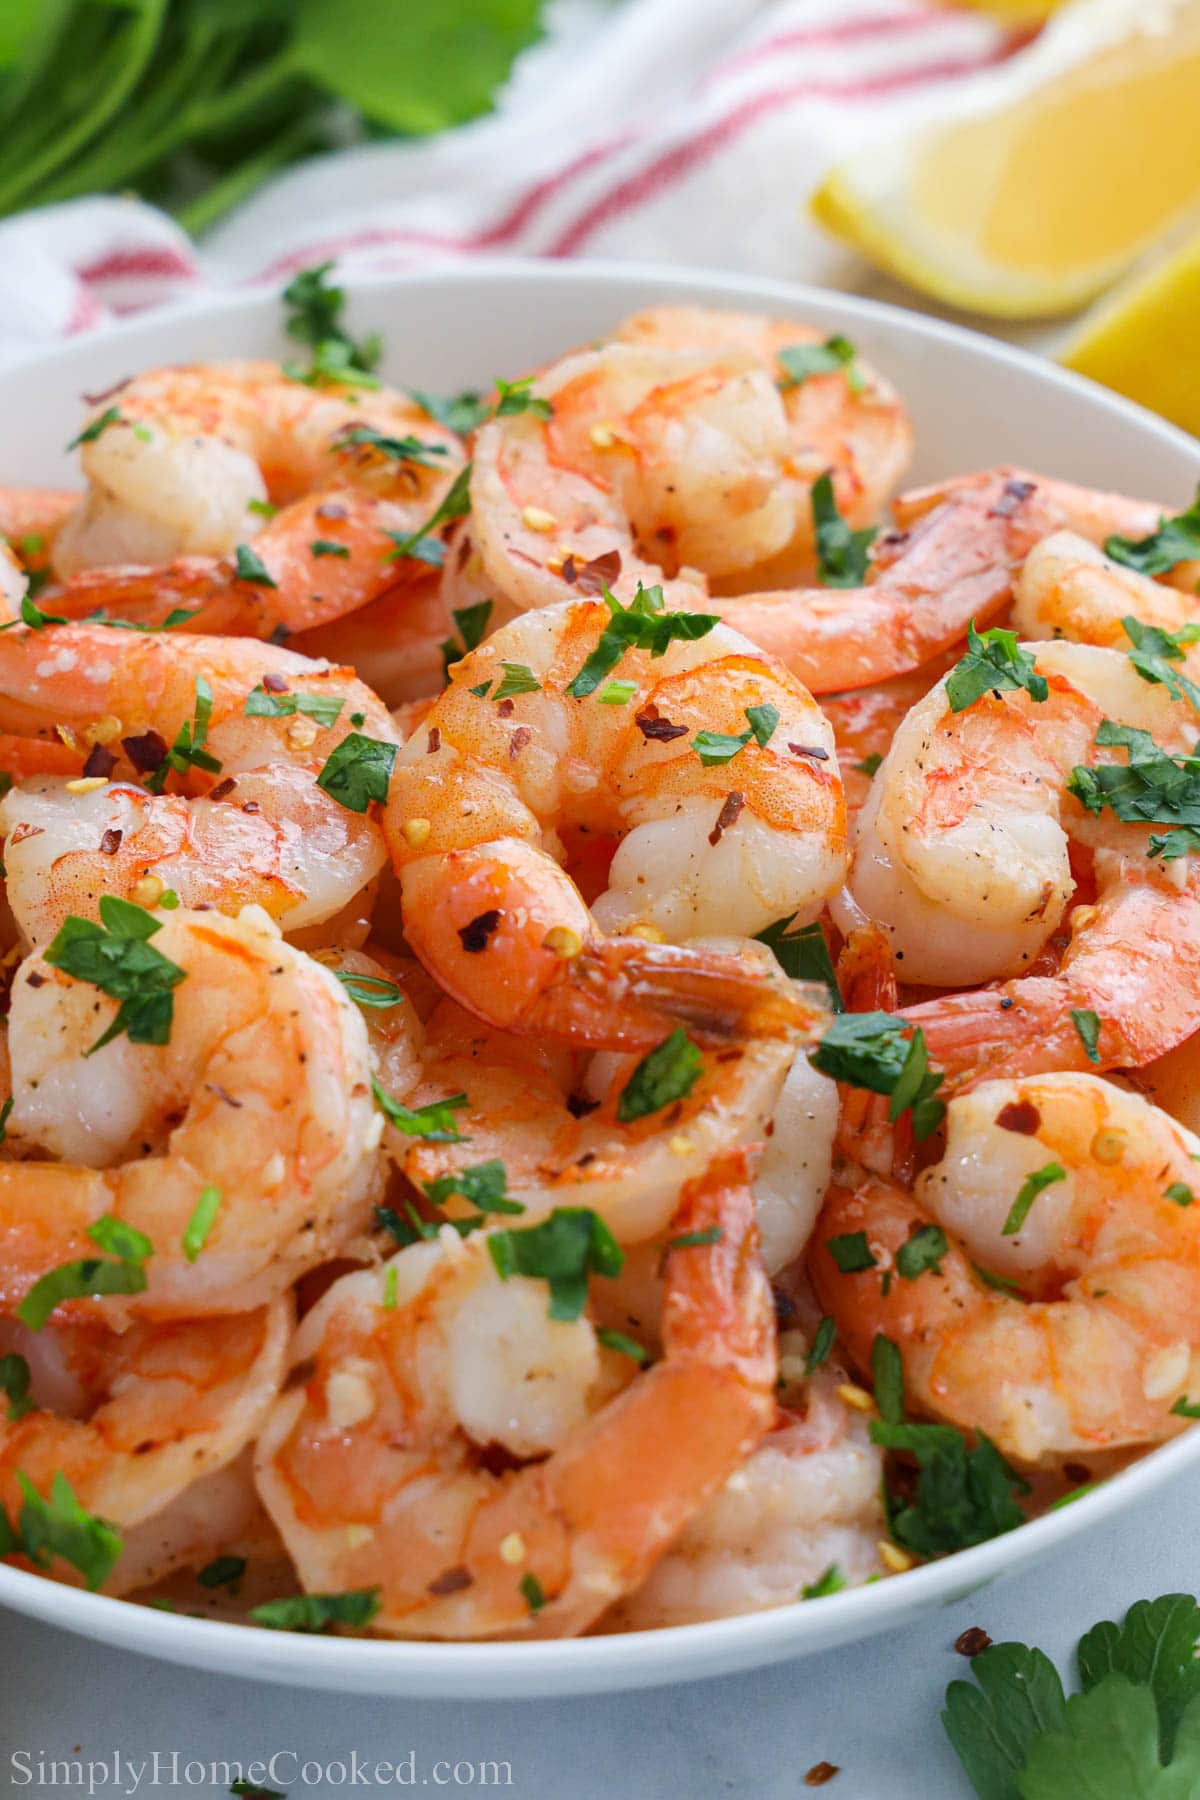
This Baked Shrimp is so versatile, it can be enjoyed on its own or added as a side to other dishes, like pasta and salads.
Make This Recipe in Advance
Make ahead: Because this dish can be reheated and stores well, you can make it a day ahead and keep it in the fridge.
Storing: Store this Baked Shrimp in an airtight container in the refrigerator for up to 4 days. It can be reheated in the microwave, in the oven, or on the stovetop until just warmed through.
Freeze: If you used frozen shrimp, I don’t advise refreezing them as this encourages dangerous bacteria. Otherwise, you could freeze fresh shrimp for up to 3 months in a freezer-safe container that is airtight.