Hey there, fellow food lovers! I’ve been cooking shrimp for years, and lemme tell you – blanching shrimp is both an art and a science. Today, I’m gonna break down everything you need to know about blanching times for perfect, tender shrimp every single time.
Quick Answer
For most shrimp sizes, blanch for 2-3 minutes until they turn pink and opaque. But wait – there’s more to it than just throwing them in hot water!
Detailed Blanching Times by Shrimp Size
Here’s my tried-and-tested blanching time chart:
- Small shrimp (71-90 per pound): 1-2 minutes
- Medium shrimp (41-50 per pound): 2-3 minutes
- Large shrimp (31-40 per pound): 3 minutes
- Jumbo shrimp (21-25 per pound): 4-5 minutes
- Colossal shrimp (16-20 per pound): 5-6 minutes
- Super Colossal (8-12 per pound): 6-7 minutes
The Perfect Blanching Method
What You’ll Need:
- Large pot
- 8 cups water
- 1 tablespoon garlic salt
- 1/2 teaspoon black pepper
- 1-2 bay leaves
- Lemon (optional but recommended!)
- Bowl of ice water
Step-by-Step Instructions:
-
Prep Your Water Bath
- Fill pot with 8 cups water
- Add seasonings and bring to rolling boil
- Pro tip: Keep those shells! They add amazing flavor to the blanching liquid
-
Prep Your Shrimp
- Clean and devein shrimp
- You can leave shells on or off (I prefer off for easier eating)
-
The Blanching Process
- Once water’s boiling, remove pot from heat
- Add shrimp immediately
- Set your timer based on size chart above
- Don’t overcrowd – work in batches if needed
-
The Ice Bath
- While shrimp cook, prepare bowl of ice water
- Transfer shrimp immediately to ice bath when done
- This stops the cooking process – super important!
How to Tell When Shrimp are Perfectly Blanched
Look for these signs
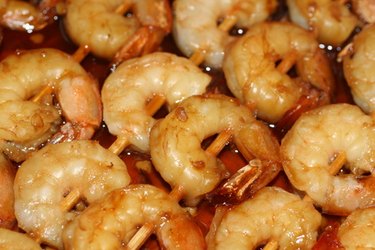
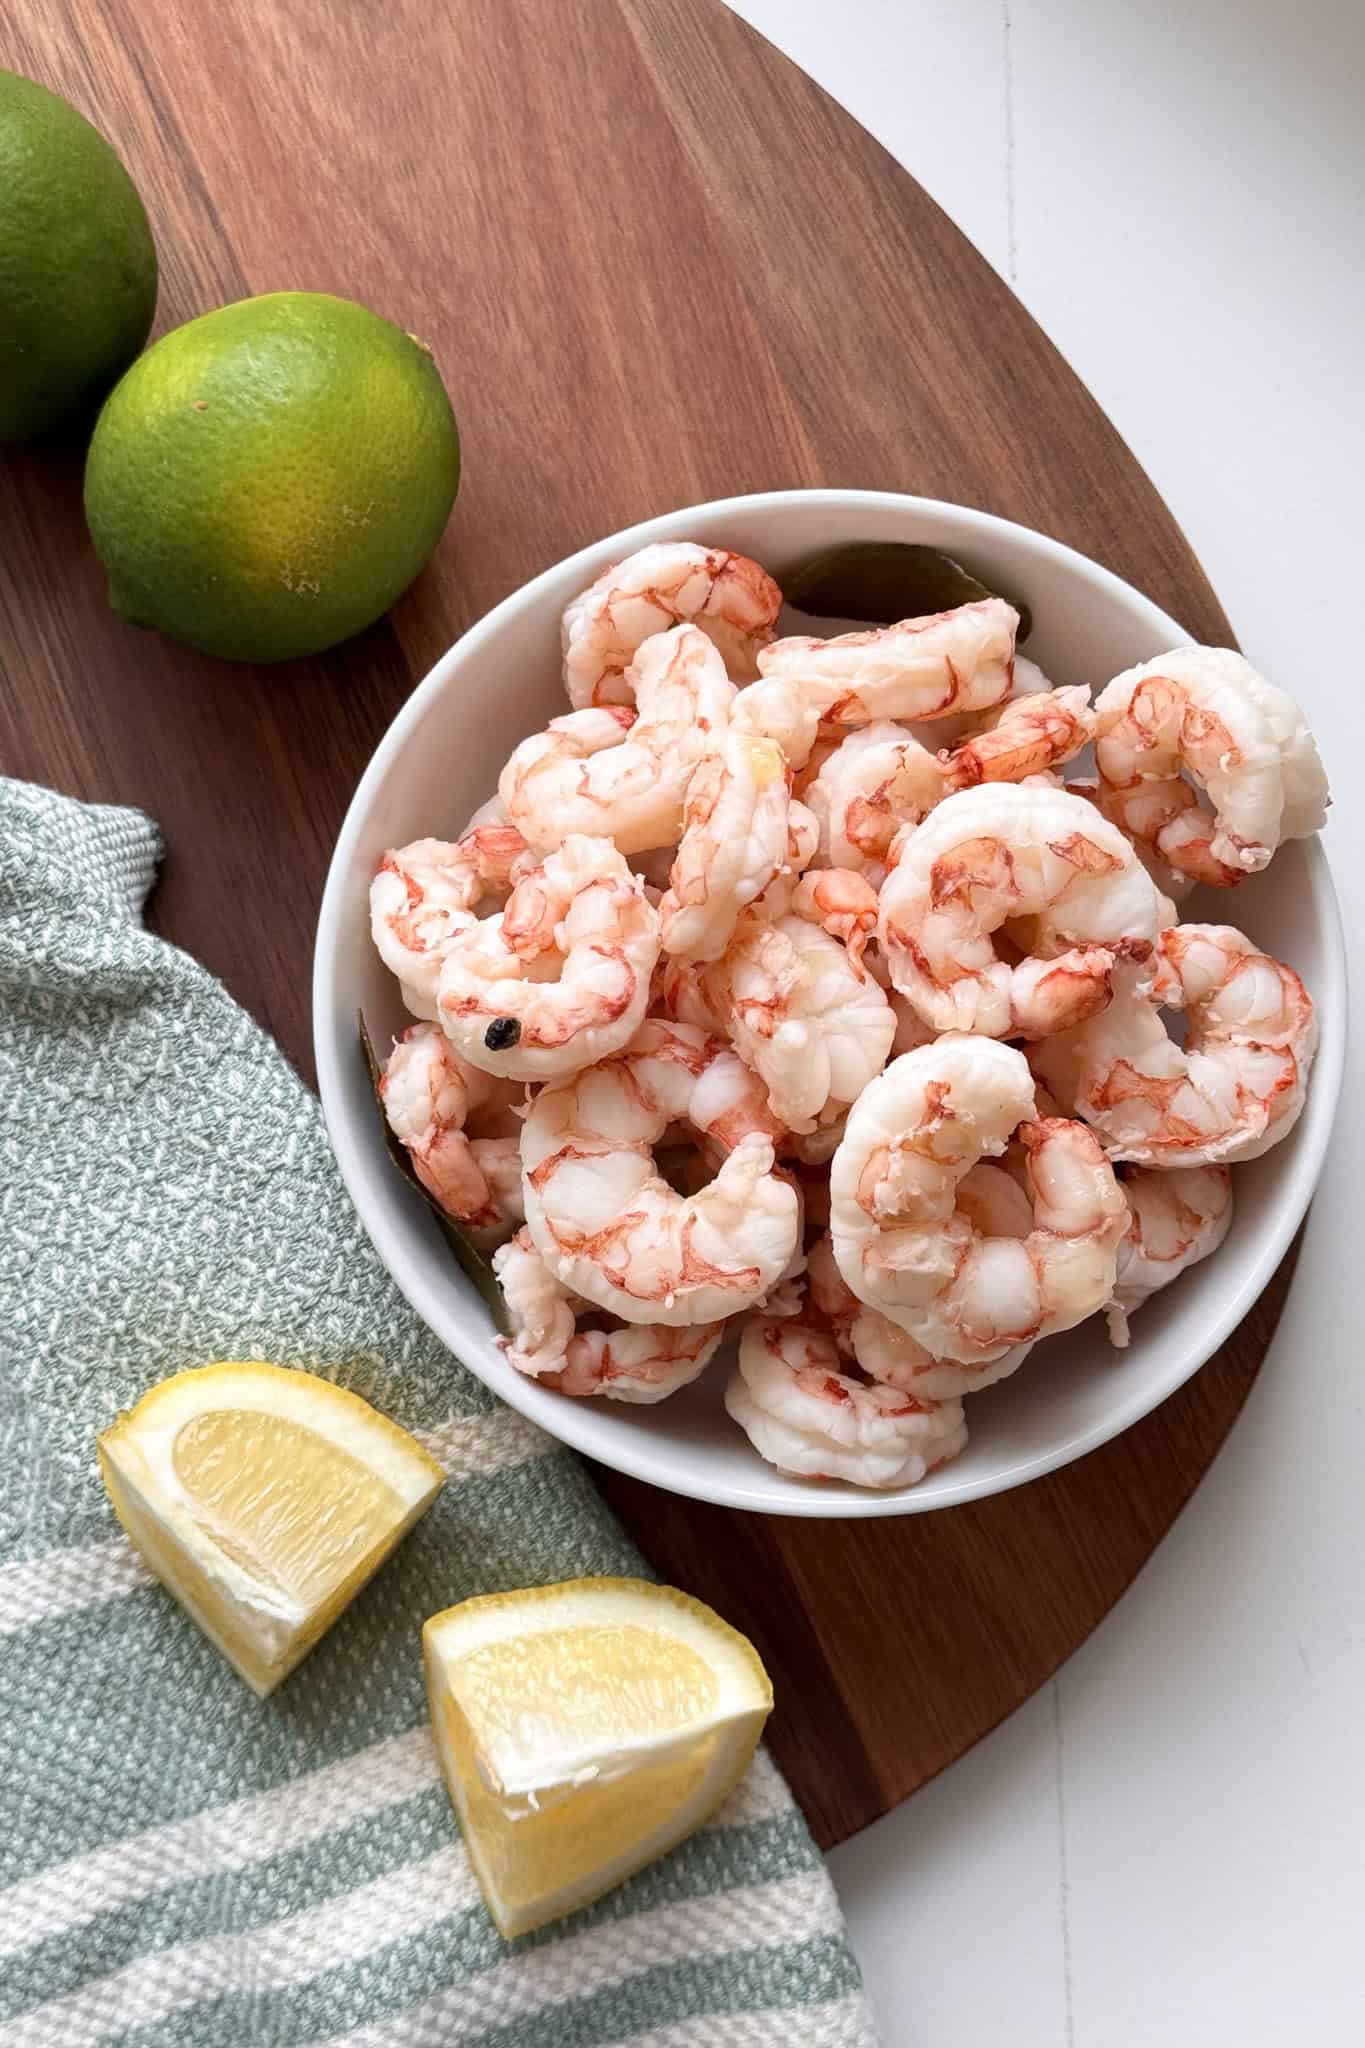
- Color changes from gray to pink/orange
- Shape forms loose “C” (not tight “O” – that means overcooked!)
- Flesh becomes opaque
- Feels firm but springy when touched
Common Mistakes to Avoid
-
Overcooking
- Shrimp get rubbery real quick
- Better to undercook slightly – you can always cook more!
-
Skipping the Ice Bath
- Leads to overcooked shrimp
- Ruins that perfect texture we’re after
-
Not Seasoning the Water
- Plain water = bland shrimp
- Use my seasoning combo above for best results
Pro Tips from My Kitchen
-
Shell Strategy
- Keep shells for flavor if blanching
- Remove for easier eating
- Leave tails on for prettier presentation
-
Seasoning Secrets
- Try adding Cajun seasoning for kick
- Squeeze fresh lemon in water
- Add crushed garlic cloves
-
Storage Tips
- Store blanched shrimp in fridge up to 3 days
- Use in salads, cocktails, or cold dishes
- Perfect for meal prep!
Favorite Ways to Use Blanched Shrimp
- Shrimp cocktail (classic!)
- Cold shrimp salads
- Seafood pasta dishes
- Quick stir-fries
- Sandwich fillings
Troubleshooting Common Issues
Problem: Rubbery shrimp
Solution: Shorter cooking time, immediate ice bath
Problem: Bland taste
Solution: Season water well, try my garlic-bay leaf combo
Problem: Uneven cooking
Solution: Use similar-sized shrimp, don’t overcrowd
Final Thoughts
Blanching shrimp ain’t rocket science, but getting it just right takes practice. Remember – it’s better to undercook slightly than end up with rubber bands! Keep this guide handy, and you’ll be blanching like a pro in no time.
I’d love to hear your shrimp-cooking adventures! Drop a comment below with your favorite ways to use blanched shrimp or any questions you might have. Happy cooking, friends!
FAQs
Q: Can I blanch frozen shrimp?
A: Yep! Just thaw first for best results.
Q: Why did my shrimp curl up tight?
A: Over-cooking! Remember the “C” not “O” rule.
Q: Can I reuse the blanching water?
A: For multiple batches, yes! Just bring back to boil between batches.
Remember, practice makes perfect! Don’t get discouraged if your first batch isn’t restaurant-quality. Keep at it, and you’ll be a shrimp-blanching master before you know it!
Now go forth and blanch those shrimp!
How to tell if shrimp is cooked?
There are a few signs to watch out for when learning how to cook shrimp. Keep in mind that the cooking time will vary depending on the size of the shrimp and whether or not they have a shell.
Shrimp cook very fast. So, keep a close eye on them, and look for:
- Change of color. They should turn opaque and pink.
- Curling. Cooked shrimp will curl into themselves creating a “c” shape.
- Floating. Shrimp will start to float to the surface of the water when boiling.
Keep in mind that it’s better to pull shrimp out of the water a little early, right before they turn completely opaque. They will continue to cook as they cool unless you immediately transfer them to an ice bath.
Be careful not to overcook your shrimp, or they will become tough, dry, and rubbery. If the shrimp are shaped like an “O” they have cooked too long!
Not only is it quick, easy, and tasty, but boiled shrimp is also full of health benefits, too! For instance, shrimp are:
- Low in calories
- Low in saturated fat
- A good source of iodine
- Rich in omega-3 fatty acids
- A good source of protein
Small to large shrimp without the shell typically take about 2 minutes to boil. Shrimp with their shell might require an additional minute of cooking time, typically 2-3 minutes. Be sure to watch for signs of color change and curling, and adjust the boiling time as needed.
Raw shrimp will stay fresh in a sealable bag or airtight container in the fridge for 1-2 days. Cooked shrimp will keep in the refrigerator for 3-4 days. If they change in color, become limp and slimy, or give off an unpleasant odor, you will know they have gone bad.
If your shrimp are not already cleaned, I recommend rinsing them under cold water before boiling. This helps remove any dirt or debris and soften them up if they were previously frozen.
The best types of shrimp to use
You can learn how to make flavorful shrimp with pretty much any kind of shrimp you have on hand. That said, there are a few types that will yield the most tender, flavorful results.
- With the shell. You can use shrimp without the shell if you’re looking for ease and convenience. However, when possible leave the tails and shells on to infuse even more flavor.
- Different sizes. I like to use large shrimp that come with 20-25 pieces per pound. They’re good for salads and added to dishes. However, if you’re using boiled shrimp for shrimp cocktails or appetizers, go for jumbo shrimp or colossal shrimp, and adjust the boiling time as needed.
- Wild, sustainable is best. I always prefer to use, wild, sustainable shrimp when possible. Typically, you can find wild, sustainable varieties at stores like Costco, Trader Joe’s, and Whole Foods or a local seafood vendor or fishmonger.
- Deveined. For convenience, I recommend using shrimp that are cleaned and deveined. I like to keep raw Argentinian red shrimp from Trader Joe’s on hand in the freezer, they are peeled and deveined and quick to defrost. If the vein is still intact, be sure to devein your shrimp before cooking.
Note: If using pink shrimp, like I do in the photos, note that they stay pink both raw and cooked. The color will just become more pronounced as they boil. Typical raw shrimp is greyish brown and turns pink when cooked.