Hey there seafood lovers! I’ve been experimenting with my Can Cooker for quite a while now and I gotta tell ya – making a shrimp boil in this bad boy is nothing short of amazing! Today, I’m gonna share my tried-and-true method for creating the perfect Can Cooker shrimp boil that’ll have your friends and family begging for seconds.
Why Choose a Can Cooker for Your Shrimp Boil?
Let me tell you why the Can Cooker is a total game-changer for shrimp boils:
- Super even cooking – no more partly raw, partly overcooked shrimp!
- Keeps all those yummy flavors locked in
- Way less mess than traditional boiling methods
- Perfect for outdoor cooking and parties
- Can feed 10-20 people, depending on your cooker size
What You’ll Need
Main Ingredients:
- 1½ lbs large shrimp (shell-on for best flavor)
- 1 lb andouille sausage, cut into chunks
- 5-6 red potatoes, quartered
- 5 ears of corn, cut into thirds
- 1 stick butter
- 2-3 lemons, halved
- 3 cloves garlic, whole
- 1 can of beer (your favorite kind)
Seasonings:
- 2 tbsp Creole seasoning (or Old Bay)
- Salt and pepper to taste
Step-by-Step Cooking Instructions
1. Prep Work
First things first, let’s get everything ready:
- Cut your corn, potatoes, and sausage
- Clean your shrimp (if not already cleaned)
- Have all seasonings measured out
2. Loading Your Can Cooker
Here’s how to layer everything (this is super important!):
- Stand corn pieces on end at the bottom
- Add potatoes and sausage
- Pour in your beer
- Add butter, seasonings, lemons, and garlic
3. The Cooking Process
- Lock that lid on tight and set on medium heat
- Steam for 15-20 minutes
- Carefully open lid (watch out for steam!) and add shrimp
- Re-latch lid and steam another 10 minutes
- Let it rest for at least 5 minutes after cooking
Pro Tips from My Kitchen to Yours
- Don’t overload your cooker – keep liquid between 12-36 oz
- Want it spicier? Add more Creole seasoning
- For extra flavor, try different beers – I love using craft ales!
- Feeling fancy? Throw in some crawfish or crab legs
Serving Your Shrimp Boil
Here’s how I like to serve mine:
- Cover your table with newspaper or butcher paper
- Dump everything right on the table (traditional style!)
- Provide plenty of:
- Paper towels
- Lemon wedges
- Melted butter for dipping
- Cold beverages
Common Mistakes to Avoid
- Don’t skip the resting time – it makes a difference!
- Don’t overcook the shrimp – they get rubbery
- Don’t forget to check your lid seal
- Don’t use too much liquid
Variations to Try
Sometimes I like to mix things up with these tweaks:
- Add mushrooms and onions
- Try different sausages (kielbasa works great!)
- Throw in some crab legs
- Use different seasoning blends
Clean-up Tips
After you’re done feasting:
- Let cooker cool completely
- Wash with warm soapy water
- Dry thoroughly
- Store with lid slightly open
Y’all, this Can Cooker shrimp boil is seriously one of my favorite ways to entertain. It’s super easy, crazy delicious, and cleanup’s a breeze Plus, there’s something special about gathering around a table full of seafood with your favorite people.
Happy cooking, friends!
Would you like me to explain or break down any part of this article further?

How to Cook Shrimp Boil
Because there is a variety of ingredient, it definitely matters how soon you add each one. You don’t want to just toss them all in the broth at the same time – by the time the potatoes are done, everything else will be overcooked!
Follow my steps and you will get amazing results – tender juicy shrimp, perfectly cooked corn and potatoes that aren’t too hard or too mushy.
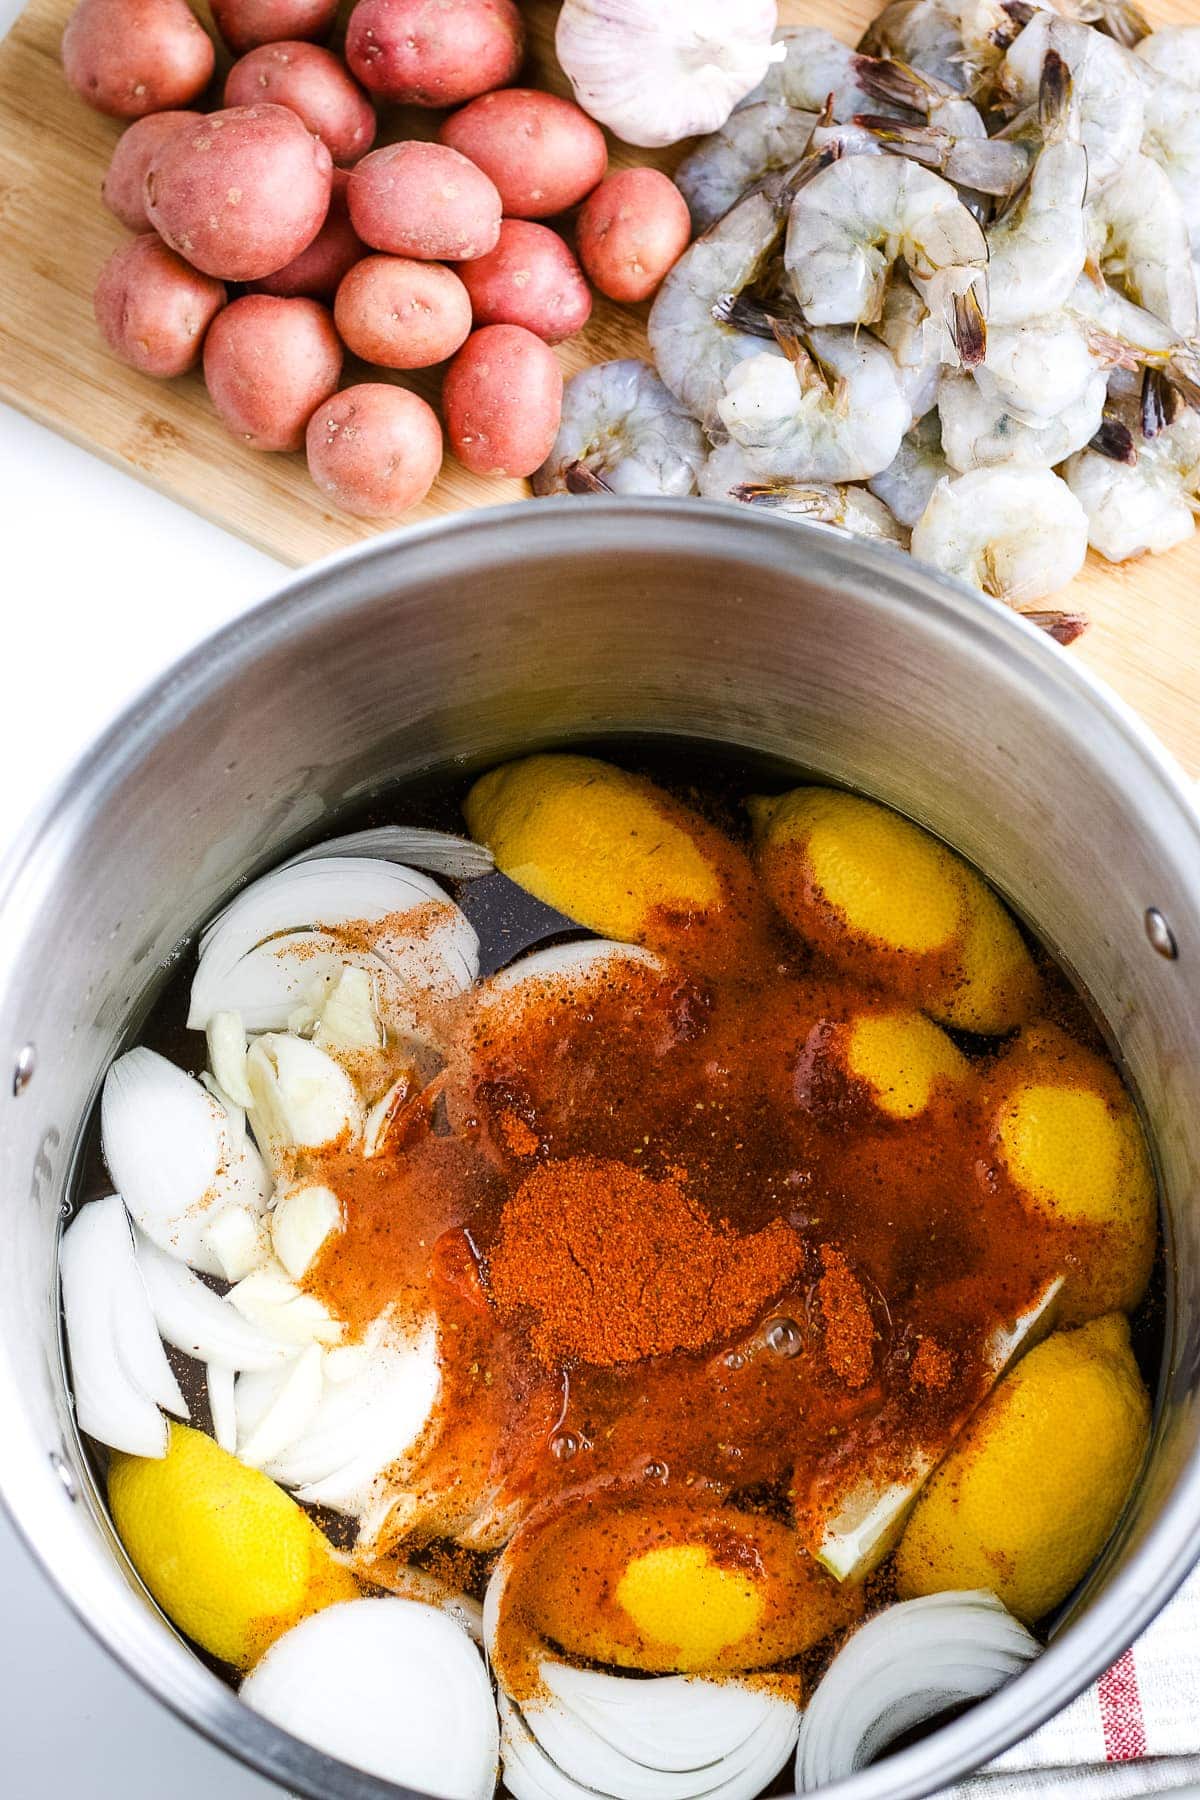
Broth: Get a really large stockpot and fill it with water and add halved lemons. Add the garlic, onion and ⅓ cup old bay seasoning, and the salt and pepper. Bring the broth to a boil over high heat.
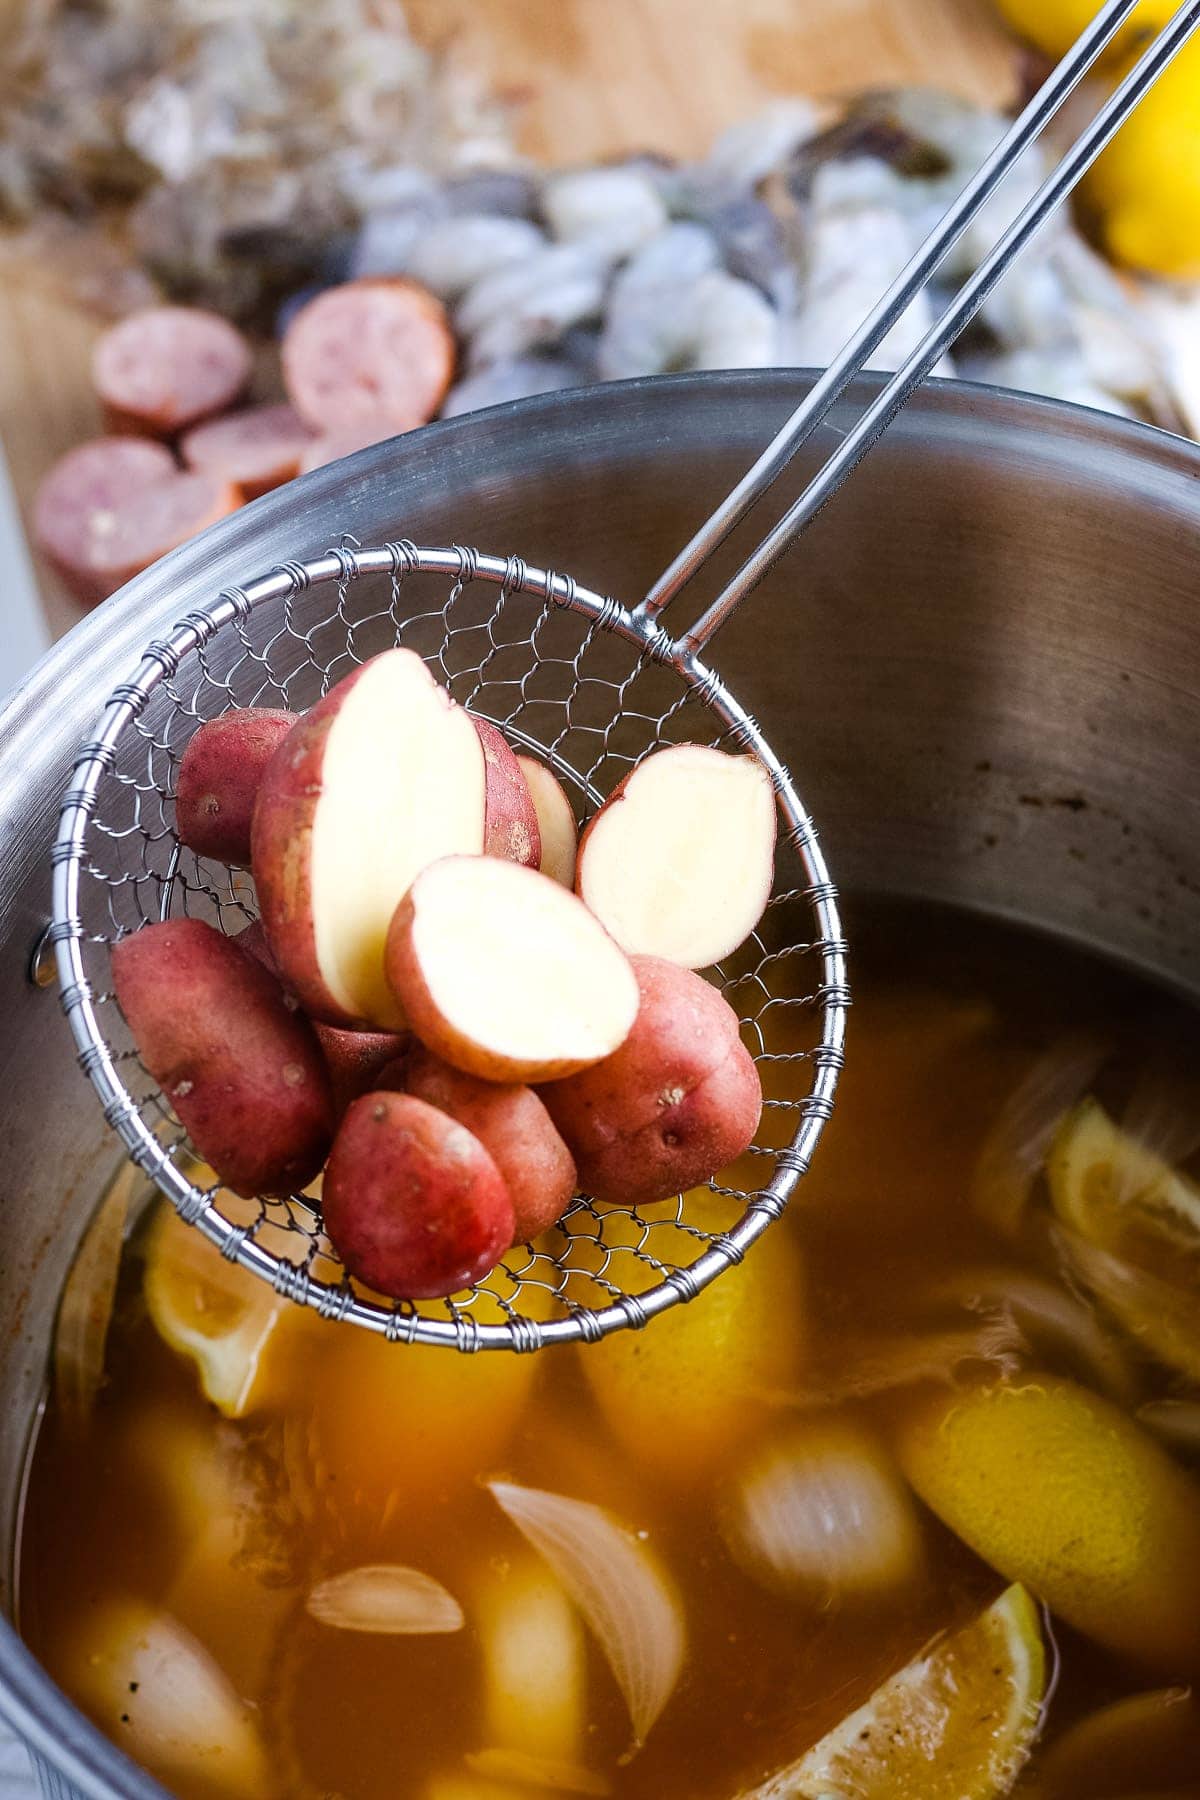
Potatoes: Add the halved potatoes first to the broth and cook them for 10 to 12 minutes or until they are just barely fork tender.
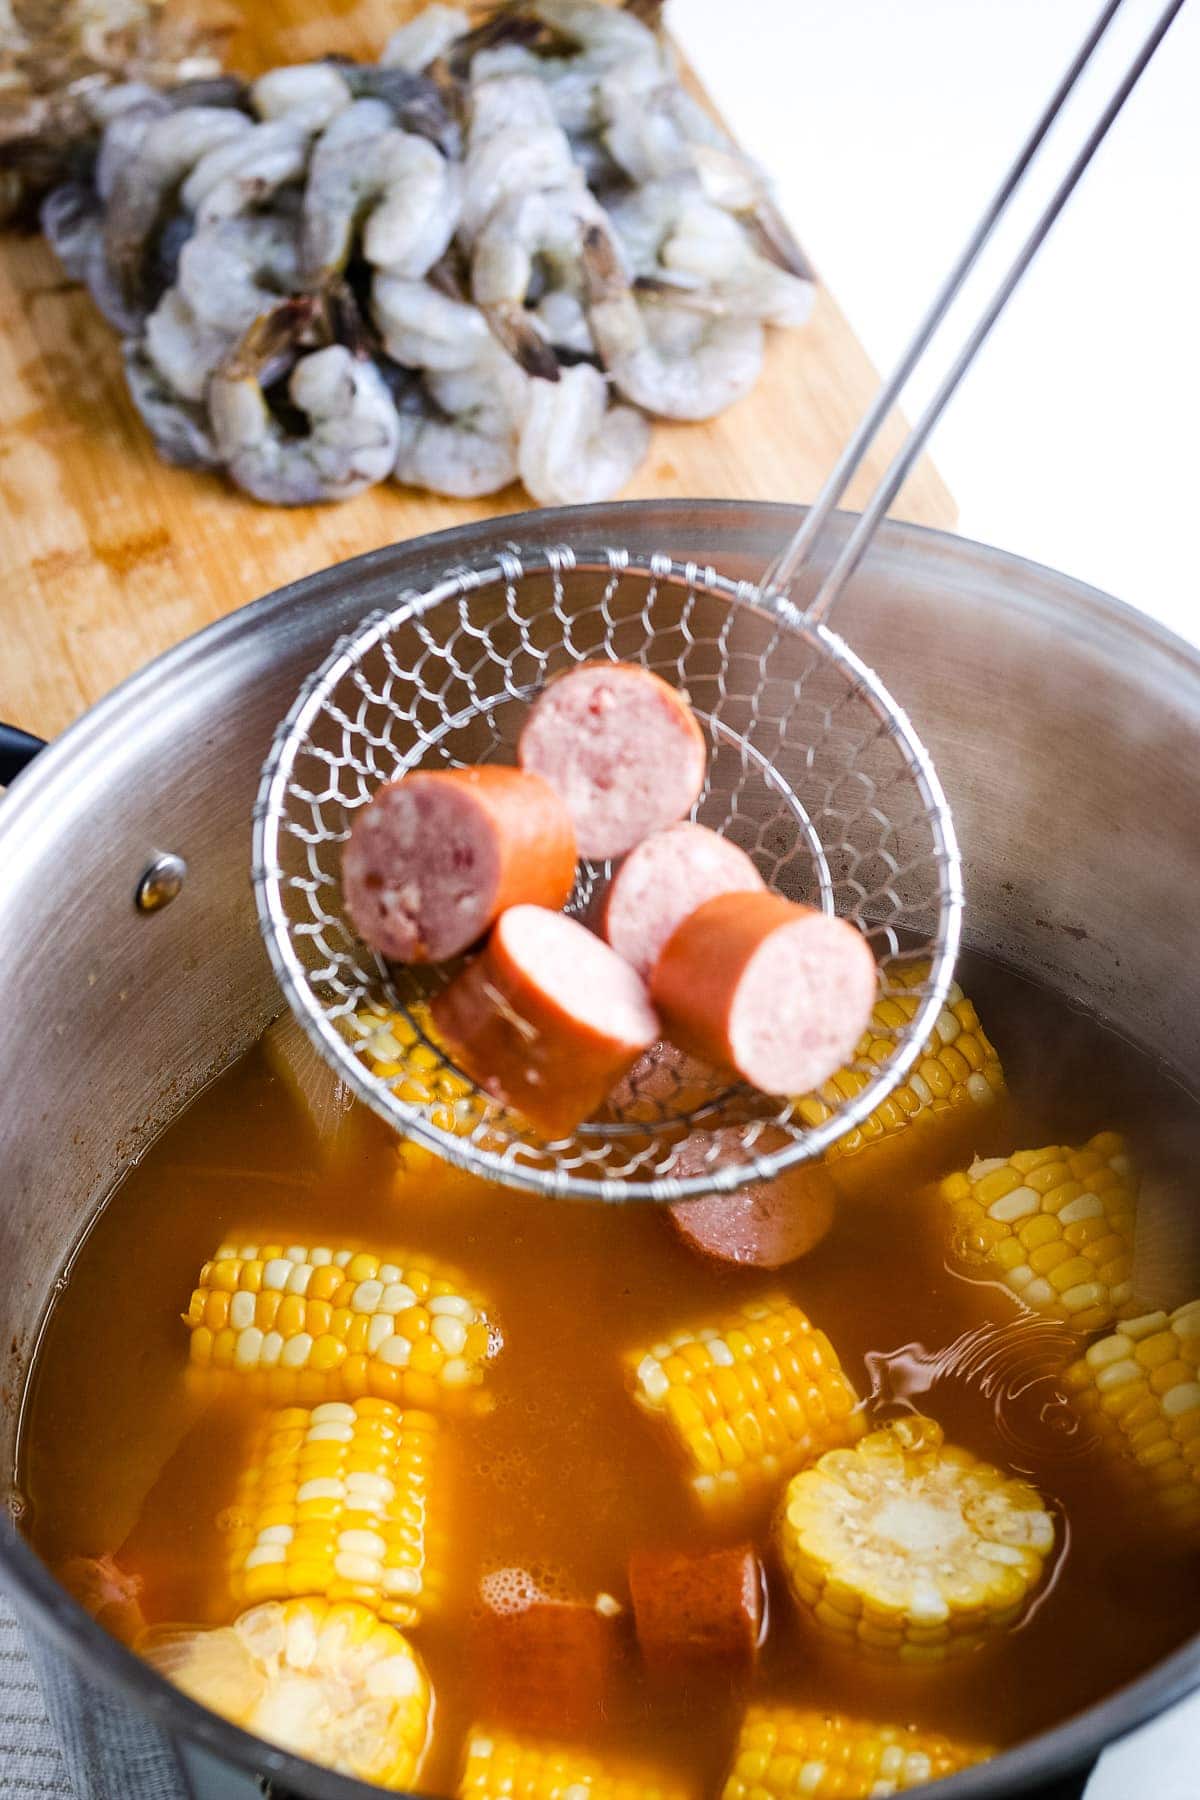
Corn and Sausage: Add your corn on the cob and sausage and cook them with the potatoes for five to six minutes.
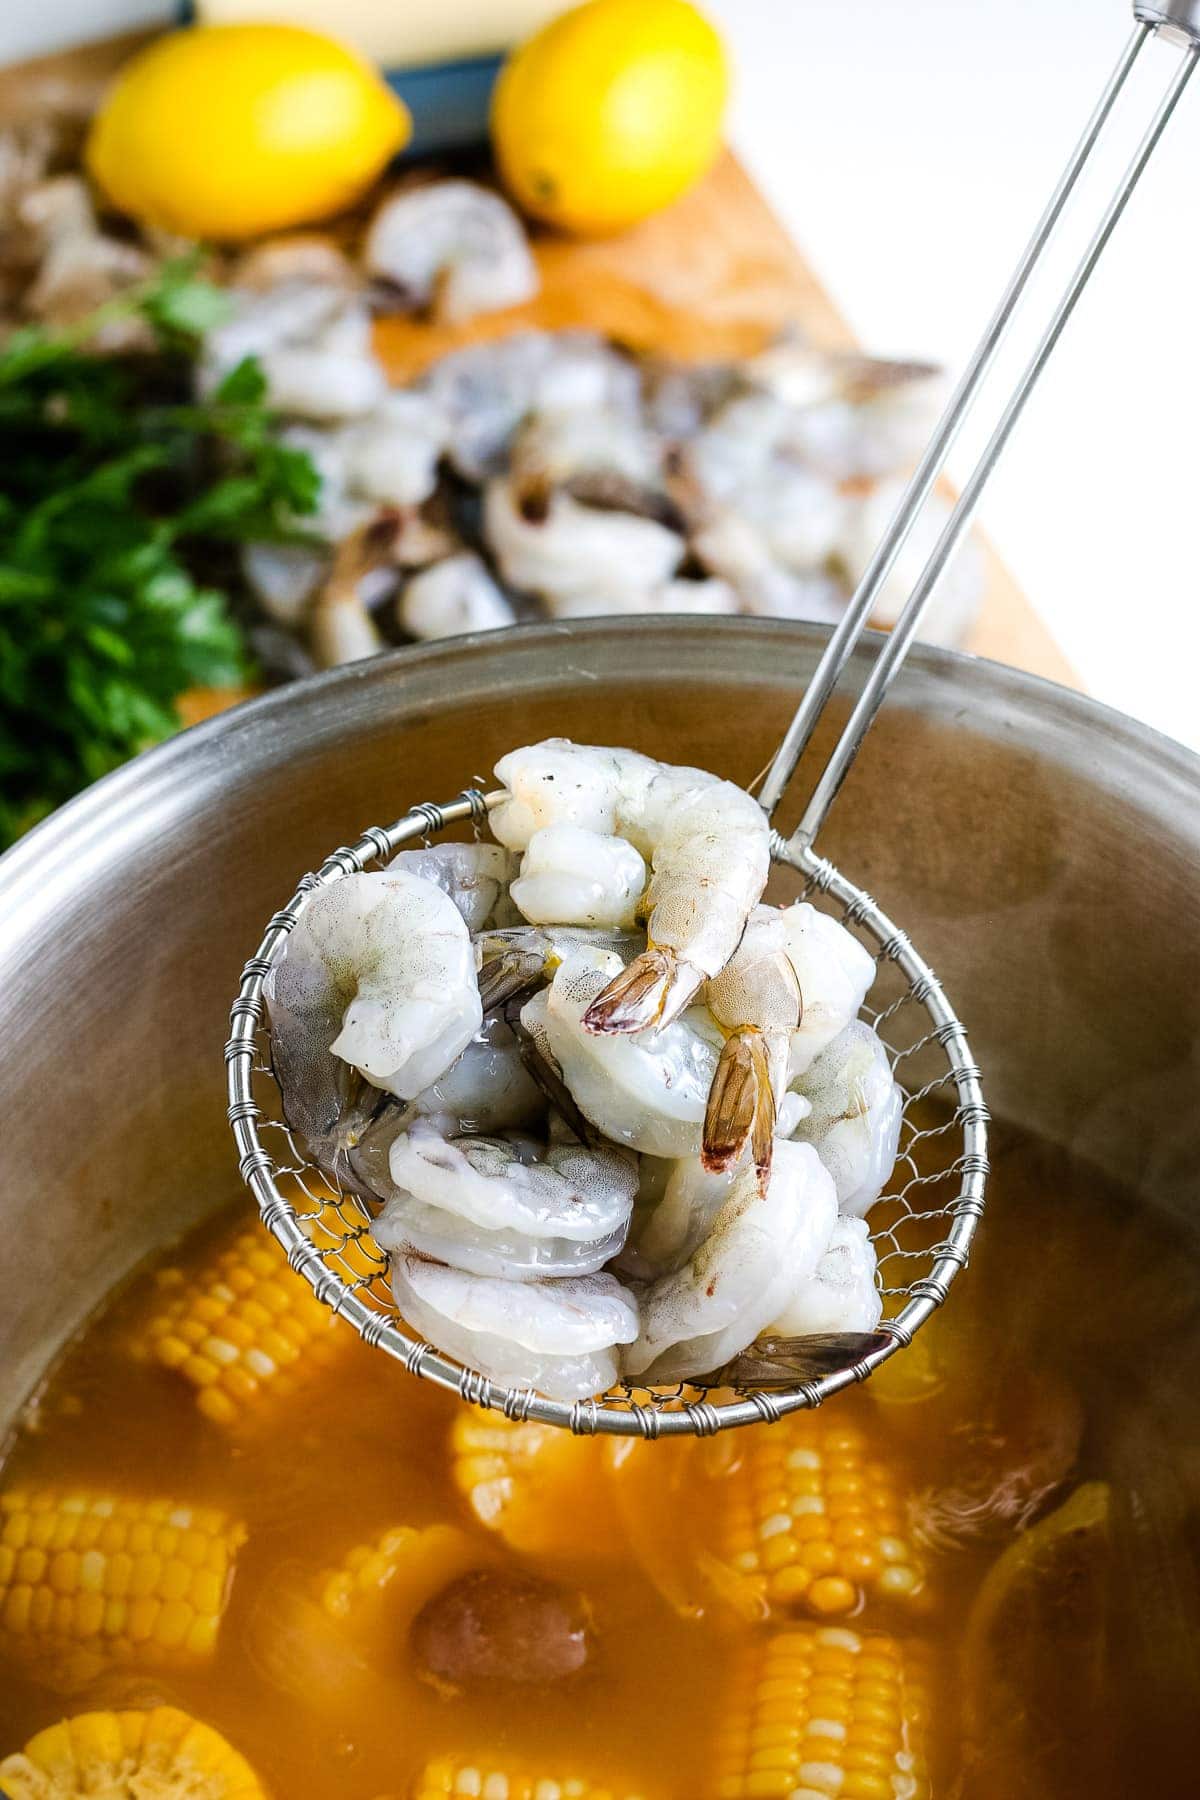
Shrimp: Add the shrimp last and cook them for two to three minutes.

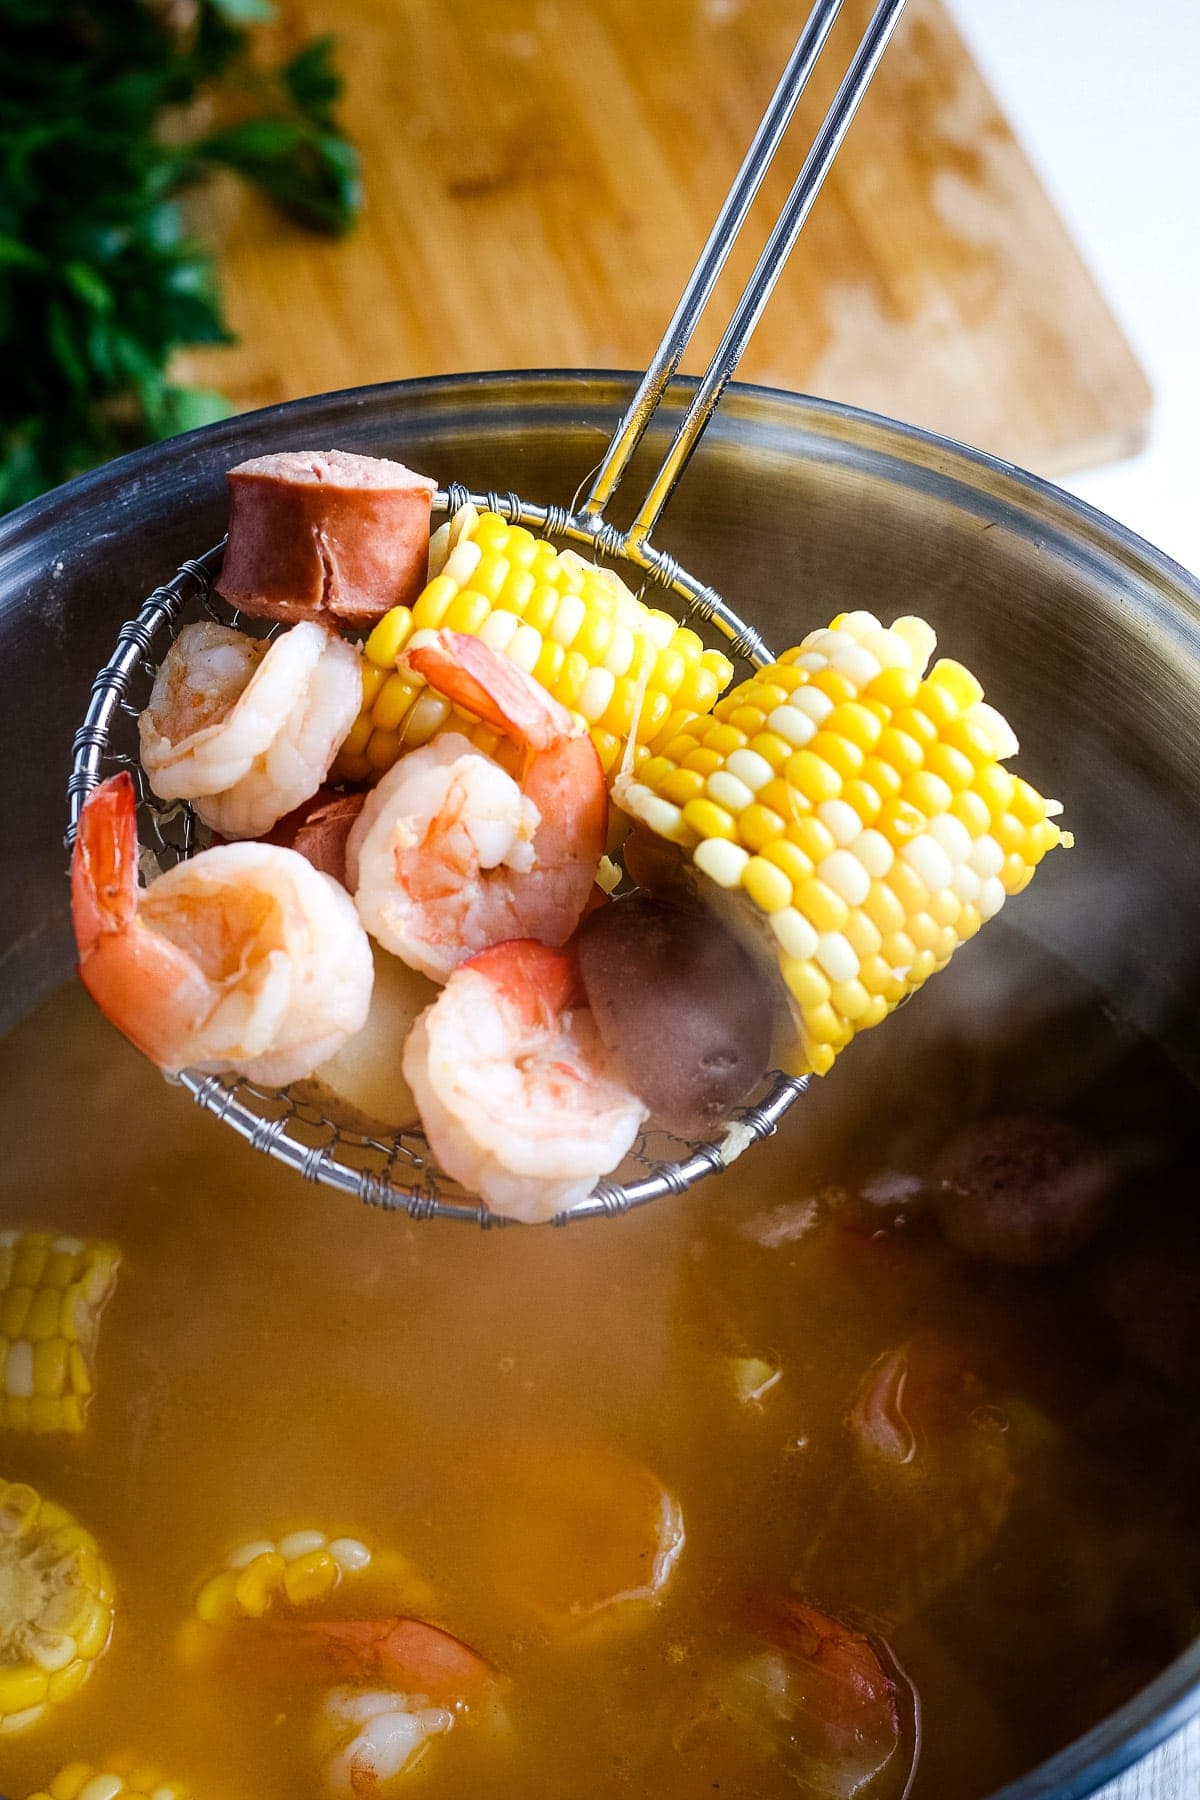
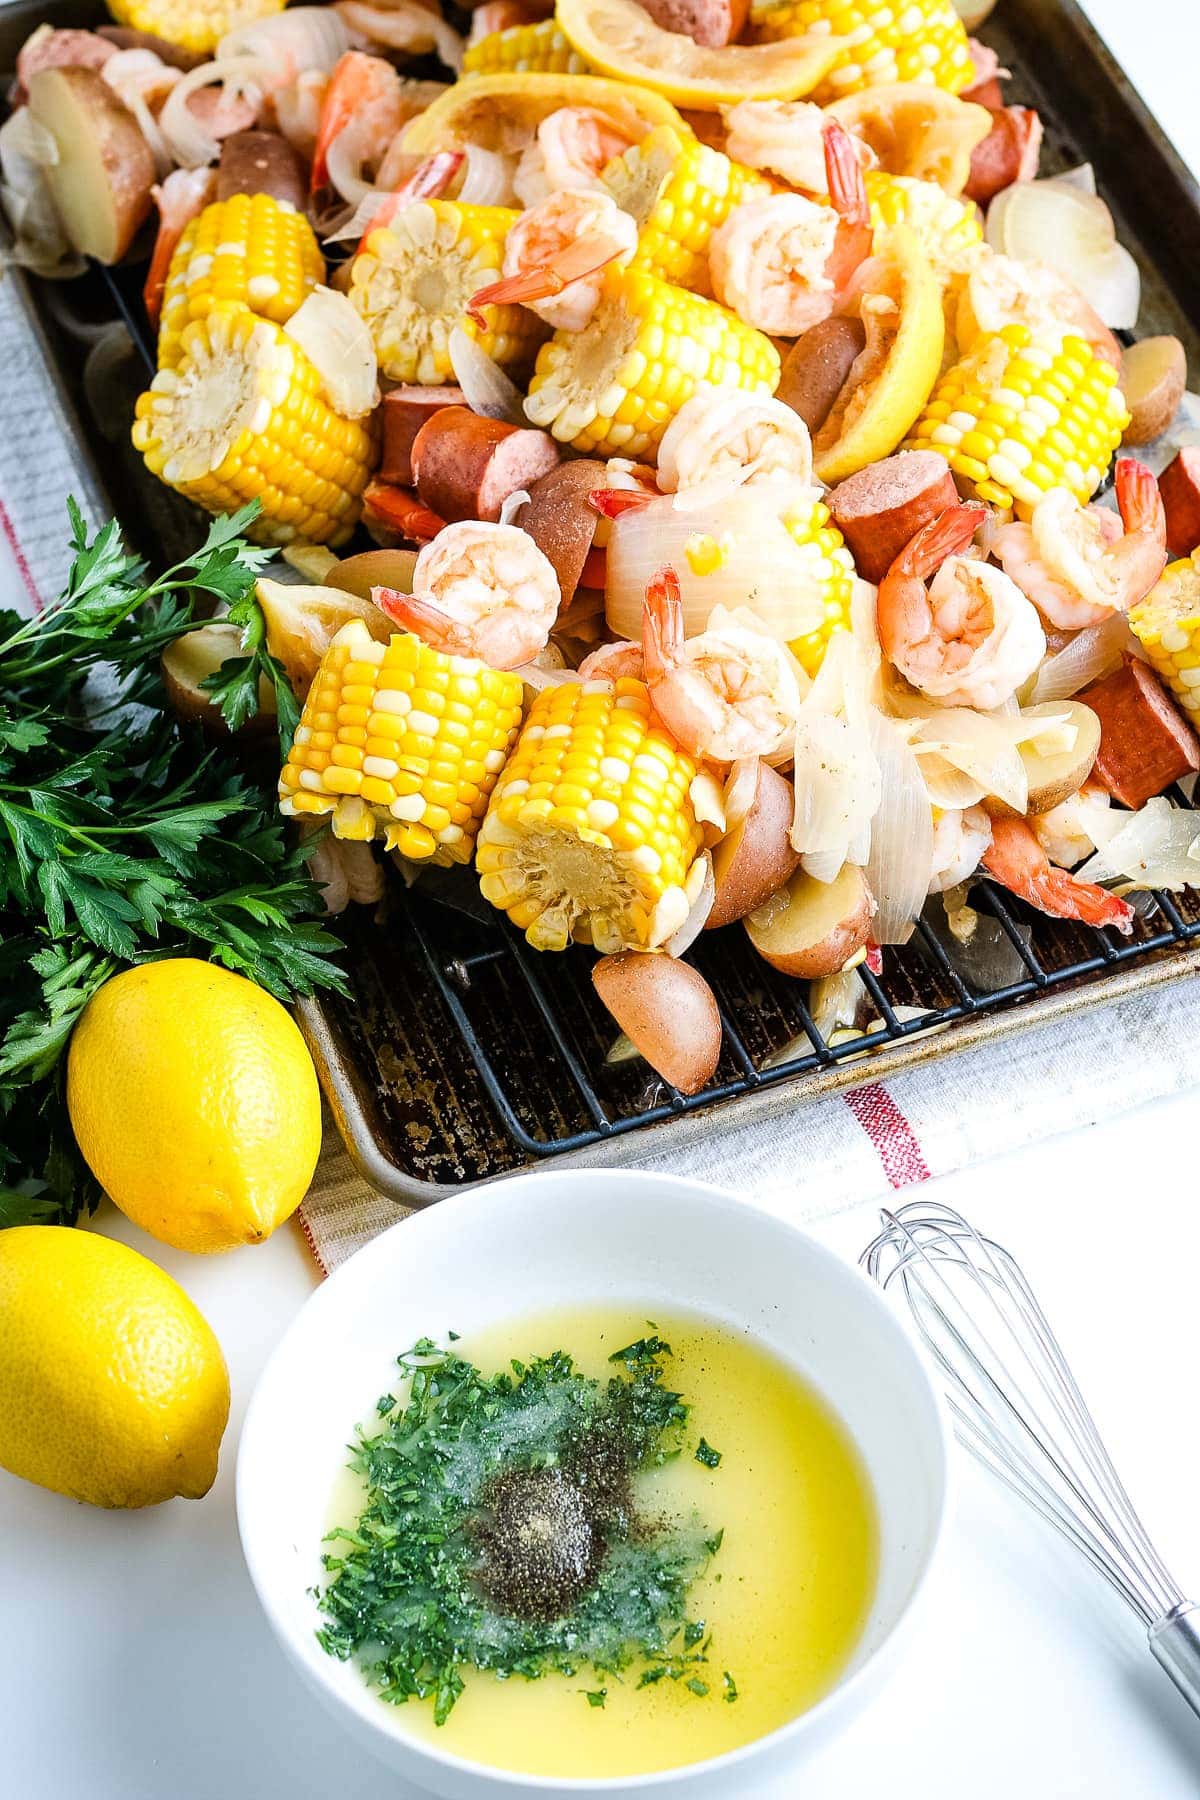
Drain: Drain the liquid and place everything on a sheet pan.
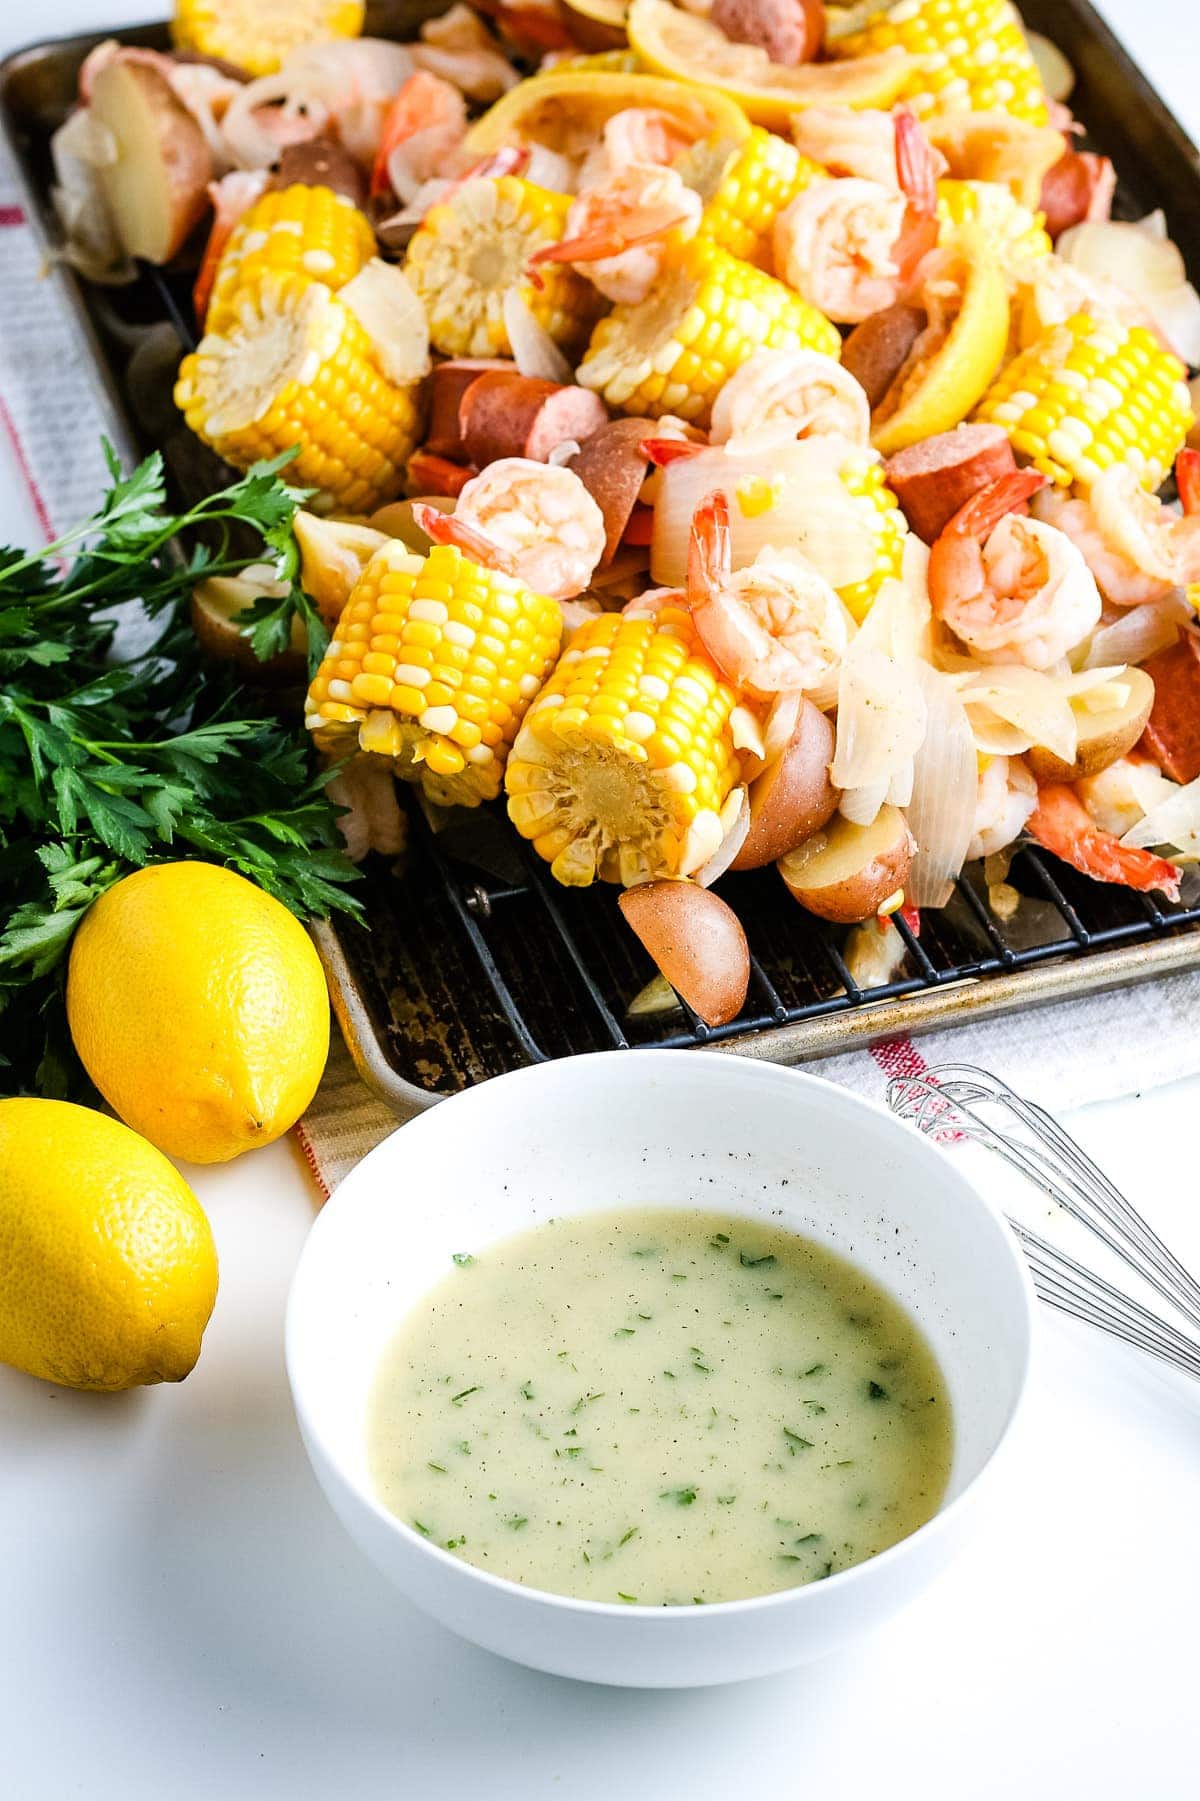
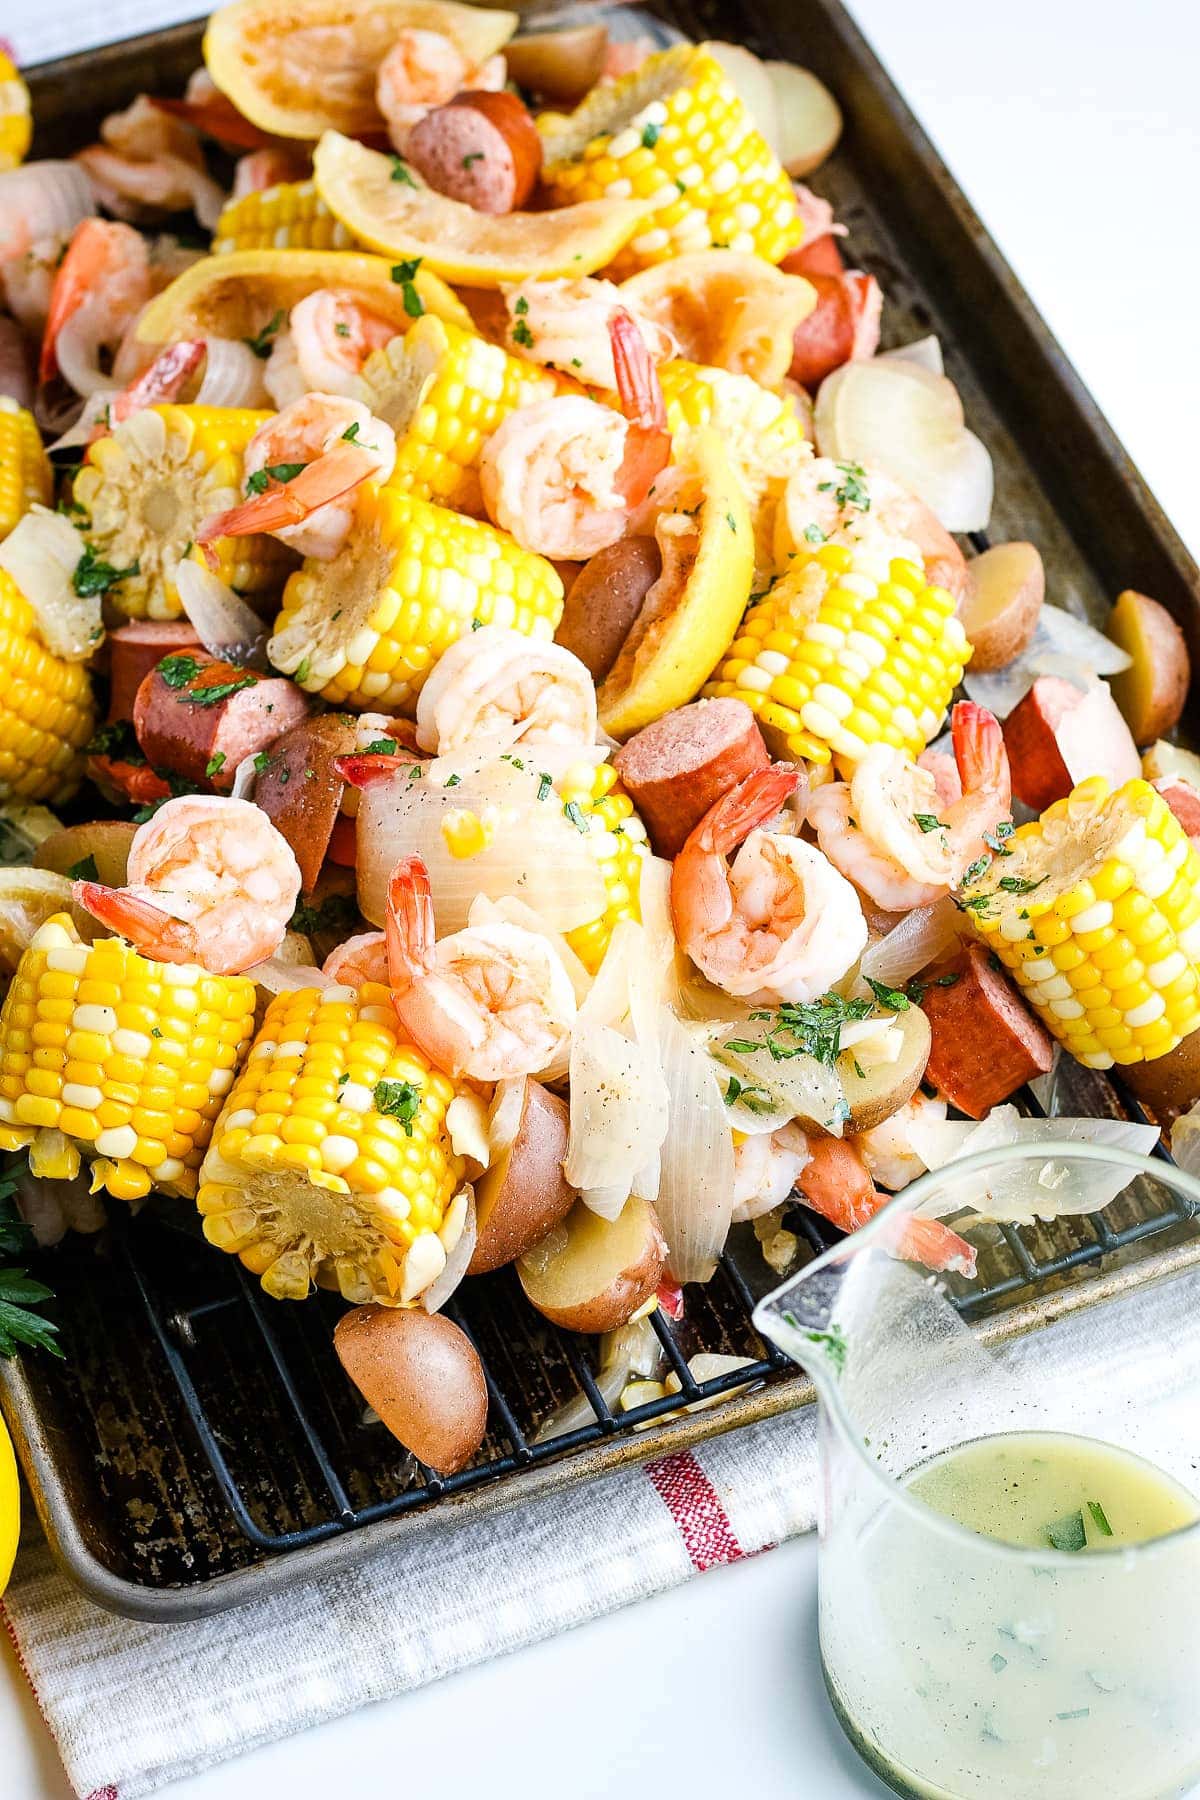
Serve: Melt the butter in the microwave and then season it with salt and pepper. Add the fresh parsley and then drizzle the mixture over the shrimp and other ingredients on the sheet pan. Reserve some of the butter for serving.
Garnish: I love to sprinkle a little extra Old Bay seasoning over the top of the shrimp boil and then place lemon wedges along the side so people can squeeze it over their serving. Add a sprinkle of chopped parsley, too!
Pro Tips for the Best Shrimp Boil Recipe
- Serve this shrimp boil with flavorful dipping sauce for extra fun!
- It is really important to follow the cooking order of what ingredients need to go in the pot first. This will ensure that everything finishes cooking at the same time.
- For best results, use fresh shrimp. Frozen will work perfectly fine but fresh shrimp tends to have a better flavor and texture.
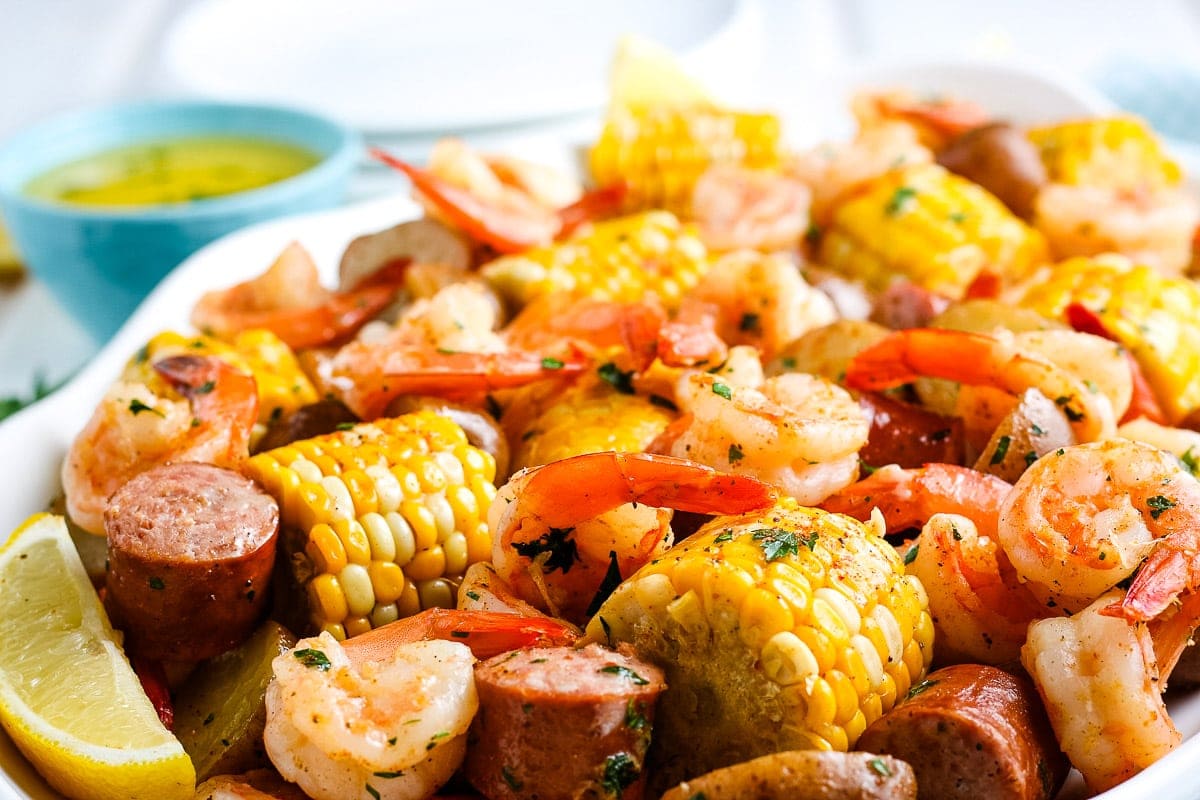
This is such and easy shrimp boil recipe and the flavors are amazing! It’s a whole meal you can make in one pot and there’s something for everyone – juicy corn, tender shrimp, smoky sausage and perfectly cooked potatoes! I hope you give this one a try soon.
CanCooker Seafood Boil
FAQ
Can I boil already cooked shrimp?
Is frozen shrimp ok for a boil?
What kind of shrimp is best for a seafood boil?
Large, deveined, tail-on shrimp are best for a shrimp boil. Why?
Is it better to boil shrimp or steamed shrimp?

Both steaming and boiling are effective methods for cooking shrimp, but steaming is generally preferred for its ability to retain moisture and flavor, while boiling can sometimes lead to tougher shrimp.