Searing beef is one of those cooking techniques that can really take your dishes to the next level. When done properly, searing creates an incredibly flavorful, caramelized crust on the outside of steaks, roasts, and other cuts of beef. But if you don’t know what you’re doing, you might end up with meat that is undercooked, burnt, or stuck to the pan.
Luckily, searing beef is easy once you know the basics In this article, I’ll walk you through my tried and true method for getting a perfect sear on beef every single time Whether you are cooking steak, pot roast, or stew meat, these tips will help you maximize flavor and take your cooking skills up a notch. Let’s get started!
Why Bother Searing Beef?
Before we dive into the how-to, let’s talk about why searing is so important in the first place. Here are some of the biggest benefits:
-
Flavor Searing beef builds tremendous flavor via the Maillard reaction. This is a chemical reaction between amino acids and sugars that occurs at high temperatures. It produces hundreds of new complex flavors not otherwise present in the meat.
-
Texture: Searing also improves the texture of beef, creating a crispy, caramelized crust on the exterior. This adds great contrast to the tender, juicy interior of the meat.
-
Visual appeal And of course seared beef just looks amazing. Who doesn’t love a perfectly charred steak or roast glistening with its own rendered fat? Searing definitely amps up the visual appeal of any dish.
Step 1: Dry the Beef
Before searing, it is absolutely essential to thoroughly dry the exterior of the beef. Searing relies on very high heat to work properly. Any excess moisture on the surface of the meat will cause splattering or steaming instead of searing.
I recommend patting steaks dry with paper towels right before cooking. For larger roasts, air drying in the fridge uncovered overnight is best. The dry surface will readily brown when it hits the hot pan.
Drying also allows the seasoning to adhere better to the meat, rather than sliding right off of wet beef. Make sure to generously season with salt and pepper before searing. The salt will dissolve into the meat, deeply seasoning it and enhancing the beefy flavor.
Step 2: Use a Heavy, Oven-Safe Pan
The choice of pan is also critical for achieving a good sear on beef. You want something that can withstand very high heat without warping or scorching. I recommend using:
- A heavy stainless steel skillet
- An enameled cast iron Dutch oven
- A plain cast iron skillet
In addition to high heat tolerance, you want something with a thick, heavy bottom that will retain heat evenly. Thin pans are more likely to develop hot spots that can burn the beef in places while undersearing in others.
I also recommend choosing an oven-safe pan. This allows you to sear meat on the stovetop and then transfer directly to the oven to finish cooking, all in one vessel. No messy transferring or potential juiciness lost.
For oven roasting, a wire roasting rack placed inside a sheet pan works wonders to promote air circulation and even cooking.
Step 3: Get the Pan Rip Roaring Hot
Here’s a rookie mistake – not preheating the pan enough before adding the beef. To properly sear, you need the pan surface to be extremely hot. Like, smoking hot. This ensures the Maillard reaction happens instantly when the beef hits the pan.
I recommend preheating your pan over medium-high heat for 5-10 minutes. Then turn the heat up to high just before adding the oil and beef. You want to see wisps of smoke coming off the surface. Carefully hover your hand over the pan to feel the heat. Properly preheated, you shouldn’t be able to hold your hand there for more than 1-2 seconds.
If the pan isn’t hot enough when you add the beef, it will stick and potentially tear instead of developing that crusty, flavorful sear you’re after. So be patient and let it fully preheat!
Step 4: Add a Small Amount of Neutral Oil
Adding a small amount of high smoke point oil to the pan will help facilitate the searing process. The oil fills in the microscopic pores on the surface of the pan, allowing the beef to glide across it smoothly rather than sticking. The oil also helps conduct heat efficiently from the pan to the surface of the meat.
I recommend using a neutral flavored oil like canola, vegetable, peanut, or grapeseed oil. Avoid olive oil or butter, which can burn or impart off flavors at high heat. For most searing tasks, just 1-2 tsp of oil is plenty for a standard sized skillet. You want a very thin layer coating the bottom of the pan.
Carefully add the oil to the hot pan and let it heat up for 30-60 seconds before adding the beef. Be cautious, as the oil may splatter a bit at first.
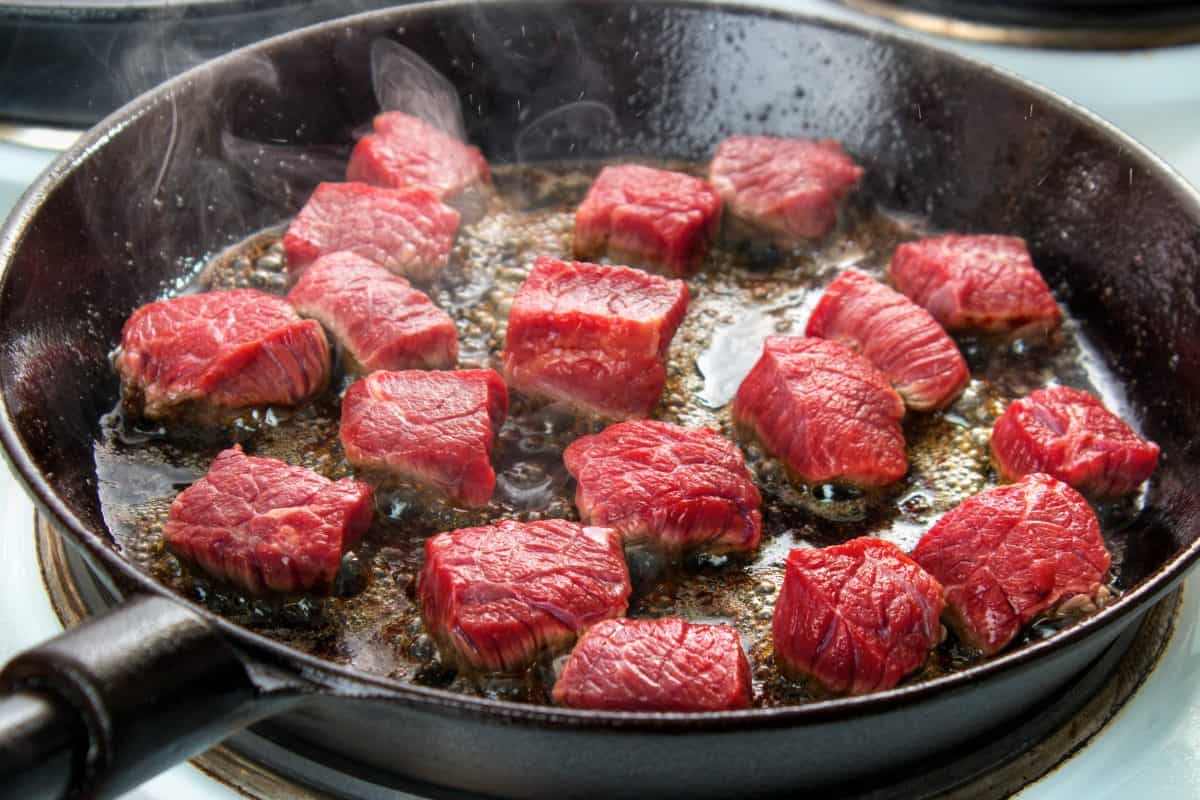
Step 5: Add the Beef and DON’T Move It!
Now comes the fun part – get that beef in the pan! Gently lay each piece down away from you to avoid splatter. Resist the urge to mess with the meat at this stage. Let it sear undisturbed for at least 2-3 minutes before attempting to flip or turn it.
This allows time for a hearty crust to develop. Poking at the meat too early will interrupt crust formation and likely cause sticking. Be patient! Listen for that sizzle and aroma of perfectly searing beef.
For thinner cuts like steaks, 2-3 minutes per side is usually enough time to develop a nice sear. For thicker roasts, you may want to sear each side for 4-5 minutes or longer. Use tongs to carefully peek and check the level of browning before flipping.
Step 6: Flip and Repeat on All Sides
Once your beef has achieved a nicely crusted sear on one side, go ahead and flip it over using tongs. Try to keep it in the same orientation so the sear lines match up. Again, leave it undisturbed for 2-3 minutes to allow a second sear to develop.
For cube cuts of meat or roasts, you may need to sear each additional side after the first flip. Use tongs to hold roasts on their side or end to sear the entire exterior surface area. Take your time and don’t rush this step – patience leads to better flavor!
Step 7: Add Aromatics and Finish Cooking
Now you’ve got a masterpiece of perfectly seared beef! The final step is to finish cooking it to your desired doneness, while also building in extra flavor.
For pan seared steaks or chops, you can add a knob of butter, some garlic, and fresh herbs like thyme to the pan. Tilt the pan and use a spoon to baste the melted butter over the beef as it finishes cooking.
For pot roasts or stew meat, you can add your vegetables like onions, carrots and celery to the pan after searing. Let them cook briefly to develop fond before deglazing with broth or wine to make a sauce.
And for oven roasting, sear the meat first on the stovetop then transfer the pan straight to a hot oven. Scatter some roughly chopped aromatics like garlic and rosemary around the meat before roasting.
However you choose to finish cooking after searing, take advantage of the fond (browned bits) left behind in the pan to build even more rich, complex flavor.
Troubleshooting Searing Issues
Even when you follow all the steps correctly, little things can go wrong. Here are some common searing problems and how to avoid them:
Problem: Meat is sticking to the pan instead of searing.
Solution: Make sure beef is dry before searing, pan is hot enough, and a thin layer of oil was added before the beef.
Problem: Meat is browning unevenly.
Solution: Use a thicker, more consistent pan. Don’t overcrowd pan. Preheat on lower setting then increase heat.
Problem: Meat is burnt on outside but raw inside.
Solution: Make sure not to sear on too high of heat. Let meat reach closer to room temp before searing.
Problem: Pan is scorching or food is burning.
Solution: Lower heat setting. Consider a heavier pan that distributes heat more evenly.
How to PERFECTLY Pan-Sear Steak
FAQ
What does it mean to sear the beef?
Searing or pan searing is a technique used in grilling, baking, braising, roasting, sautéing, and the like, in which the surface of the food (usually meat such as beef, poultry, pork, or seafood) is cooked at high temperature until a browned crust forms.
Do you sear meat with butter or oil?
What all this means is that the best cooking medium for a steak is actually plain old oil. And make sure to use plenty of it so that your steak cooks nice and evenly. I like to use at least a quarter cup in a 12-inch skillet. Adding butter to the pan a few minutes before it’s done cooking is a fine idea.
When you sear meat, do you cook it all the way through?
My understanding is that (pan) searing just cooks the outside layer of the meat without cooking it all the way through. Cooking is usually finished in the oven.
Can you sear meat in a frying pan?
Yes, you can cook a steak in a frying pan. Heat the pan to medium-high heat and add a little oil or butter. Place the steak in the pan and cook for 3–4 minutes on each side until cooked to your desired doneness.