Listen, I’ve been cooking with head-on shrimp for years, and I totally get why some folks find them intimidating. Those beady eyes and antennae staring back at you can be a bit much! But trust me, learning to clean head-on shrimp is totally worth it. I’m gonna break down exactly how to do it, no fancy chef-talk required.
Why Bother with Head-On Shrimp?
Before we dive into the cleaning process, here’s why I always choose head-on shrimp when I can:
- Better flavor – The heads pack tons of that sweet, briny taste we love
- Juicier meat – Heads help lock in moisture while cooking
- Bonus ingredients – You can make amazing stock from the shells and heads
- Fresher product – Easier to tell if they’re fresh when heads are attached
- Cost-effective – Usually cheaper than pre-cleaned shrimp
What You’ll Need
Keep it simple with these basic tools
- Sharp paring knife or kitchen shears
- Large bowl with ice
- Colander
- Paper towels
- Running cold water
- Optional: disposable gloves
Step-by-Step Cleaning Process
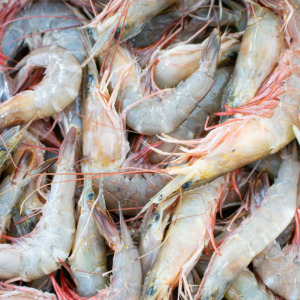
1. Check for Freshness
First things first! Your shrimp should
- Feel firm and springy (not mushy)
- Have clear, not yellowing shells
- Smell like the ocean (not fishy or funky)
- Show bright natural coloring
- Have firmly attached heads
2. Initial Rinse
- Fill bowl with ice and place shrimp on top
- Rinse under cold running water
- Gently rub between fingers to remove debris
- Watch out for those sharp points on heads and tails!
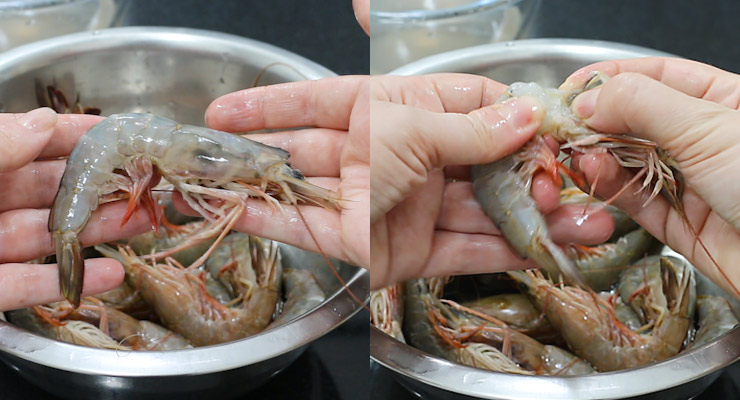
3. Remove the Head
You’ve got two options here:
- Twist Method: Hold body firmly, grip head at joint, twist and pull
- Cut Method: Use kitchen shears to cut at the joint where head meets body
Pro tip: Save those heads! Pop them in a freezer bag for making stock later.
4. Peel the Shell
Here’s my foolproof method:
- Start where the head was
- Slide thumb between shell and legs
- Pull shell up and over
- Work your way down to tail
- Choose to leave tail on or remove it
- Rinse again quickly
5. Tackle the Vein
Let’s be real – it’s the digestive tract and nobody wants to eat that!
- Make shallow cut along back with knife
- Look for dark line running length of shrimp
- Use knife tip to lift vein out
- Pull gently to remove
- Rinse one final time
Tips from My Kitchen to Yours
- Keep everything COLD while working
- Don’t rush – steady hands make clean cuts
- Small shrimp might not need deveining
- Pat dry before cooking
- Clean just before cooking when possible
Storage Tips
After cleaning:
- Use within 24 hours if refrigerating
- Freeze in single layer on tray first
- Transfer to freezer bags once frozen
- Thaw overnight in fridge
- Never refreeze thawed shrimp
Common Mistakes to Avoid
- Cutting too deep when deveining
- Letting shrimp get warm while cleaning
- Not checking for freshness first
- Throwing away heads and shells
- Working with dull knives
Final Thoughts
Look, cleaning head-on shrimp isn’t rocket science, but it does take a bit of practice. Don’t get discouraged if your first few attempts are messy – we’ve all been there! The effort is totally worth it for that amazing flavor and texture you just can’t get from pre-cleaned shrimp.
Remember, the key is keeping everything cold, working methodically, and being gentle but confident with your cuts. Before you know it, you’ll be cleaning shrimp like a pro!
Got questions about cleaning head-on shrimp? Drop them in the comments – I’m always happy to help fellow home cooks master new skills!
Quick FAQ
Q: Can I clean shrimp ahead of time?
A: Better not to – clean just before cooking for best results.
Q: Is the vein dangerous to eat?
A: Nah, but it might taste gritty and nobody wants that!
Q: What if I cut too deep while deveining?
A: No biggie – just rinse well and cook as planned. The shrimp will still taste great!

Step 1 — removing the head
Break off the shrimp head.
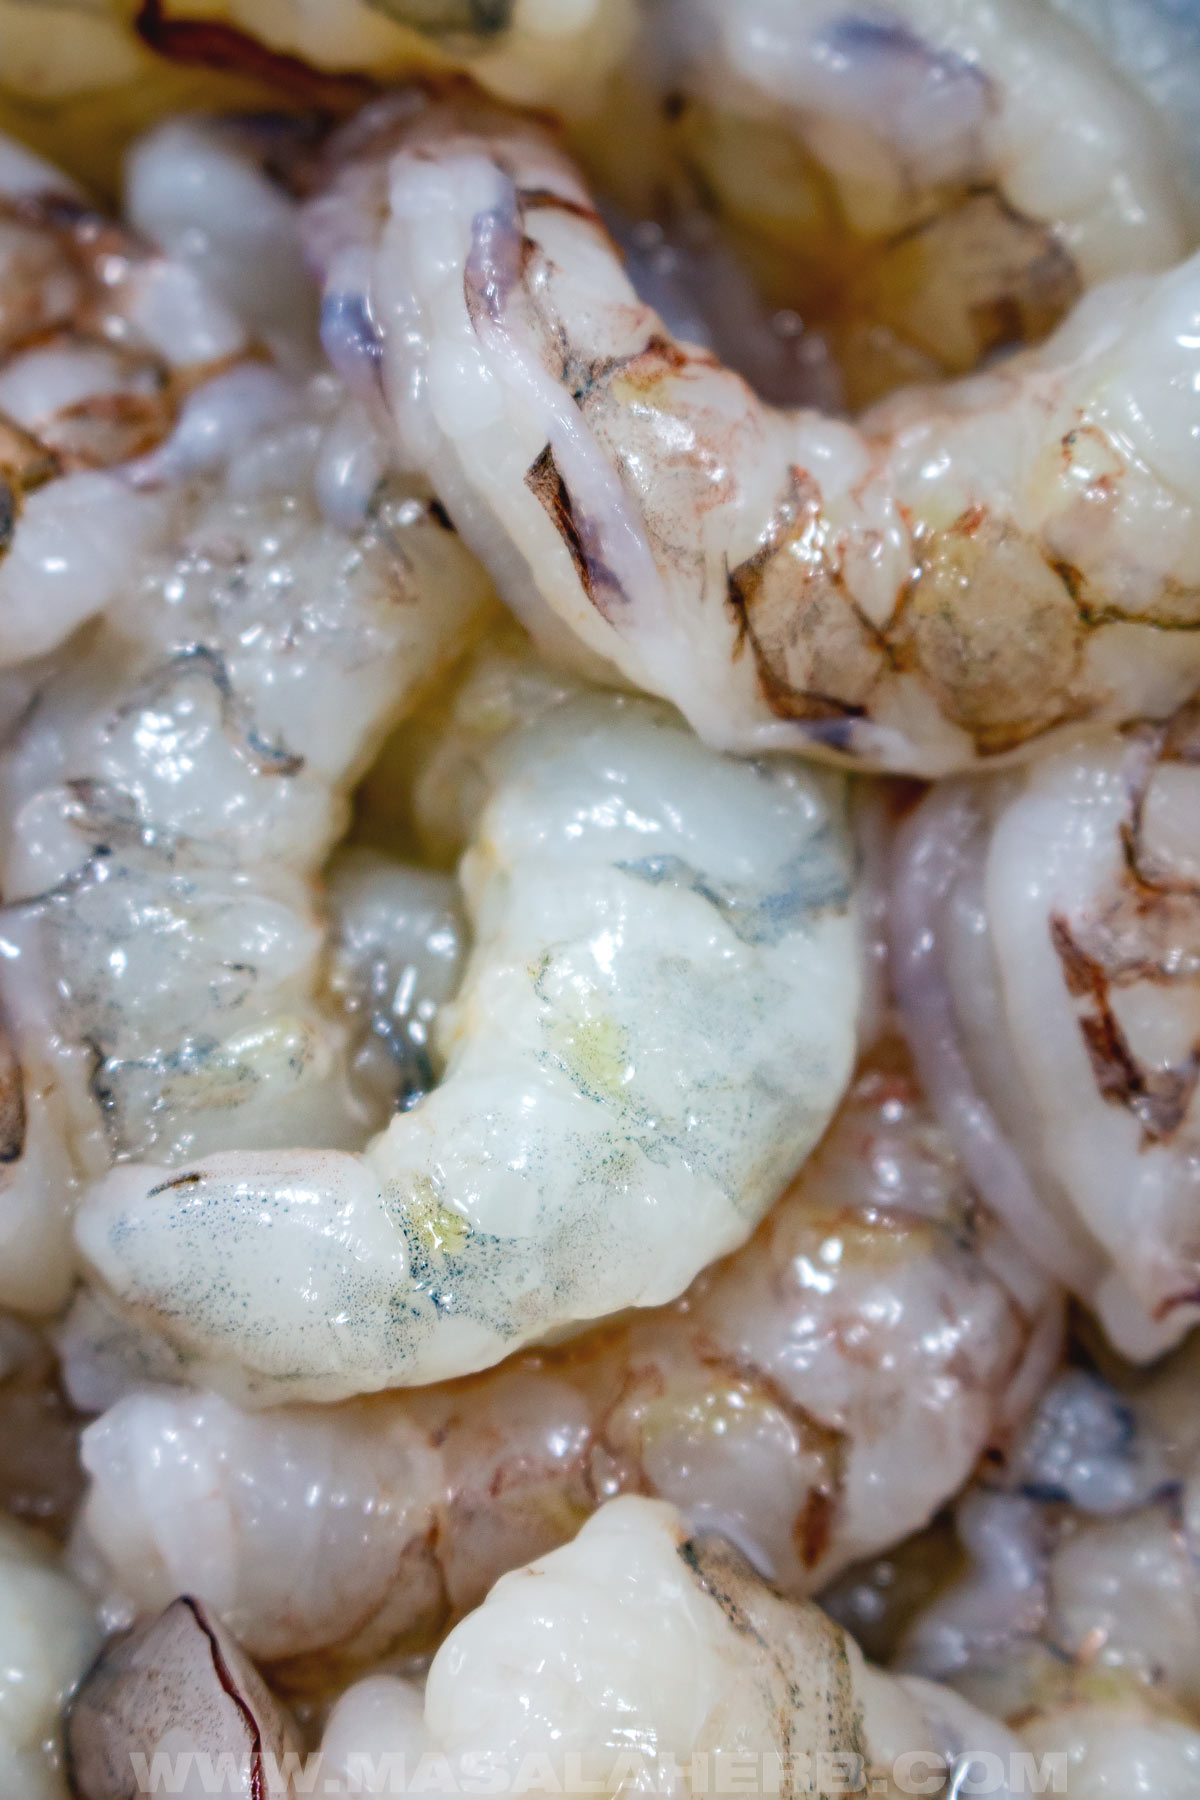
Step 3 — deveining process
Slit along the dark vein on the back with a small pairing knife, from head to tail. A shallow cut will be enough.
Pick out the dark line, which is the digestive tract. I use my thumb and index finger to pinch and pull it out or the tip of my knife or a toothpick if it doesnt come out straightaway.
The stomach may also have a transparent line, which you may remove if you see one (not all shrimp have it)
Repeat the process with all shrimp. Rinse them at the end with some fresh water.

- Cleaning fresh shrimp can be time-consuming, so plan in enough time for this task.
- Use a small, sharp pairing knife to take out the veins. A fork or toothpick are also an option, but I think they slow one down, and I, personally, prefer the pointy knife because you have to slit into the back of the shrimp.
- Keep a bowl of ice water with lemon juice at the side to wash your hands. The lemon gets rid of the fishy smell.
- I also keep paper towel at the side to clean my knife every so often.
- The fresher the shrimp, the less your seafood will smell.
- Remove the tail. The tail is only needed if you intend to use the shrimp as a dipper. I know some recipes online show shrimp with a tail on, but thats just for pretty pictures.
- Use your shrimp heads, shell, and the tails to make a shrimp seafood stock. When deshelling, separate the veins from the shells and head. You dont want the veins in your stock! #zerowaste