Are you craving juicy chicken leg quarters but short on time? I’ve been there – staring at those budget-friendly cuts in my fridge and wondering if I could speed things up with my microwave. After plenty of trial and error (and some disappointing rubbery results) I’ve finally mastered the art of microwaving chicken leg quarters to perfection.
In this comprehensive guide, I’ll share everything I’ve learned about how long to microwave chicken leg quarters, plus some tips to ensure they turn out tender and delicious every time
The Quick Answer
For those in a hurry, chicken leg quarters typically need 8-12 minutes on high power in the microwave. However, timing varies based on the size of the quarters and your microwave’s wattage. The most important thing is reaching that safe internal temperature of 165°F (74°C).
Why Consider Microwaving Chicken Leg Quarters?
Before diving into the specifics, let’s be honest – microwaving isn’t the ideal method for cooking chicken leg quarters. Baking, grilling, or frying will generally give you better flavor and texture. However, the microwave offers:
- Speed when you’re short on time
- Energy efficiency compared to heating an entire oven
- A way to cook chicken with minimal equipment
- Convenience for reheating pre-cooked quarters
Essential Equipment for Microwaving Chicken Leg Quarters
To get the best results. you’ll need
- A microwave-safe dish large enough for your leg quarters
- Microwave-safe cover (lid, plastic wrap, or paper towel)
- Food thermometer (absolutely essential for safety)
- Seasonings of your choice
Step-by-Step Guide to Microwaving Chicken Leg Quarters
1. Preparation Is Key
First things first, you need to prep your chicken properly:
- Thaw completely – Never microwave frozen chicken leg quarters as they’ll cook unevenly
- Pat dry with paper towels to remove excess moisture
- Season generously – I like using olive oil, garlic, paprika, salt, and pepper, but use whatever seasonings you prefer
- Consider marinating for 30+ minutes for extra flavor (optional but recommended)
2. Choose the Right Container
The container you use makes a big difference:
- Select a microwave-safe dish that’s large enough to hold your leg quarters in a single layer
- Glass or ceramic containers work best as they distribute heat more evenly
- Avoid overcrowding – leave some space between the pieces
3. Cover Your Chicken
Covering the chicken while microwaving is crucial:
- Use a microwave-safe lid, plastic wrap (with a vent), or microwave-safe paper towel
- This traps steam and helps retain moisture, preventing dry chicken
- If using plastic wrap, make sure it doesn’t touch the chicken and leave a small vent
4. Initial Cooking Time
Now for the actual microwaving:
- Place the prepared dish in your microwave
- Start with 10 minutes on medium to high power
- This initial cooking time helps ensure even heating without overcooking
5. Flip and Check
After the initial cooking time:
- Carefully remove the dish (it will be hot!)
- Flip the chicken leg quarters to promote even cooking
- Check the internal temperature with your food thermometer
- Remember: 165°F (74°C) is the minimum safe temperature for chicken
6. Adjust Cooking Time
Based on your temperature reading:
- If the chicken hasn’t reached 165°F, continue microwaving in 1-minute intervals
- Check the temperature after each interval to avoid overcooking
- Rotate the dish and flip the chicken again if needed
7. Rest Before Serving
Once your chicken reaches the safe temperature:
- Let it rest for 5 minutes before serving
- Cover loosely with foil or a microwave-safe cover during this time
- This allows juices to redistribute, resulting in moister meat
Tips for Better Microwaved Chicken Leg Quarters
I’ve learned a few tricks that can significantly improve your results:
- Add moisture: Place a tablespoon or two of chicken broth or water in the dish before microwaving to create steam
- Tent with foil during the last few minutes of cooking to prevent the skin from becoming rubbery
- Use microwave browning dishes if available – they can help achieve a more oven-like finish
- Season more heavily than you would for other cooking methods, as some flavor intensity is lost
- Check multiple spots with your thermometer, especially near the bone and in the thickest parts
Common Problems and Solutions
Problem: Dry, Tough Chicken
- Solution: Lower your power setting, add liquid to the dish, and be careful not to overcook
Problem: Rubbery Skin
- Solution: Unfortunately, crispy skin is nearly impossible in a microwave. Consider briefly broiling after microwaving if crispy skin is important to you
Problem: Uneven Cooking
- Solution: Flip the chicken more frequently, ensure pieces are similar in size, and use a dish that promotes even heating
Problem: Pink Areas Near Bone
- Solution: This can sometimes be normal, but always verify with a thermometer. If it’s reached 165°F, it’s safe despite some pink coloration
Reheating Pre-Cooked Chicken Leg Quarters
If you’re reheating store-bought roasted chicken leg quarters:
- Remove chicken pieces from packaging
- Place in a microwave-safe dish, uncovered
- Heat on high for 7-10 minutes
- Rotate the dish halfway through heating time
- Verify internal temperature reaches 165°F
Safety Considerations
Food safety is non-negotiable when it comes to chicken:
- Never partially cook chicken to finish later – this can allow bacteria to multiply
- Always verify temperature with a food thermometer
- Don’t rely on visual cues alone – clear juices aren’t always a reliable indicator of doneness
- Store leftovers promptly in the refrigerator
- Reheat leftovers to 165°F before consuming
FAQ About Microwaving Chicken Leg Quarters
Can I microwave frozen chicken leg quarters?
No, it’s strongly discouraged. Thaw completely first to ensure even cooking and food safety.
How can I prevent my chicken from drying out?
Add liquid to the dish, cover properly, and avoid overcooking. Check temperature frequently.
Will my chicken skin get crispy in the microwave?
Unfortunately, no. Microwaves steam food rather than creating the dry heat needed for crispy skin.
Can I cook multiple leg quarters at once?
Yes, but arrange them in a single layer and increase cooking time slightly. Check each piece for doneness.
How do I store leftover microwaved chicken?
Cool completely, then refrigerate in an airtight container for 3-4 days.
Is microwaved chicken as nutritious as chicken cooked by other methods?
Generally yes. Microwaving typically preserves nutrients well due to shorter cooking times.
Final Thoughts
Microwaving chicken leg quarters can be a quick, easy solution when you’re short on time. While it won’t give you the same results as traditional cooking methods, following these guidelines can help you achieve tender, juicy, and safely cooked chicken.
Remember that the microwave should be seen as more of a backup method than your go-to for chicken leg quarters. But when you’re in a pinch, it’s definitely possible to get good results if you follow the right steps.
The most important takeaways? Start with about 10 minutes on medium-high, check temperature frequently, and always make sure you reach that critical 165°F internal temperature. With a little practice, you’ll be microwaving chicken leg quarters like a pro!
Have you tried microwaving chicken leg quarters before? What were your results like? I’d love to hear about your experiences in the comments below!
How to Make Chicken in the Microwave
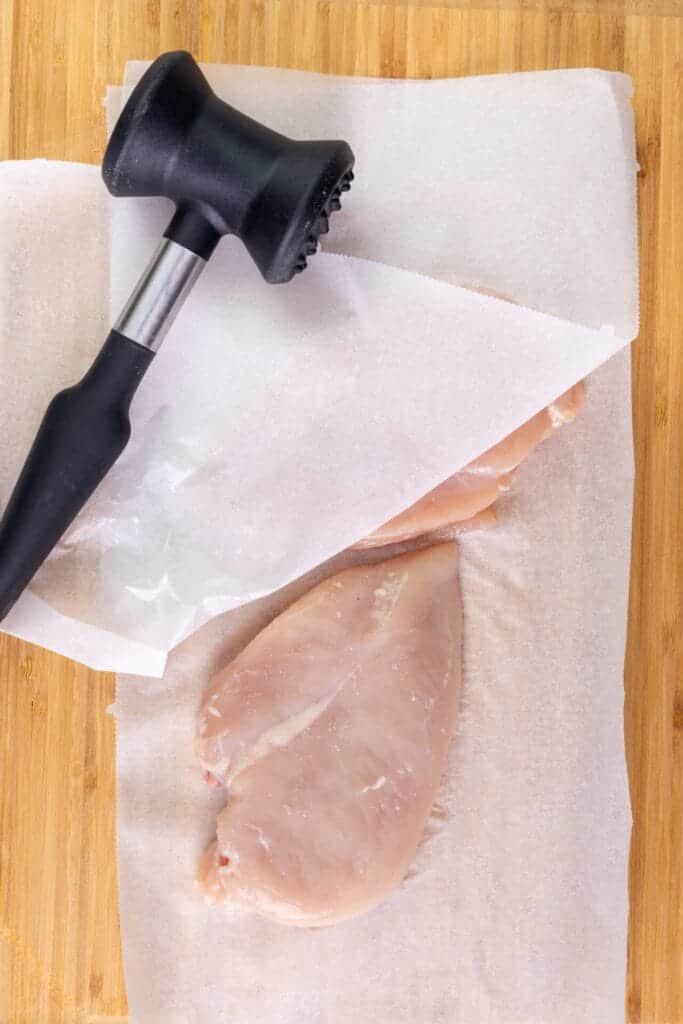
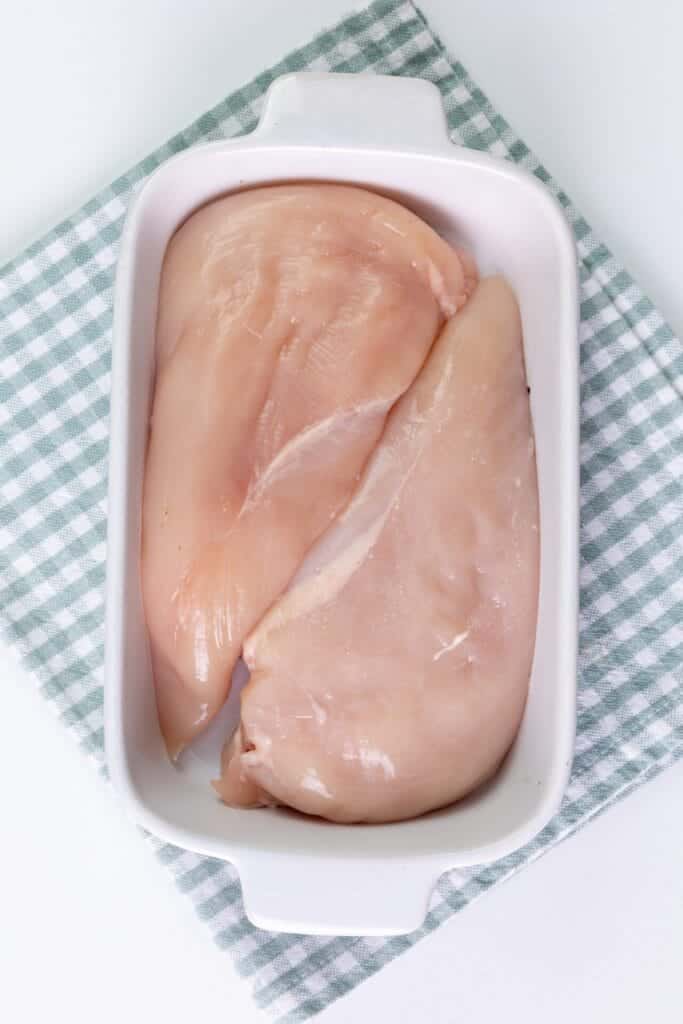
Step 1: Place chicken breasts between two sheets of wax paper and gently pound them to an even thickness using a meat mallet or rolling pin.
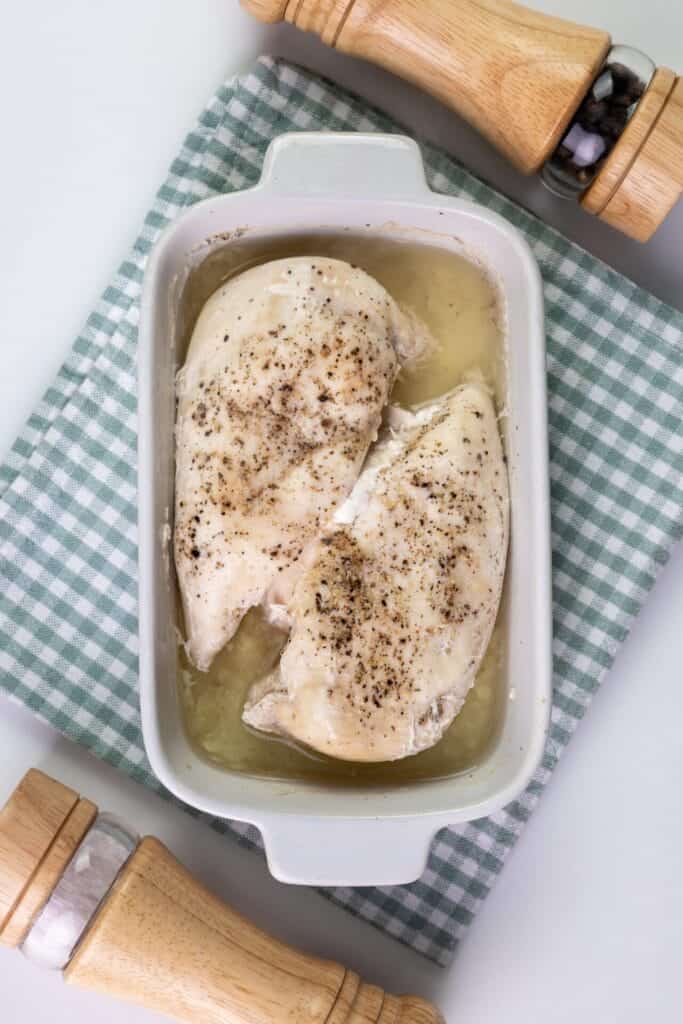
Step 2: In a microwave-safe dish, arrange the chicken breasts and pour in enough water so it reaches about one-third of the way up the chicken.
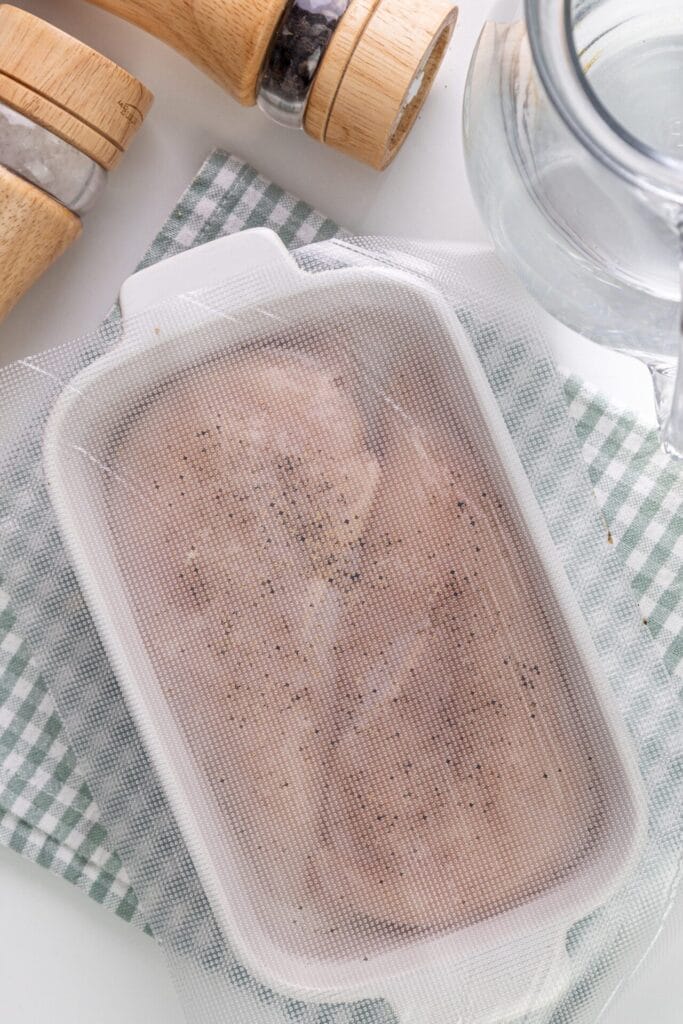
Step 3: Cover the dish with wax paper or microwave-safe plastic wrap. Microwave on high for 4-5 minutes per breast, or until the internal temperature reaches 165°F.
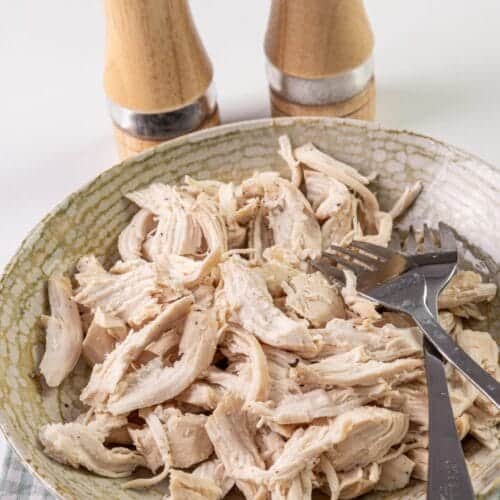
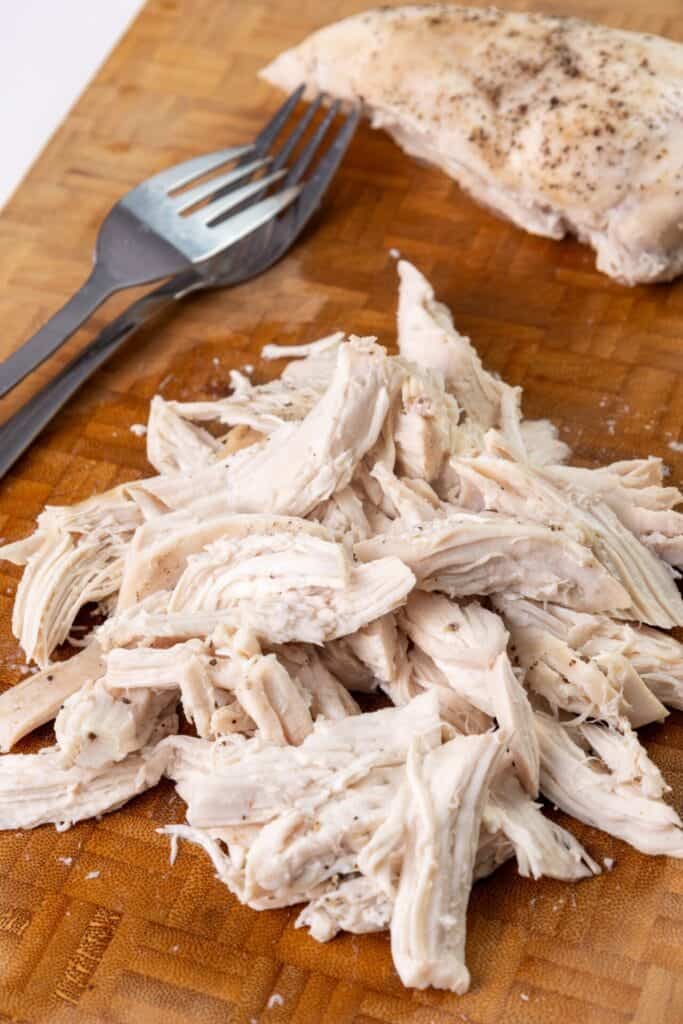
Step 4: Let the chicken rest for a few minutes to cool slightly, then shred or slice as desired for your recipe.
To make this dish ahead of time, simply follow the above recipe then cool your chicken. Next place your cooked chicken in an air tight container and store it in the refrigerator for up to five days, or in the freezer for up to three months.
Yes, microwaves only penetrate the protein about one inch deep so the thinner the better, we recommend around a half an inch thick or less. Making sure the chicken is an even thickness will greatly help the evenness of your cooking as well.
No, you never want to cook frozen chicken! Cooking frozen chicken will cook the out side long before the inside is finished, leaving you susceptible to food-borne illnesses and well as not killing any bacteria that might be present in the chicken, like salmonella.
Other cuts of chicken are fine too, just be sure they are pounded to an even thickness. Bone in chicken should never be cooked in the microwave as you will have that same uneven cooking as if it were frozen, leaving you open to food-borne illnesses and bacteria.

This Microwave cooked chicken is a veritable canvas of flavors waiting to be painted on. Our simple and easy recipe is an incredible base for any dish providing incredible flavor and a punch of protein. Some of my favorite applications are pasta, salads, tacos or fajitas, soups and just by itself as the perfect snack. If you are looking to switch up the flavors, you can easily substitute the water for your favorite broth or add taco or Italian seasonings to the chicken before you cook it. The options for flavor are truly unlimited, I love a simple steamed broccoli with this dish as the pair are a match made in food heaven.
If you are looking for other great chicken recipes, we’ve got you covered. Our Chicken Enchiladas are incredibly delicious and this Crockpot BBQ Chicken is a one pot wonder. Need a little dessert in your life give this Lemon Ginger Steamed Pudding a try or dive into these Rainbow Cupcakes.