Have you ever struggled with dry unevenly cooked chicken on the grill? Well lemme tell ya – spatchcocking is bout to be your new best friend! As a BBQ enthusiast who’s ruined more birds than I care to admit, I’ve finally mastered the art of the perfect spatchcock chicken. This technique is a game-changer that’ll have your family and friends thinking you’ve secretly become a professional pitmaster!
What the Heck is Spatchcocking Anyway?
Spatchcocking (also called butterflying) is just a fancy term for removing the backbone of a chicken and flattening it out. This simple technique has some serious advantages
- Even cooking – No more dry breast meat and undercooked thighs
- Crispier skin – More surface area exposed to heat means more of that delicious crispy goodness
- Faster cooking – About 30% faster than traditional methods (perfect for weeknight grilling!)
- Better flavor absorption – More surface area means better smoke penetration and seasoning coverage
What You’ll Need to Get Started
Before firing up the grill, gather these essentials:
| Tools | Ingredients |
|---|---|
| Sharp kitchen shears | Whole chicken (3.5-5 lbs) |
| Cutting board | Olive oil |
| Heavy knife (optional) | Salt & pepper |
| Meat thermometer | Your favorite rub or seasoning |
| Grill (charcoal or gas) | Optional: wood chips for smoke flavor |
Step 1: Prep That Bird (The Spatchcocking Process)
Let’s get down to business. Here’s how to spatchcock your chicken like a pro:
- Place chicken breast-side down on your cutting board
- Using sharp kitchen shears, cut along both sides of the backbone from tail to neck
- Remove backbone completely (save it for making stock if you’re feeling fancy!)
- Flip chicken breast-side up and press down firmly on breastbone until you hear a crack
- Trim any excess fat or skin if desired
- Tuck wing tips behind breasts to prevent burning
Pro tip: If this is your first time, don’t stress about perfection. My first spatchcock chicken looked like it had been through a war zone, but it still tasted amazing!
Step 2: Season Like You Mean It
Once your chicken is flattened, it’s time to add flavor. You’ve got options:
Dry Brining (My Favorite Method)
- Salt your chicken generously (about 1 tsp kosher salt per pound)
- Place on a wire rack in the fridge, uncovered, for 12-24 hours
- This helps the chicken retain moisture AND gives you super crispy skin
Quick Season Method
If you don’t have time for dry brining:
- Rub olive oil all over the chicken (both sides)
- Season generously with salt, pepper and your favorite spices
- Let sit at room temperature for 30 minutes while you prep the grill
I personally love a mix of paprika, garlic powder, onion powder, and a little cayenne for kick. But honestly, even just salt and pepper works great if you’re in a rush!
Step 3: Setting Up Your Grill (Temperature is Everything!)
The key to BBQing a spatchcock chicken right is proper grill setup. We’re gonna use what the pros call “two-zone cooking”:
For Charcoal Grills:
- Light your charcoal and wait until it’s covered with light gray ash
- Push all the coals to one side of the grill
- This creates a hot direct-heat zone and a cooler indirect-heat zone
For Gas Grills:
- Turn on burners on one side of the grill only
- Keep the other side off
- Preheat to around 350°F (175°C)
Want that smoky flavor? Add a few wood chunks or chips to your charcoal, or use a smoker box on your gas grill. Apple, cherry, or hickory wood all pair beautifully with chicken.
Step 4: Grilling Your Spatchcock Chicken (The Fun Part!)
Now for the main event – actually cooking this thing!
- Start with indirect heat: Place chicken skin-side up on the cooler side of your grill
- Close the lid: This traps heat and helps cook the chicken evenly
- Be patient: Let it cook for about 30-45 minutes without peeking too much
- Check temperature: Use your meat thermometer to monitor progress
- Crisp the skin: When the breast reaches around 150°F (65°C), flip the bird and move it to the direct heat side, skin down
- Watch carefully: This part goes quick! About 5-10 minutes should get you gorgeous crispy skin
- Check doneness: The chicken is done when the thickest part of the thigh reaches 165°F (74°C)
I can’t stress enough how important a good meat thermometer is here! It’s the difference between perfectly juicy chicken and a dried-out disaster (or worse, undercooked chicken – no thanks!).
Step 5: Rest and Carve (The Hardest Step!)
Once your chicken reaches temperature, resist the urge to cut into it immediately!
- Remove chicken from grill and place on a cutting board
- Tent loosely with foil (don’t wrap tightly or you’ll lose that crispy skin!)
- Let rest for 10-15 minutes
- This allows juices to redistribute, resulting in much juicier meat
After resting, carve by separating the thighs and legs from the body, then cut the breasts in half crosswise. The meat should be incredibly juicy with that perfect smoky flavor and crispy skin.
Common Problems (And How I Fixed ‘Em)
We all make mistakes! Here’s how to troubleshoot:
- Skin burning too quickly? Move chicken back to indirect heat and continue cooking.
- Taking too long to cook? Your grill might be too cool. Increase the temperature slightly.
- Flare-ups? Keep a spray bottle of water handy to tame those flames.
- Chicken sticking to grill? Next time, oil your grates before cooking.
My Favorite Spatchcock Chicken Variations
Once you’ve mastered the basics, try these flavor combos:
- Lemon Herb: Lemon zest, rosemary, thyme, and garlic
- BBQ Spice Rub: Brown sugar, paprika, chili powder, garlic powder
- Mediterranean: Oregano, lemon, olive oil, and a touch of cinnamon
- Spicy Southwest: Cumin, chili powder, lime zest, and cilantro
FAQ: Your Burning Questions Answered
Q: Can I spatchcock a frozen chicken?
A: Nope! Thaw it completely first. Trying to cut through frozen bones is dangerous and can damage your shears.
Q: How long does it take to grill a spatchcock chicken?
A: Typically 45-60 minutes total, depending on the size of your chicken and your grill temperature.
Q: Can I use this method for other poultry?
A: Absolutely! Works great for turkey, duck, or game birds – just adjust cooking times accordingly.
Q: Do I need to flip the chicken while grilling?
A: You don’t have to, but I find flipping at the end helps get that skin extra crispy.
Q: What sides go best with spatchcock chicken?
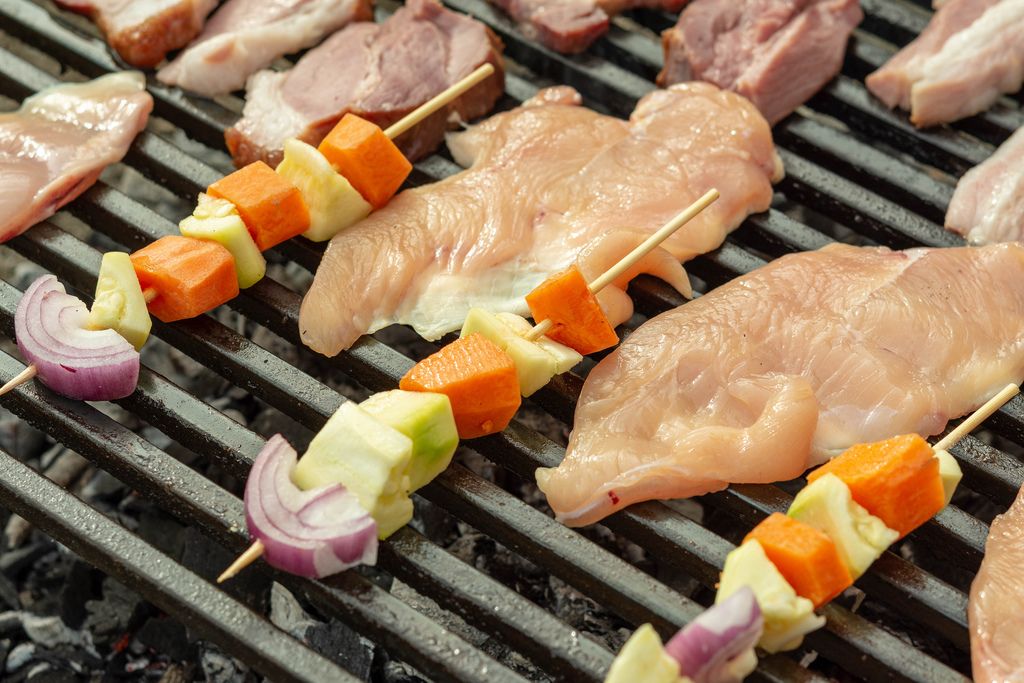
A: Since your grill is already hot, throw on some veggies! Asparagus, zucchini, and corn all grill up quick and pair perfectly.
Final Thoughts
Spatchcocking revolutionized my chicken grilling game, and I’m sure it’ll do the same for you. There’s something so satisfying about pulling a perfectly cooked bird off the grill – juicy on the inside, crispy on the outside, and full of flavor all the way through.
Remember, BBQing right is about patience and temperature control. Don’t rush it, use a good thermometer, and give that chicken the rest it deserves before carving.
Now get out there and spatchcock something! Your taste buds (and dinner guests) will thank you.
Happy grilling!