Ever tried cooking boneless chicken thighs on your pellet grill only to end up with dry overcooked meat or worse—undercooked chicken that’s unsafe to eat? I’ve been there too! After much trial and error (and a few disappointed dinner guests), I’ve finally nailed down the perfect timing for juicy flavorful boneless chicken thighs on a pellet grill.
In this guide, I’ll share everything I’ve learned about cooking times, temperatures, and techniques to help you achieve pellet grill chicken thigh perfection every single time
Quick Answer: Cooking Time for Boneless Chicken Thighs
Boneless chicken thighs typically take 20-30 minutes to cook on a pellet grill at 350°F (177°C). However the exact time depends on the thickness of your chicken thighs
| Thickness | Cooking Time at 350°F |
|---|---|
| ¾ inch | 20-25 minutes |
| 1 inch | 25-30 minutes |
| 1½ inches | 30-35 minutes |
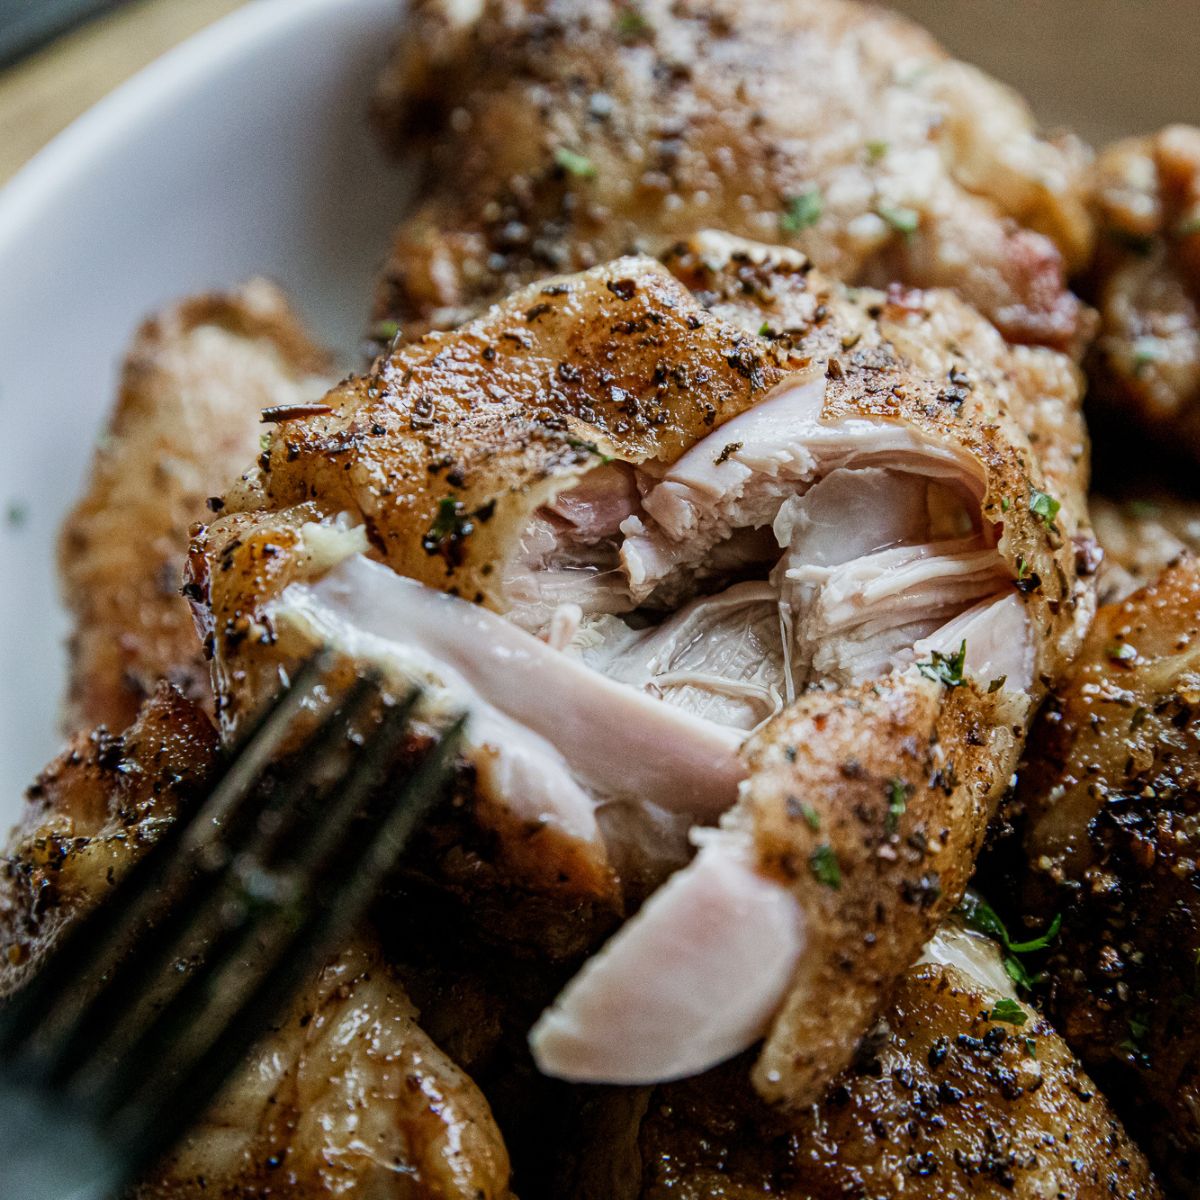
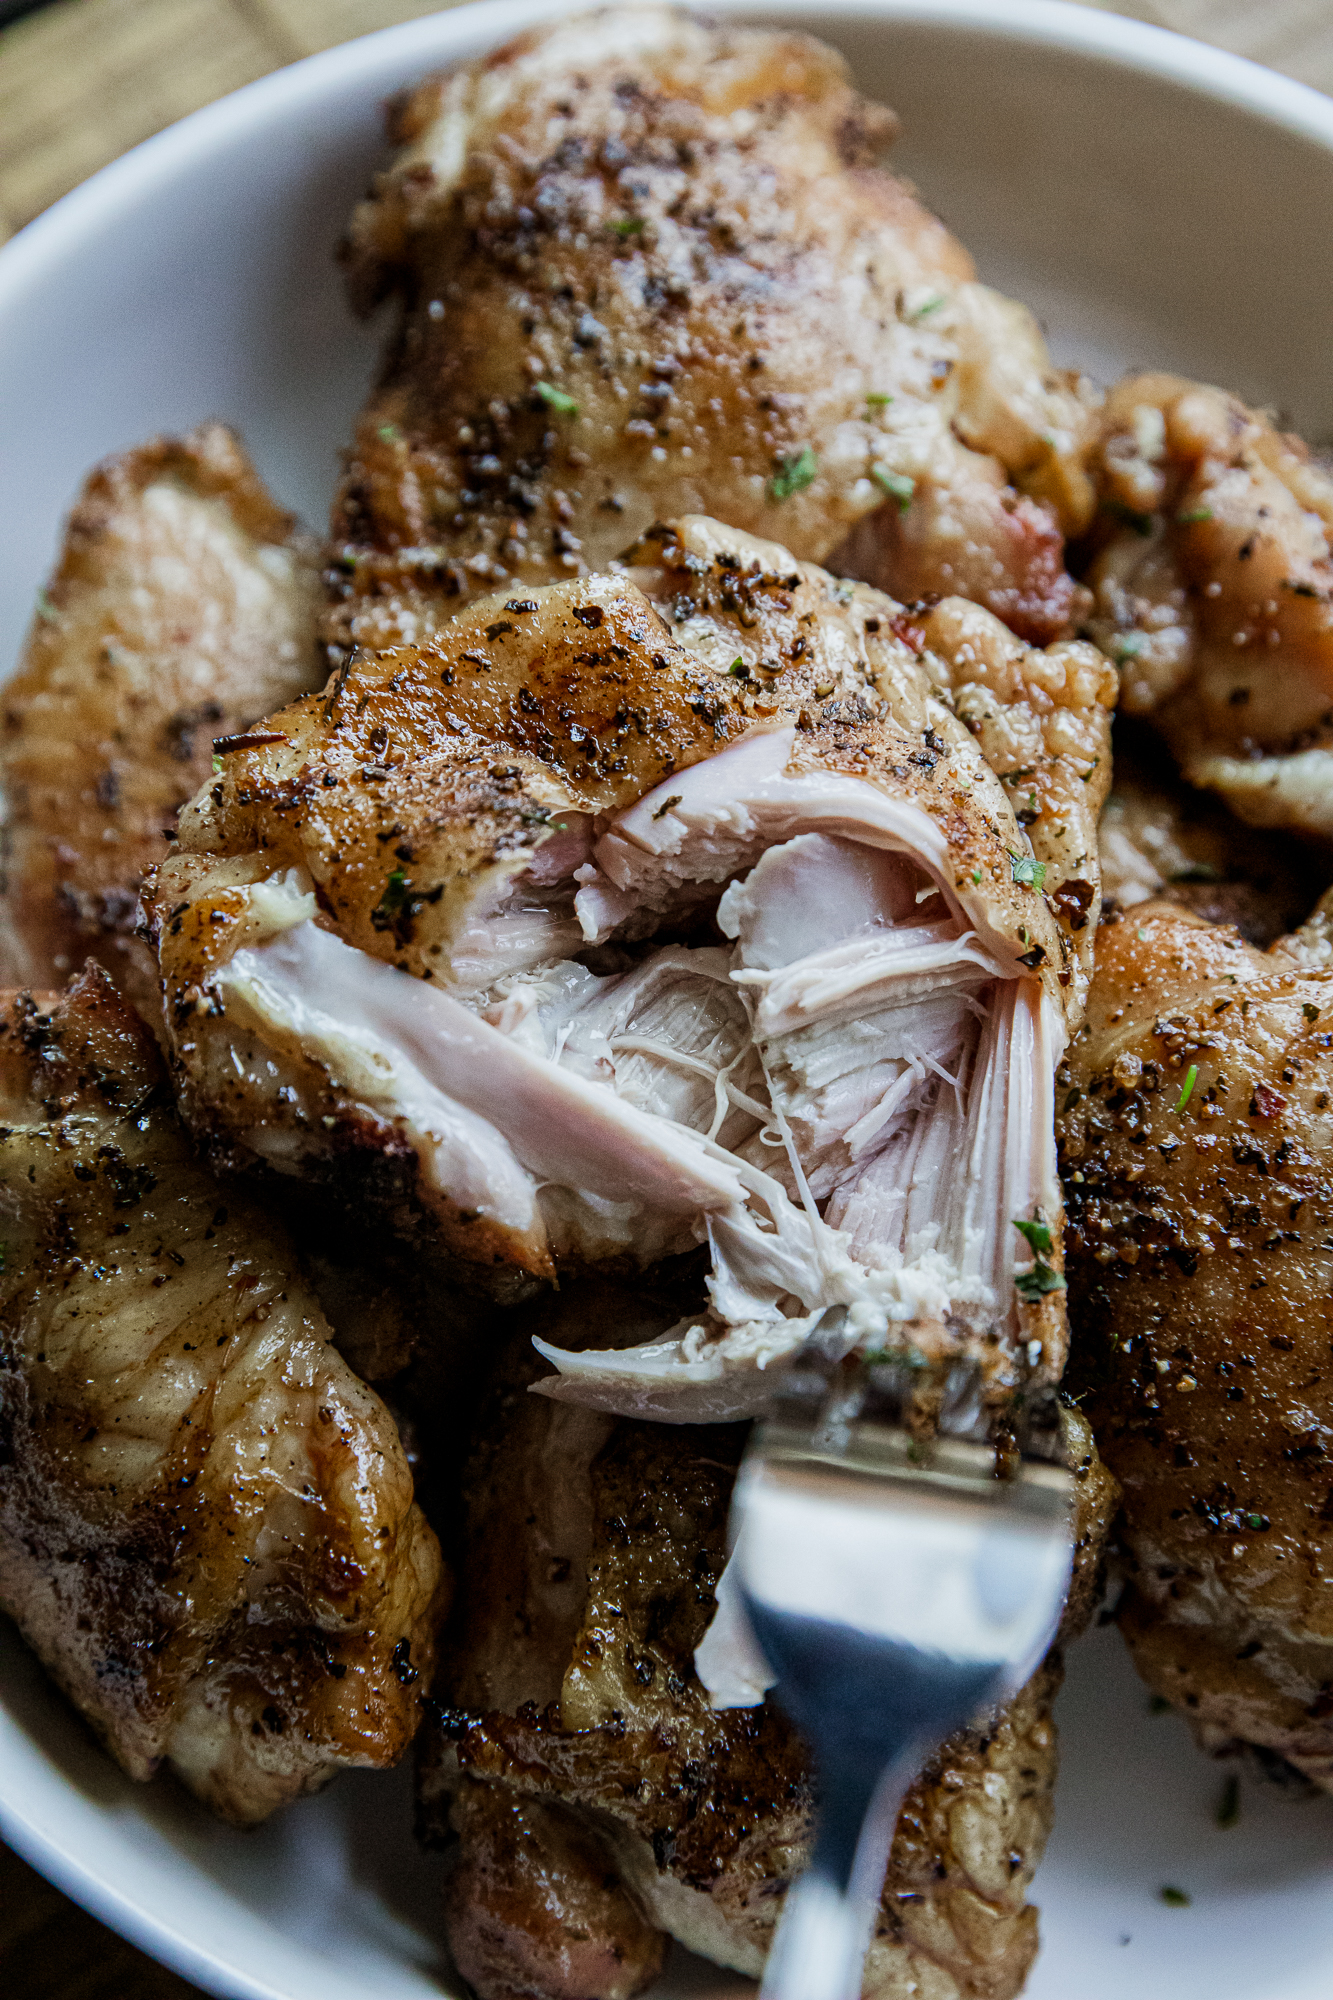
The most important factor isn’t time but temperature—always cook chicken thighs to an internal temperature of 165°F (74°C) for safety, though many chefs prefer 175-185°F (79-85°C) for more tender thighs.
Why Use a Pellet Grill for Chicken Thighs?
Before diving into cooking times, let’s talk about why pellet grills are awesome for cooking chicken thighs:
- Even cooking temperature: Pellet grills maintain consistent heat, reducing the risk of undercooking or overcooking
- Enhanced flavor profile: Wood pellets infuse your chicken with amazing smoky flavors
- Convenience: Set the temperature digitally and let the grill do the work
- Versatility: You can smoke low and slow or crank up the heat for a nice sear
My Traeger has completely changed how I cook chicken thighs—the flavor is unmatched, and I don’t have to babysit the grill constantly!
The Two-Stage Cooking Method
Many experienced grillers (including myself) swear by a two-stage cooking approach for the best results:
- Stage 1: Cook at a lower temperature (around 250°F) for about an hour to allow the chicken to absorb that wonderful smoky flavor
- Stage 2: Increase the temperature to 450°F and flip the thighs skin-side down to crisp up the skin
This method gives you the best of both worlds—deep smoky flavor AND crispy skin. It’s a game-changer!
Preparation Tips for Perfect Chicken Thighs
Before you even fire up your pellet grill, proper preparation is key:
Trimming and Drying
- Trim any excess fat (though leave some for flavor!)
- Pat the chicken thighs completely dry with paper towels
- This helps with browning and helps seasoning stick better
Seasoning Options
For a simple but delicious option:
- 2 tablespoons garlic pepper
- 2 teaspoons salt
Or get creative with your favorite rub! Apply your seasonings generously and let them sit on the chicken for at least 30 minutes (overnight in the fridge is even better).
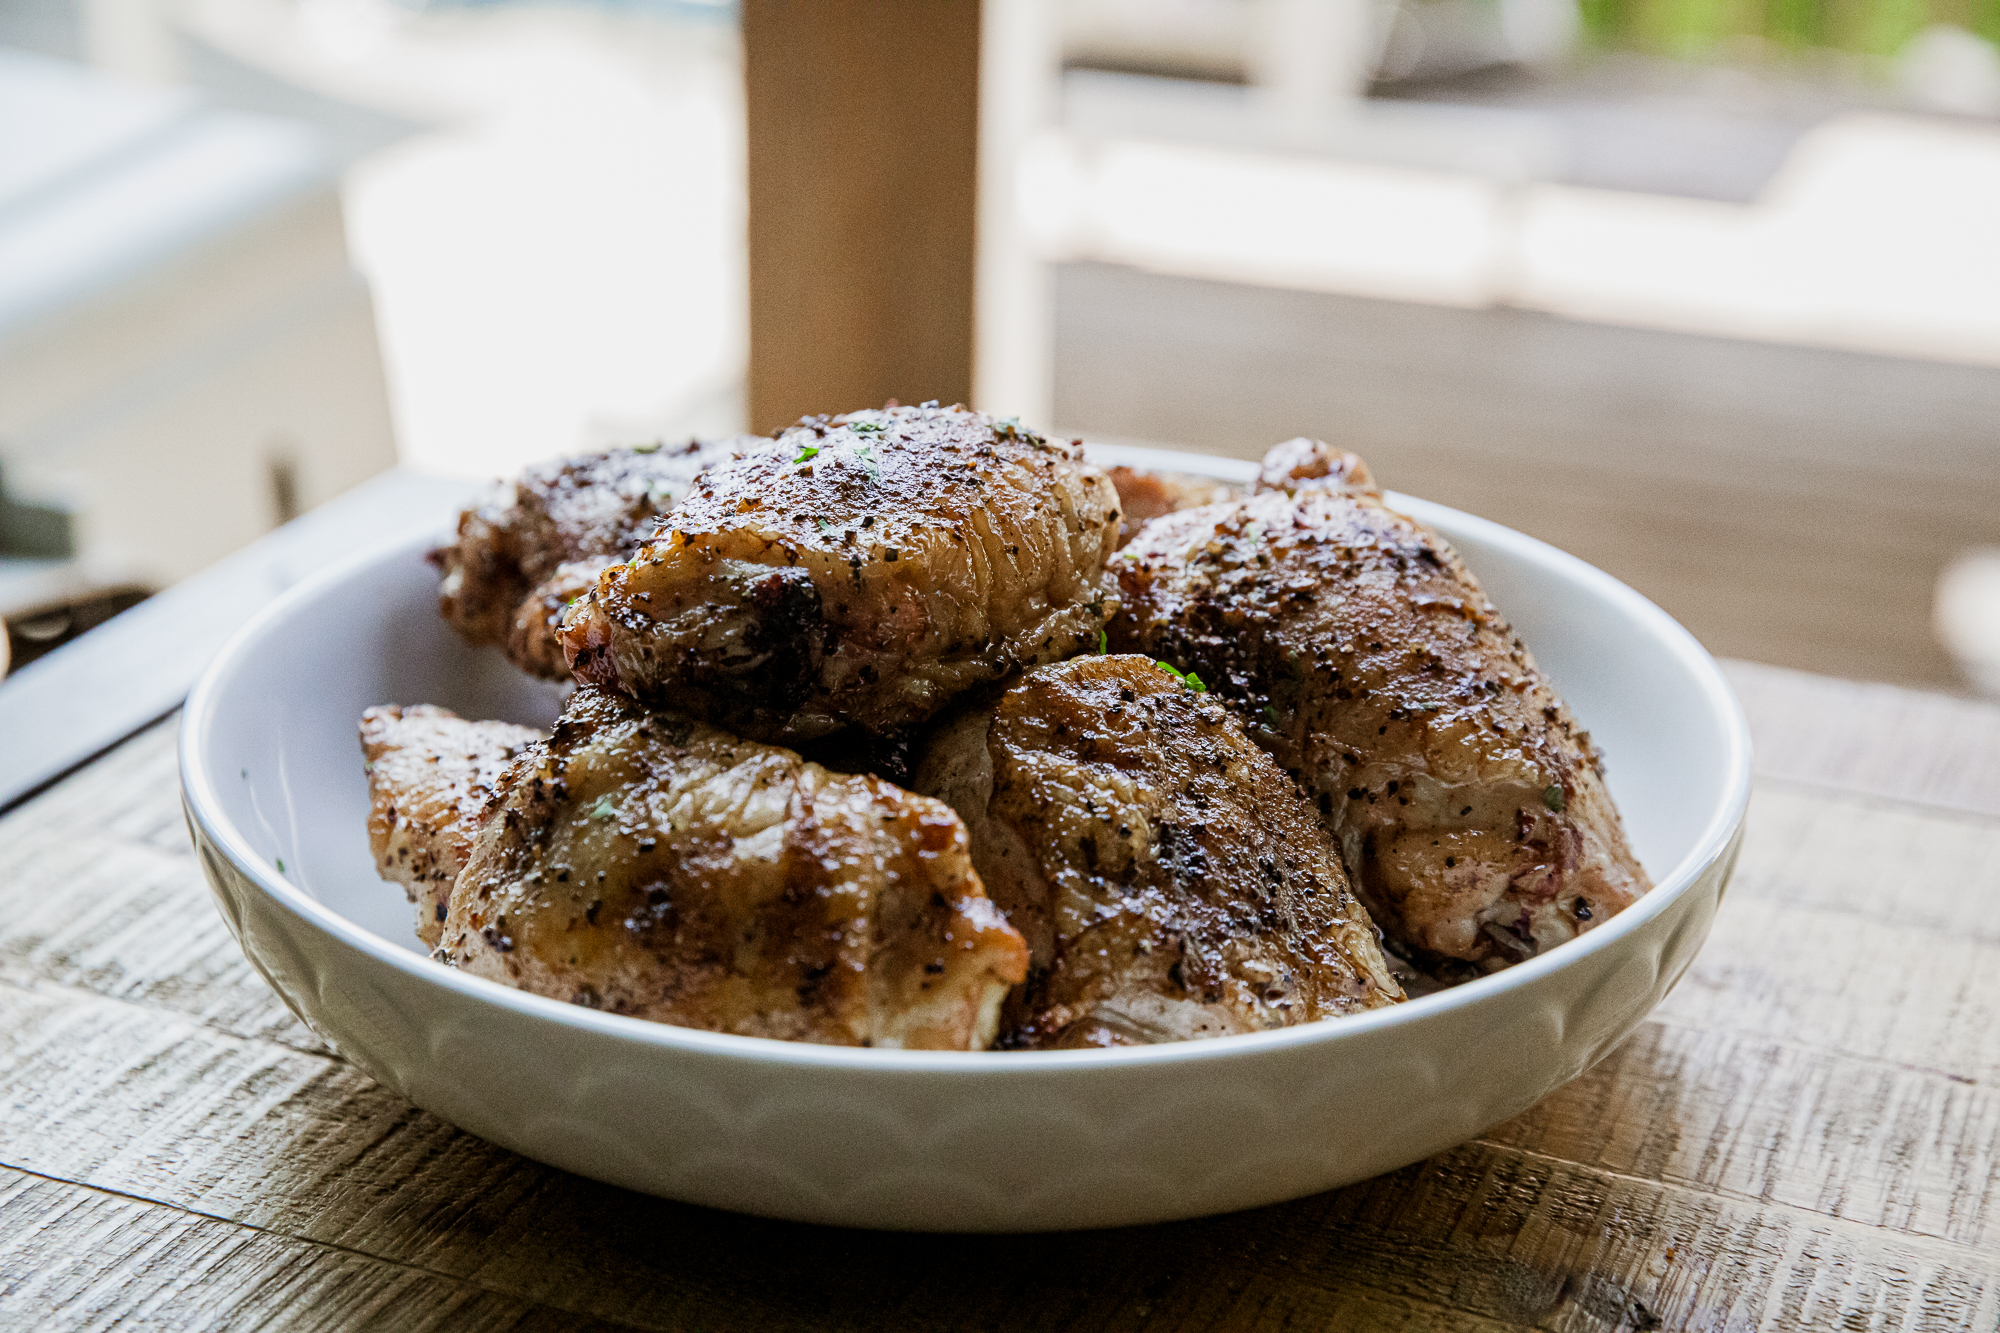
Step-by-Step Cooking Process
Alright, let’s get cooking! Here’s my foolproof method:
- Preheat your pellet grill to 250°F and close the lid
- Season your chicken thighs with garlic pepper and salt (or your preferred seasoning)
- Place the thighs on the grill with the skin side up
- Smoke for 1 hour at 250°F to develop flavor
- Increase heat to 450°F and flip the thighs so they’re skin-side down
- Grill until the skin is crispy and browned to your liking
- Flip them back over (skin-side up) and check the internal temperature
- Remove when they reach 165°F (though 175-185°F will give you more tender results)
- Let rest for 5-10 minutes before serving
Wood Pellet Recommendations
The type of wood pellets you use will significantly impact the flavor of your chicken thighs:
- Hickory or applewood: Balanced smoky and slightly sweet flavor
- Mesquite: Stronger smoke flavor
- Fruit woods (apple, cherry, pecan): Milder, sweeter smoke that complements chicken beautifully
I personally love using applewood for chicken thighs—it adds just the right amount of smoky sweetness without overpowering the meat.
Common Problems & Solutions
Problem: Dry Chicken Thighs
Solution: Use a meat thermometer and don’t overcook! Remember that boneless thighs are done at 165°F but are more tender at 175-185°F.
Problem: Chicken Skin Isn’t Crispy
Solution: Make sure to pat the chicken dry before cooking, and don’t skip the high-heat searing stage at the end.
Problem: Undercooked Chicken
Solution: Always verify doneness with a meat thermometer inserted into the thickest part of the thigh.
Problem: Inconsistent Results
Solution: Preheat your grill properly (10-15 minutes) and maintain a consistent temperature throughout cooking.
Enhancing Flavor with Marinades
While dry rubs are fantastic, marinades can take your chicken thighs to the next level:
- Marinate for at least 30 minutes, up to 24 hours in the refrigerator
- Use acid-based marinades (citrus, vinegar) to tenderize the meat
- Pat the chicken dry before grilling, even after marinating
A simple marinade I love includes olive oil, garlic, lemon juice, and herbs—it never disappoints!
Serving Suggestions
These pellet-grilled chicken thighs pair beautifully with:
- Grilled corn on the cob
- Creamy coleslaw
- Roasted garlic mashed potatoes
- Jalapeño cheddar cornbread
- Smoked scalloped potatoes
- Strawberry spinach salad
Storage and Leftovers
Got leftovers? Lucky you! Here’s how to handle them:
- Refrigerate in an airtight container for up to 3-4 days
- Reheat in a 350°F oven until warmed through to maintain crispy skin
- Freeze for up to 2-3 months wrapped tightly in plastic wrap or freezer-safe bags
Pro tip: I often cook extra chicken thighs specifically for leftovers—the meat is amazing in salads, pasta dishes, or homemade chicken soup!
FAQ About Cooking Boneless Chicken Thighs on a Pellet Grill
Can I use this method for bone-in chicken thighs?
Yes! You’ll just need to adjust cooking time—bone-in thighs typically take longer. The two-stage cooking method works great for bone-in thighs too.
Should I brine my chicken thighs before grilling?
While not necessary (especially for naturally juicy thighs), brining can enhance moisture and flavor. A simple brine of salt, sugar, and water for 1-2 hours works wonders.
What if my grill temperature fluctuates?
Try to place your grill in a sheltered area, especially on windy days. Using a grill blanket in cold weather can help maintain consistent temperatures.
Can I prep the chicken ahead of time?
Absolutely! You can season the chicken up to 12 hours in advance and store it covered in the fridge. This actually improves flavor and helps the skin dry out slightly for better crisping.
What are good substitutions for garlic pepper?
If you don’t have garlic pepper, mix black pepper, garlic powder, and a pinch of crushed red pepper for a similar flavor profile.
Final Thoughts
Cooking boneless chicken thighs on a pellet grill isn’t complicated once you understand the basics of time and temperature. Remember, the goal is juicy, flavorful meat with crispy skin—and that’s achieved through the two-stage cooking process and careful temperature monitoring.
With practice, you’ll develop an intuition for perfect timing based on your specific grill and preferences. Don’t be afraid to experiment with different wood pellets, seasonings, and techniques to find your perfect method.
Now fire up that pellet grill and get cooking! Your taste buds (and dinner guests) will thank you.

Pellet Grill Chicken Thighs Shopping List
Wondering if you have to hit the store? Here’s the list of items you’ll need to make this recipe. For specific amounts, please refer to the printable recipe card at the bottom of the post.
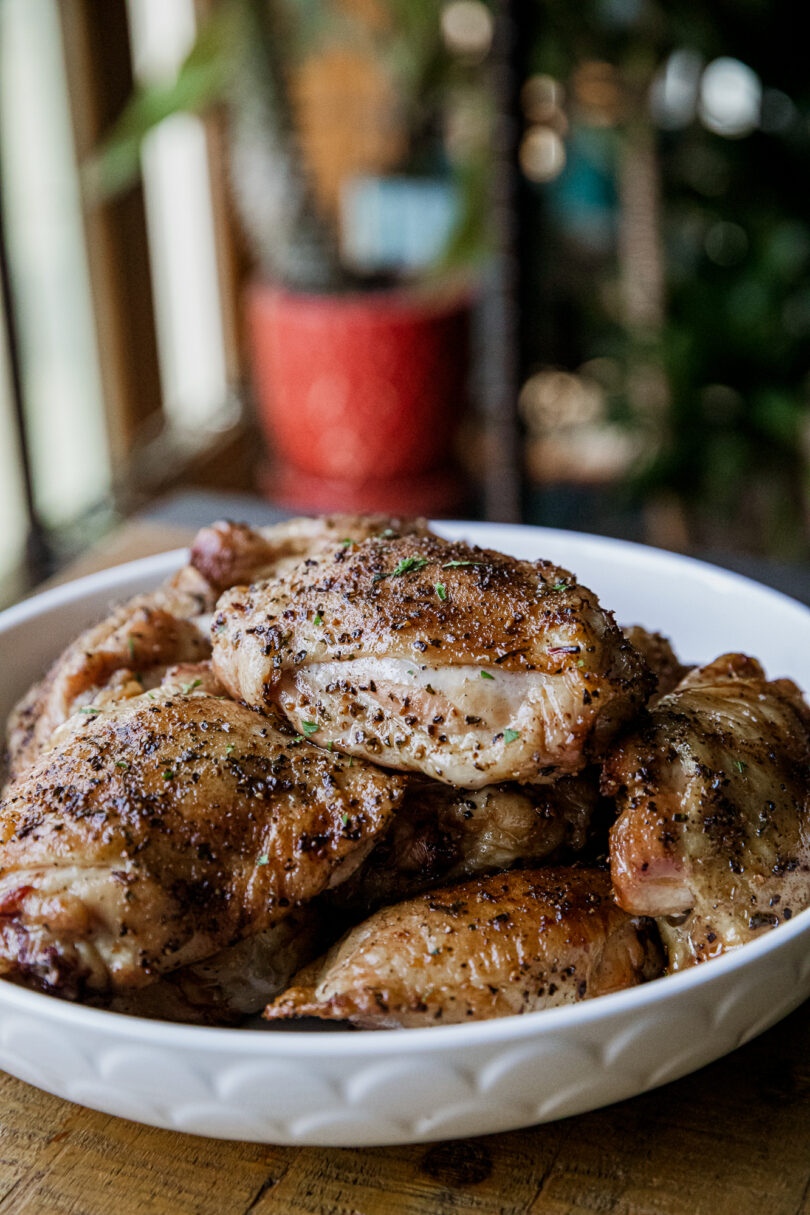
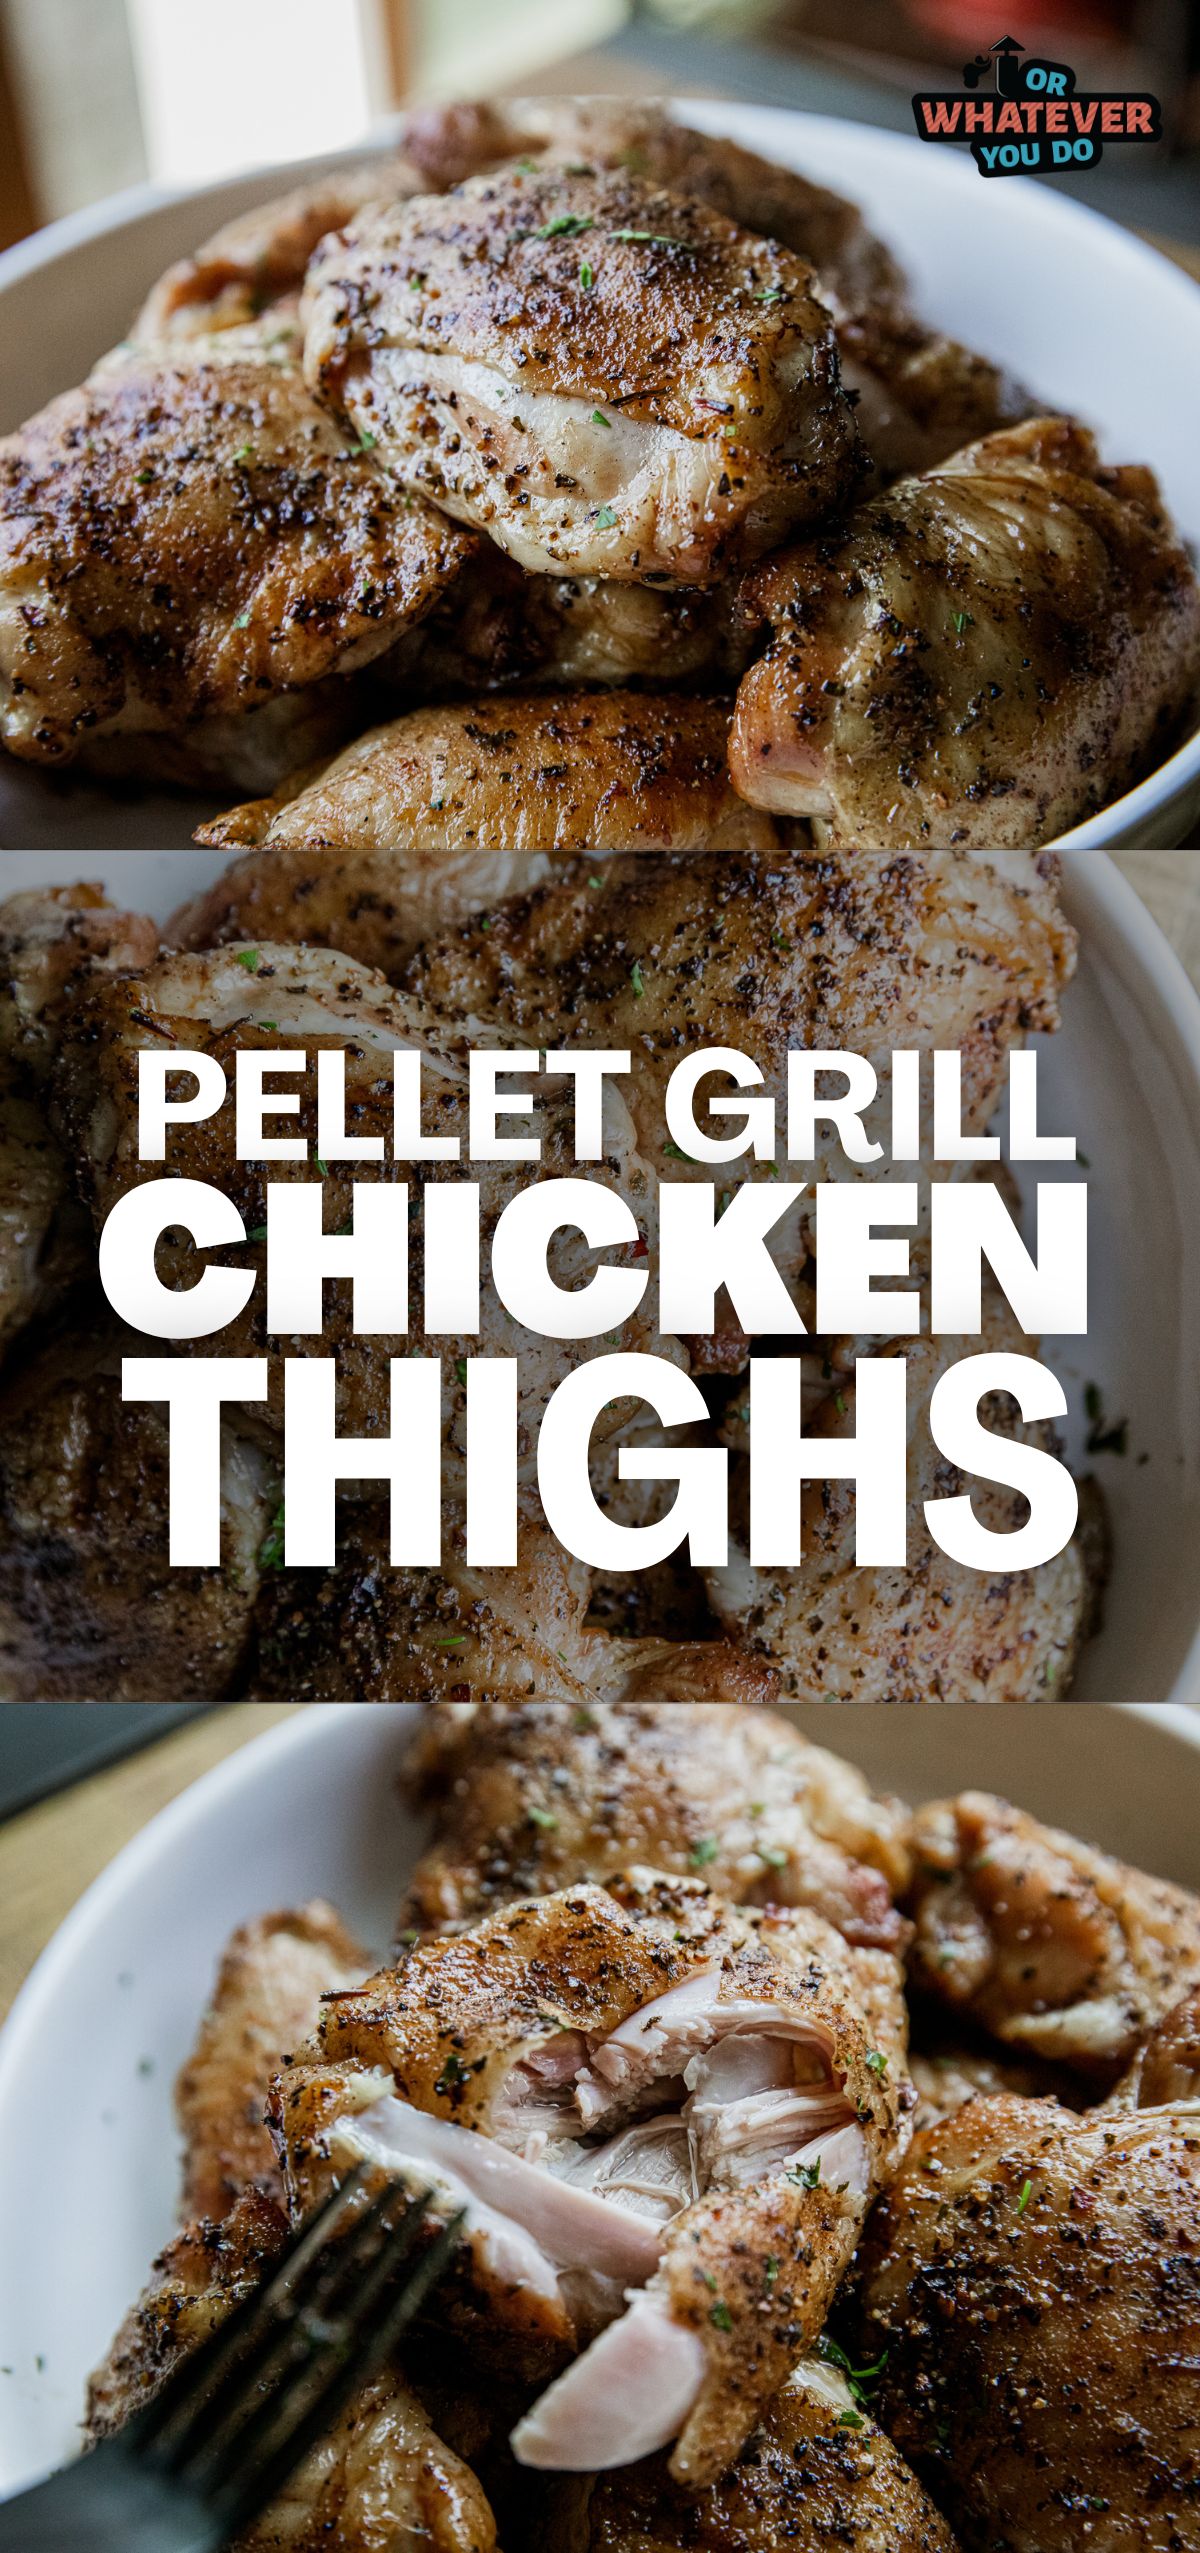
- Bone-In Chicken Thighs – This cut holds up well to long cooking and stays juicy; bone-in adds extra flavor.
- Garlic Pepper – A bold, aromatic spice blend that adds depth without overpowering the chicken.
- Salt – Enhances the natural flavor of the meat and helps the skin crisp up.
How To Make Chicken Thighs in the Pellet Grill
This is just the overview so you can see what you’re actually getting into here. When you are cooking, you’ll want to use the full recipe at the bottom of the page.
- Preheat the Grill – Set your pellet grill to 250°F with the lid closed and let it come to temperature.
- Season the Chicken – Rub the chicken thighs all over with garlic pepper and salt.
- Smoke the Chicken – Place thighs skin-side up on the grill grates. Smoke for 1 hour.
- Crisp the Skin – Increase heat to 450°F, flip thighs skin-side down, and grill until the skin browns and crisps.
- Check and Finish – Flip them back skin-side up, check internal temperature (look for at least 165°F), then remove and serve hot.
Refrigerate leftovers in an airtight container for up to 4 days. Reheat in the oven at 350°F until warmed through to maintain crisp skin.
You can season the chicken up to 12 hours in advance and store it covered in the fridge. This can actually improve the flavor and help the skin dry out slightly, aiding crispness.
Use a mix of black pepper, garlic powder, and a pinch of crushed red pepper if garlic pepper isn’t available.
Hickory or applewood give a nice balance of smoky and slightly sweet flavor, but mesquite works if you prefer a stronger smoke.
I like to toss out some easy sides that can also go on the smoker. Try my Smoked Scalloped Potatoes and this strawberry spinach salad!