Have you ever bitten into a chicken wing expecting that satisfying crunch, only to find it disappointingly soggy? I’ve been there too many times to count! After years of trial and error (and many mediocre wing nights), I’ve finally cracked the code on what truly makes chicken wings crispy – and more importantly, what keeps them that way even after saucing.
Whether you’re prepping for game day, planning a party or just craving that perfect wing experience at home this guide will transform your chicken wing game forever.
The Science Behind Crispy Chicken Wings
Before diving into specific methods, let’s understand why some wings get crispy while others don’t. The enemy of crispiness is moisture. When moisture remains on the skin of chicken wings, it prevents that beautiful crackling exterior from forming.
The goal of any good wing technique is to
- Remove excess moisture from the skin
- Create a structure that maintains crispiness
- Apply the right cooking technique
Secret Ingredient #1: Baking Powder – The Game Changer
Perhaps the most surprising yet effective trick for crispy wings is baking powder. Yes, that humble ingredient sitting in your pantry!
Why Baking Powder Works:
- It’s alkaline (the opposite of acidic)
- It raises the pH level of chicken skin
- This helps break down peptide bonds in the skin
- The result? Skin that browns and crisps more effectively
Important: Use aluminum-free baking powder to avoid any bitter taste. Some people (about 10%) are sensitive to the taste of aluminum in baking powder, which can ruin your wings.
For baked wings, simply toss them with about 1 tablespoon of baking powder and 1/2 teaspoon of salt per 10 whole wings (cut into flats and drumettes). That’s all you need – you’re not trying to create a coating, just changing the skin’s pH level.
Secret Ingredient #2: Potato Starch for Even Better Results
While cornstarch has long been a go-to for crispiness, potato starch actually creates an even crispier texture that lasts longer, according to chef Stéphane Ung and testing by Milk Street.
Why potato starch works better:
- Larger granule size than cornstarch
- Granules gel less readily, giving moisture more time to evaporate
- Higher percentage of amylopectin that resists retrogradation (the process that makes starch lose crunchiness)
The Perfect Three-Step Baking Method
One of the most popular methods for crispy baked wings follows this simple three-step process:
- Dry & Coat: Pat wings dry thoroughly, then coat lightly with baking powder and salt
- Low-Temperature Drying: Bake at 250°F for 30 minutes (this starts rendering fat and drying the skin)
- High-Temperature Crisping: Without removing from oven, increase to 425°F and bake for 40-50 minutes until golden and crispy
This method, loved by hundreds of thousands of cooks, produces wings so crispy you’d swear they were deep-fried!
The Enhanced Brining Method
For even better results, try this advanced technique:
- Brine wings in a mixture of water, salt, and baking powder
- This seasons the meat throughout
- The baking powder flavor becomes undetectable
- The skin gets even crispier, sometimes even bubbling up like deep-fried wings
Secret Ingredient #3: Cornstarch for Extra Crunch
While potato starch might be superior, cornstarch remains an excellent option for creating crispy wings. Unlike baking powder, which changes the skin’s pH, cornstarch creates a coating that itself becomes crispy when cooked.
When using cornstarch:
- Apply it as a light dusting
- It absorbs surface moisture
- Creates a delicate, crispy exterior
Secret Ingredient #4: The Perfect Marinade
Marinating wings can add flavor, but certain marinade ingredients can also contribute to crispiness:
- Acidic elements: Vinegar, citrus juice, or yogurt tenderize the meat
- Sweeteners: Honey or brown sugar caramelize during cooking, adding crunch
- Seasonings: Paprika, cayenne, garlic powder enhance flavor
Just remember to pat wings dry thoroughly after marinating to remove excess moisture before cooking.
Secret Ingredient #5: The Wire Rack Technique
Not exactly an ingredient, but using a wire rack when baking wings is crucial for all-around crispiness:
- Elevates wings above the baking sheet
- Allows air to circulate completely around each wing
- Prevents wings from sitting in their own juices
- Creates even browning and crisping
Secret Ingredient #6: Proper Wing Selection
The wings themselves matter! For optimal crispiness:
- Choose fresh, high-quality wings
- Look for wings with a good meat-to-skin ratio
- Consider organic or free-range options for better texture
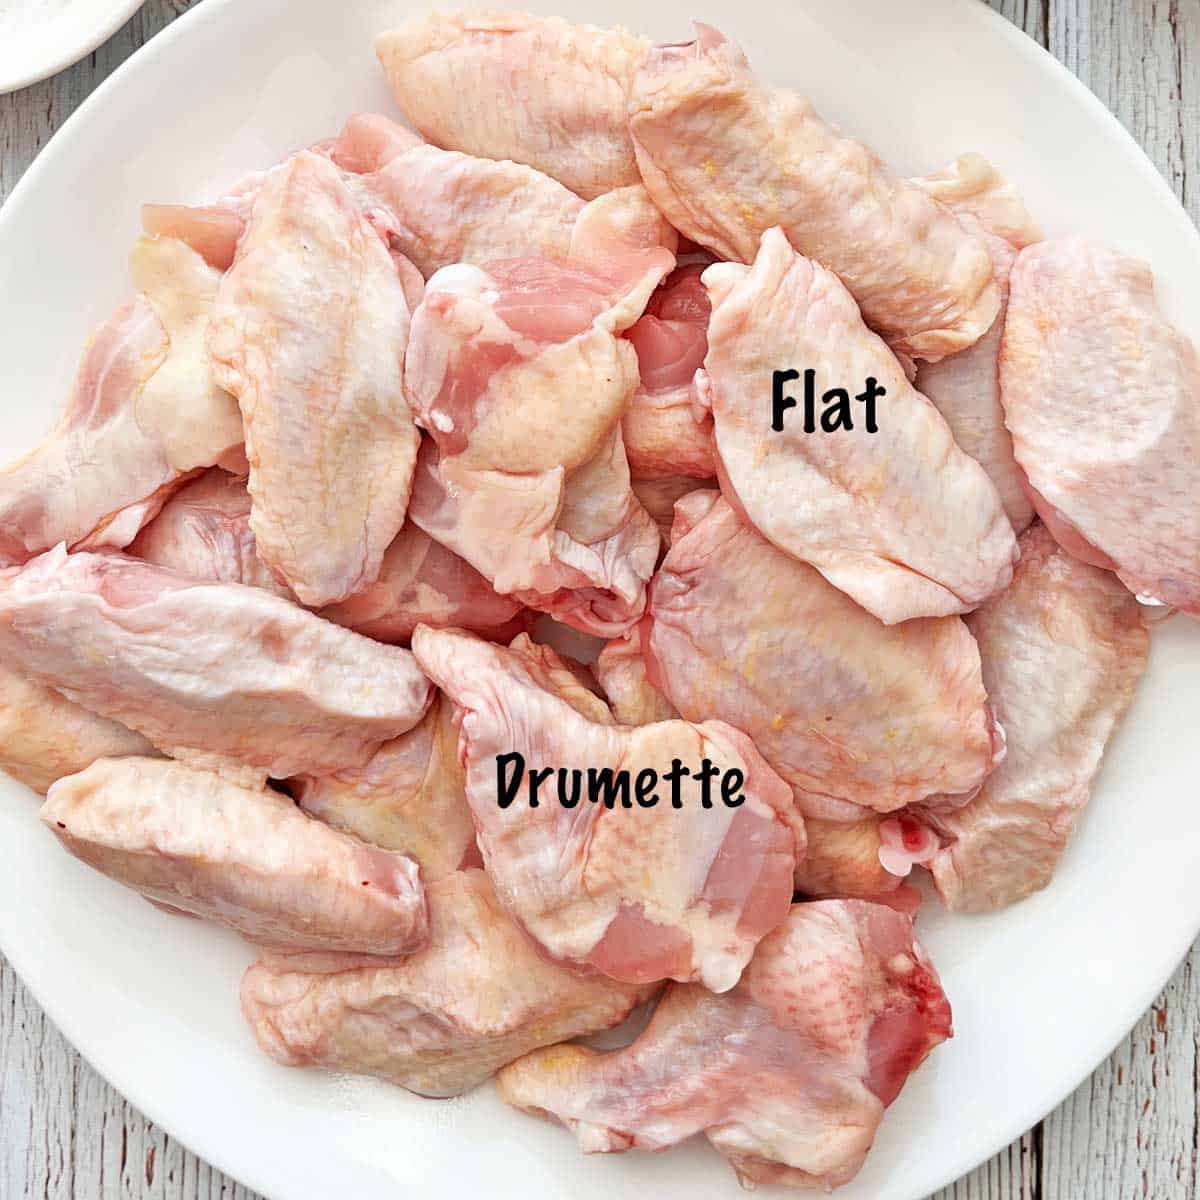
- Separate whole wings into drumettes and flats for more even cooking
Secret Ingredient #7: Proper Drying Technique
Never underestimate the power of thoroughly drying your wings:
- Pat wings completely dry with paper towels
- For extra crispiness, refrigerate uncovered for at least an hour (or overnight)
- This allows additional moisture to evaporate from the skin
Best Cooking Methods for Crispy Wings
While we’ve focused a lot on baking, let’s compare all the major cooking methods:
| Method | Pros | Cons | Crispiness Level |
|---|---|---|---|
| Baking | Easy, hands-off, great for crowds | Takes longer | Excellent with baking powder |
| Deep Frying | Classic, very crispy | Messy, uses lots of oil | Superior |
| Air Frying | Less oil, convenient | Limited capacity | Very good |
| Grilling | Great flavor, less fat | Requires attention | Good |
Keeping Wings Crispy After Saucing
This is where many wing recipes fail – the sauce makes them soggy! Here are some tips:
- Make sure wings are completely cooked and crispy before saucing
- Allow wings to rest 5 minutes after cooking before saucing
- Serve sauce on the side for dipping (best option for maximum crispiness)
- If tossing with sauce, use warmed sauce and toss just before serving
- Consider dry rubs instead of wet sauces
Troubleshooting Common Wing Problems
| Problem | Cause | Solution |
|---|---|---|
| Wings not crispy enough | Too much moisture | Dry thoroughly, use baking powder |
| Bitter taste | Using baking soda or aluminum baking powder | Use aluminum-free baking powder |
| Uneven crispiness | Overcrowding the pan | Use wire rack, space wings apart |
| Wings too dry | Overcooked | Use meat thermometer (165°F is done) |
My Personal Favorite Wings Recipe
After trying countless methods, here’s my go-to approach that never fails:
- Pat 20 wing pieces (10 whole wings cut into sections) completely dry
- Toss with 1 tablespoon aluminum-free baking powder and 1/2 teaspoon salt
- Place on wire rack over foil-lined baking sheet
- Refrigerate uncovered for 1-2 hours
- Bake at 250°F for 30 minutes
- Increase temp to 425°F (without removing wings) and bake 40-50 minutes until golden and crispy
- Let rest 5 minutes
- Season with garlic powder, salt, and pepper (or your favorite dry seasonings)
- Serve with dipping sauces on the side
This method gives me that perfect combination of juicy meat and crackly skin every single time!
Final Thoughts
Crispy chicken wings are totally achievable at home – no deep fryer required! The secret lies in understanding the science of crispiness and applying the right techniques. Whether you choose baking powder, potato starch, cornstarch, or a combination, you now have all the tools to make wings that will impress even the most dedicated wing enthusiasts.
What’s your favorite wing technique? I’d love to hear your experiences in the comments below!
Happy cooking (and crunching)!
P.S. I’ve probably made about 500 batches of wings over the years, and I still get excited when I hear that first crunch. There’s just nothin’ like it!

Whole Wings vs. Party Wings
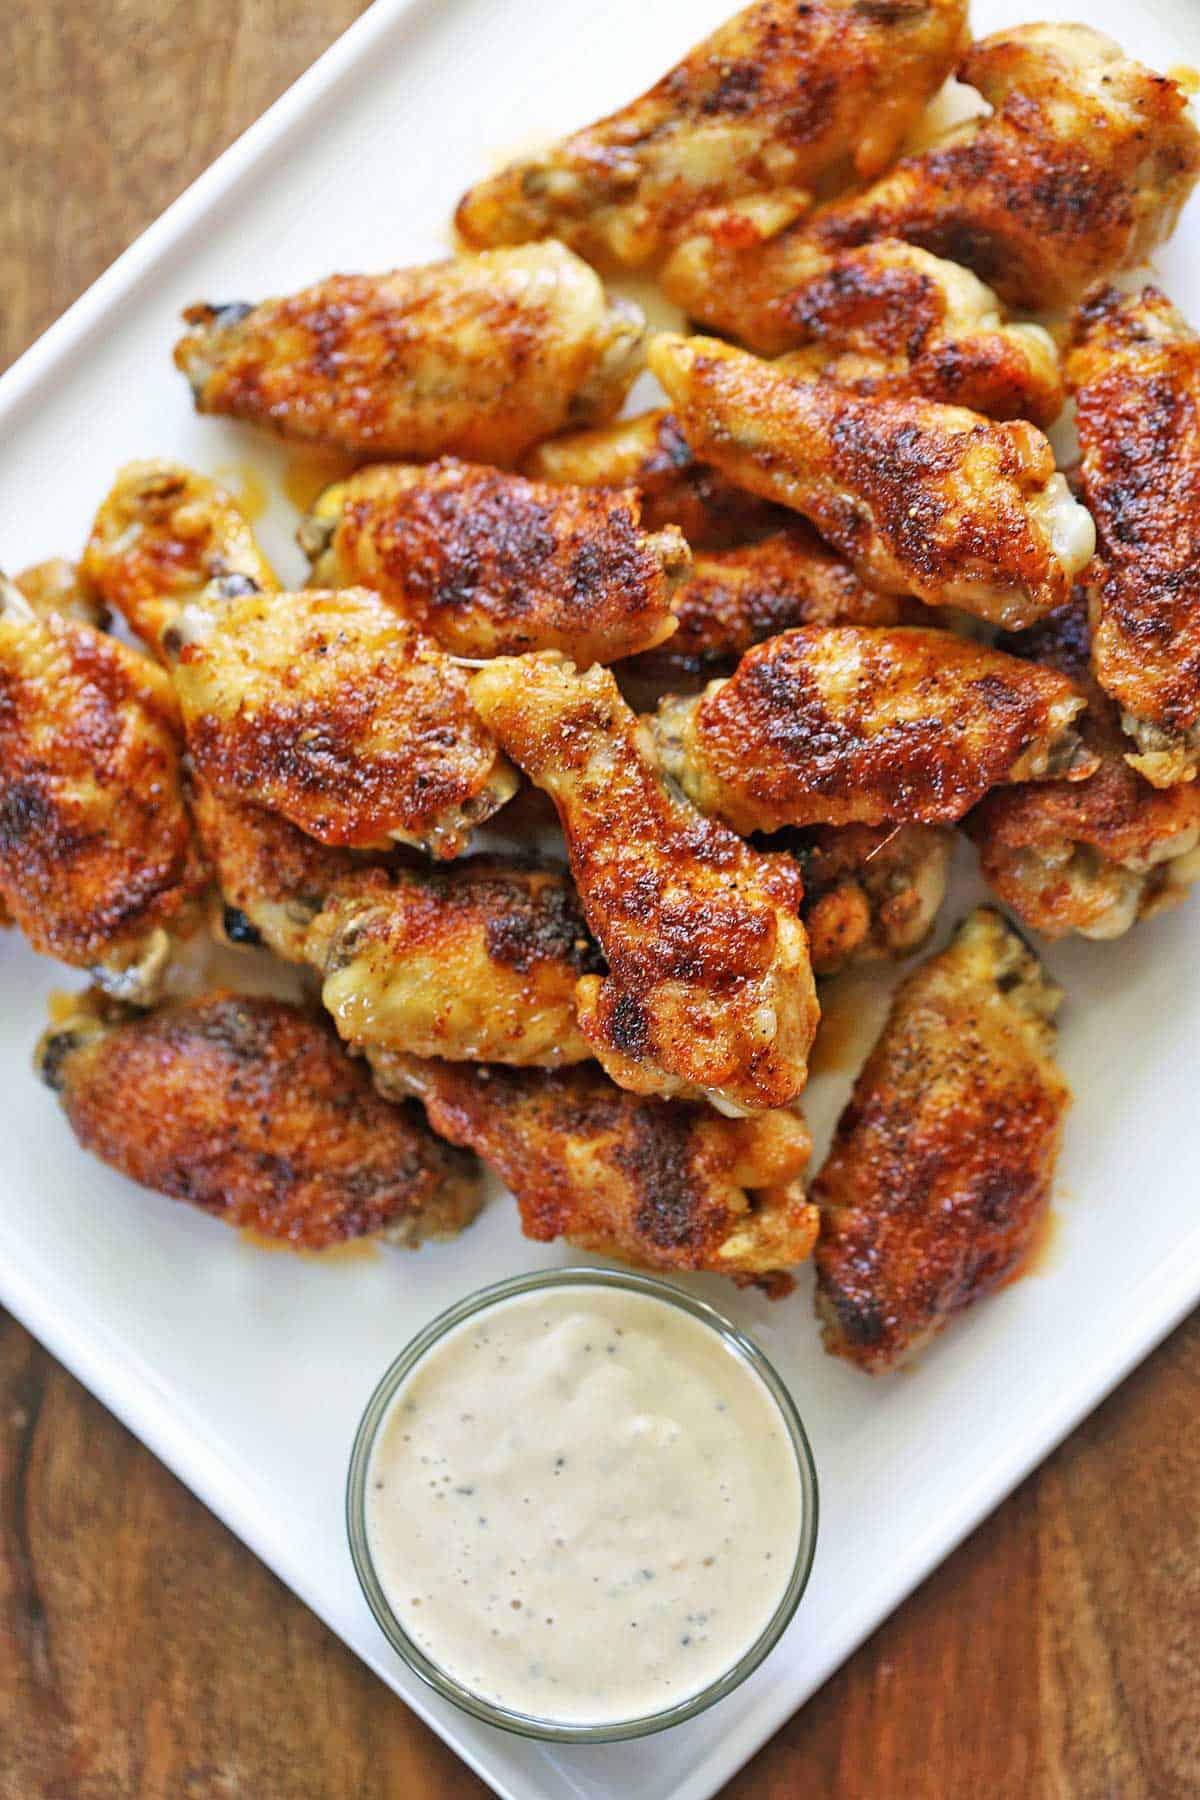
I usually buy chicken wings labeled as “party wings,” as shown in the photo below. This means the whole wings were split into flats and drumettes, with the tips removed.
But you can use this recipe exactly as written to bake the whole wings shown in the below:
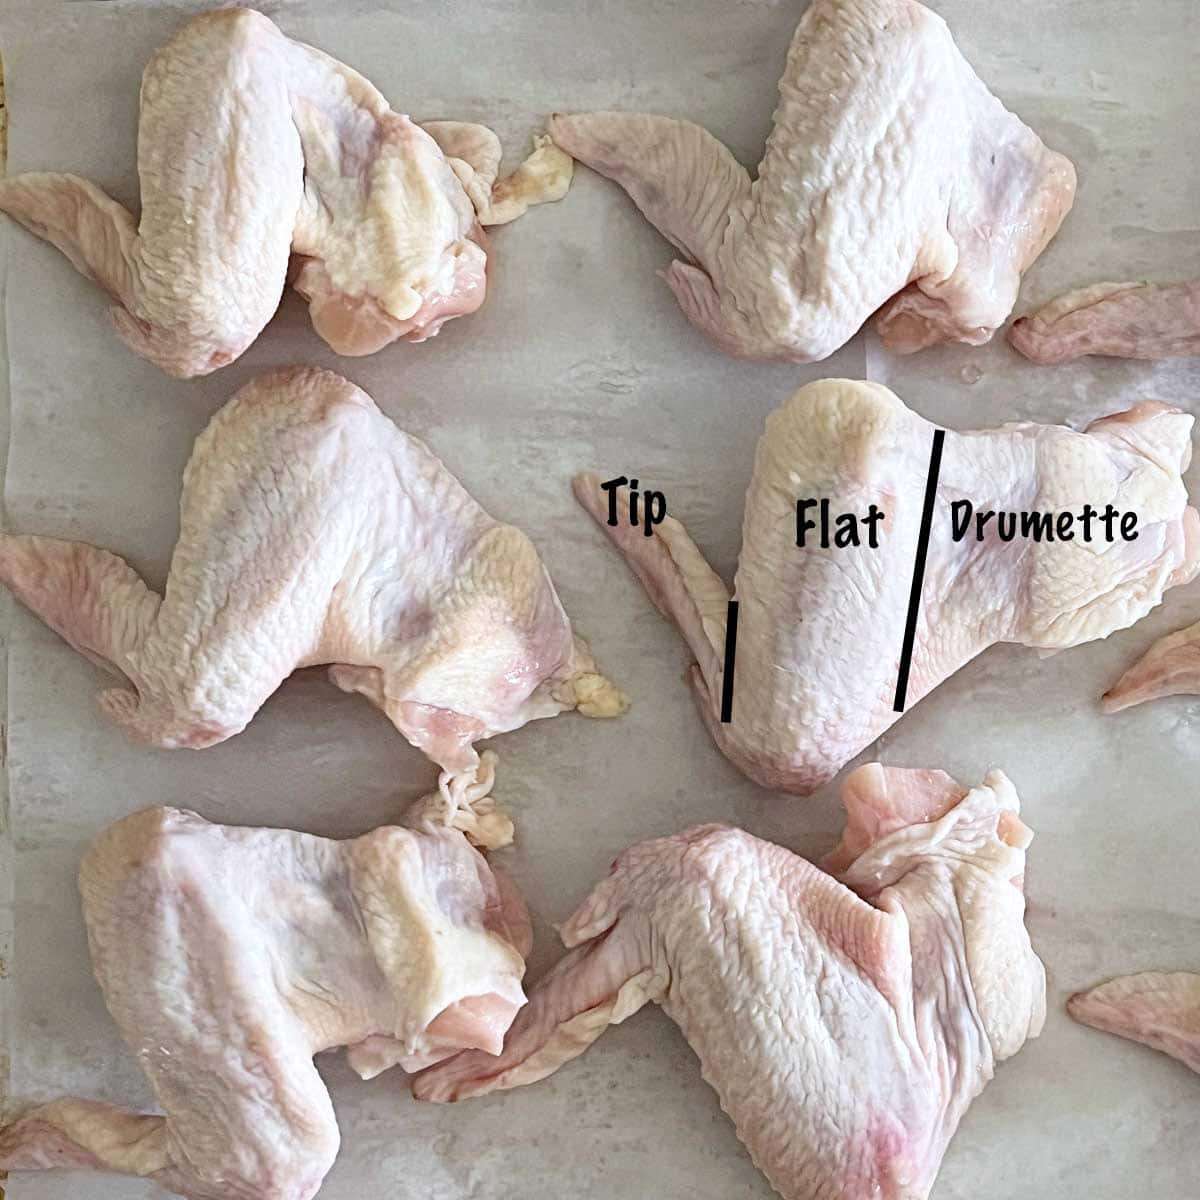
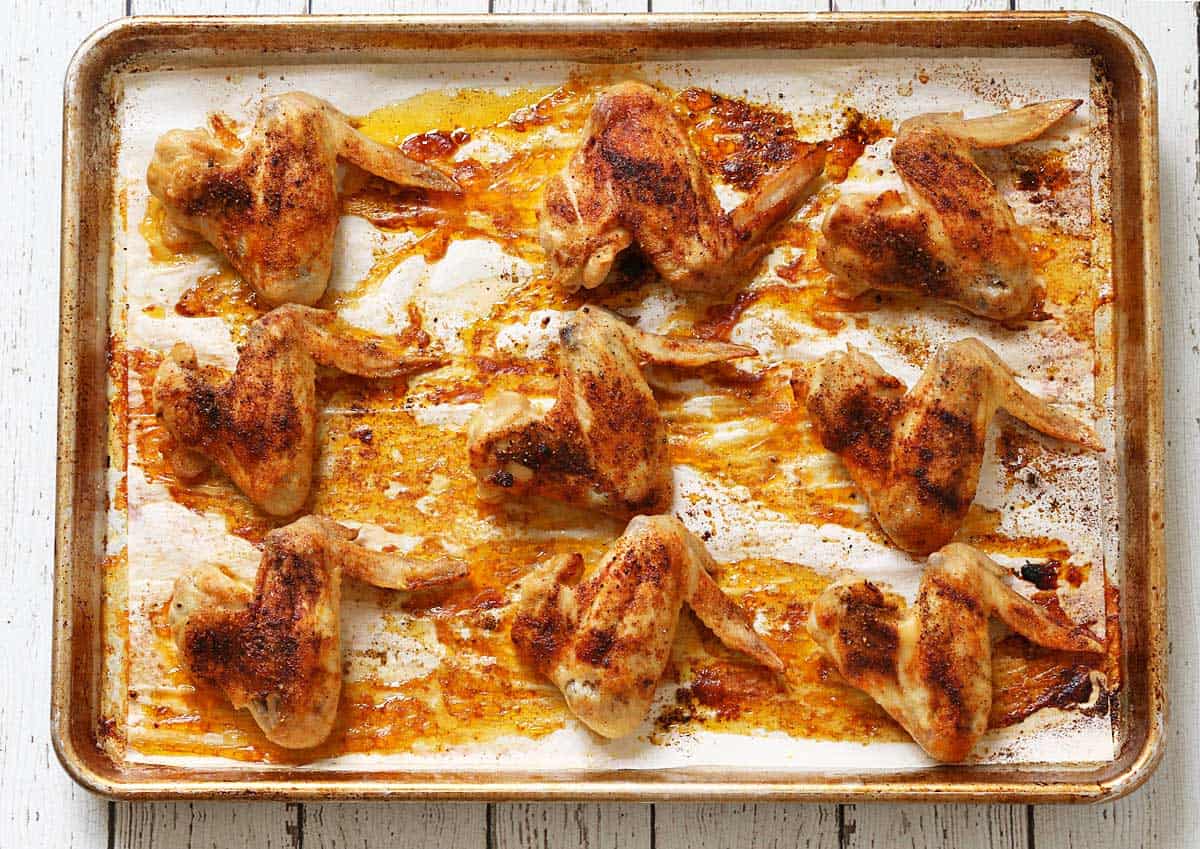
If using whole wings, the steps for baking them are identical. This is what they look like after those extra 30 minutes in a 170°F oven:
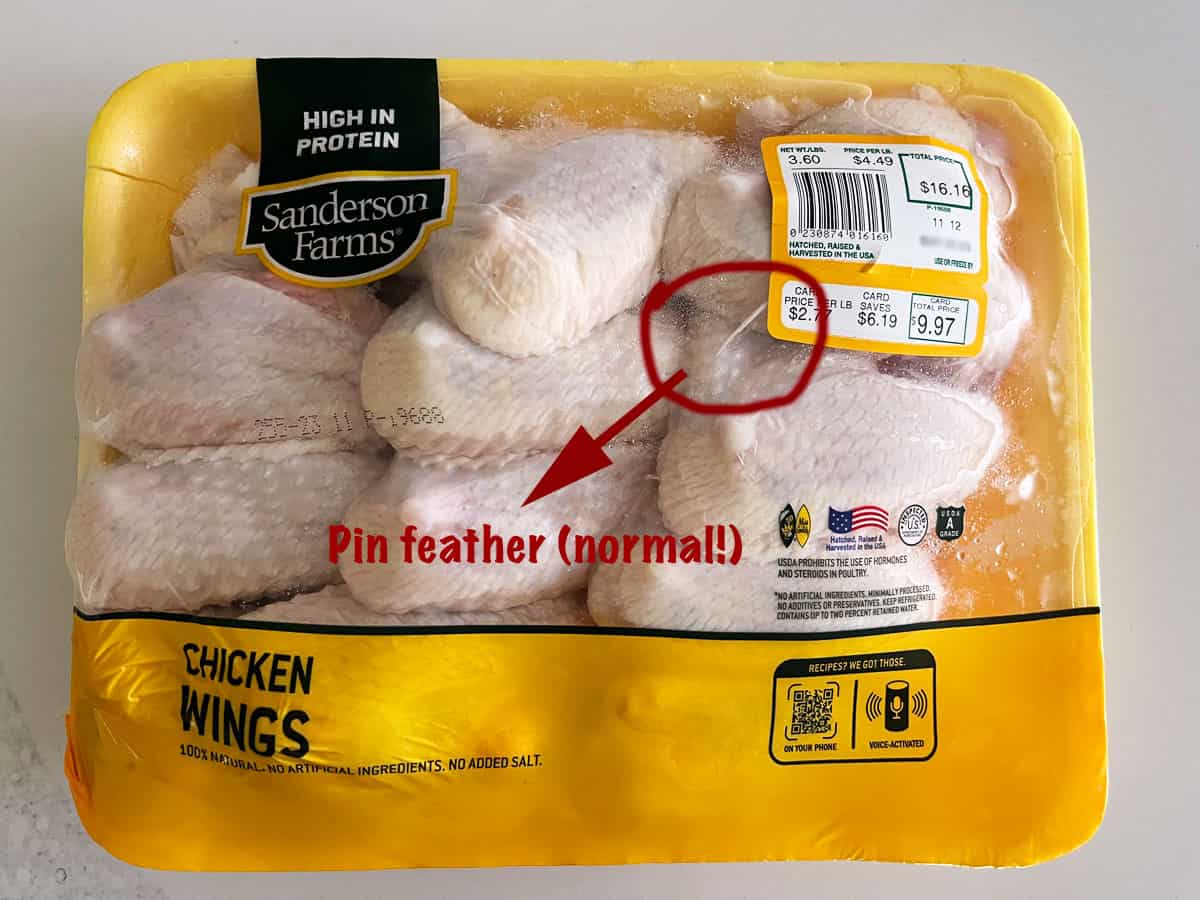
In the photo above, you can see a pin feather sticking out of one of the wings. Thats completely normal! Simply pull it out with your fingers. It will be easier to pull out with a paper towel or kitchen tweezers.
Theres no need for flour. The skin crisps beautifully in the hot oven, especially if you keep the wings in a warm oven for 30-60 extra minutes after theyre done.
Absolutely. Oven-baking makes them just as crispy on the outside and juicy on the inside as frying them, and its a much easier cooking method.
No. As you can see in this buffalo wings recipe, you bake them first, then dip the cooked wings in the sauce.
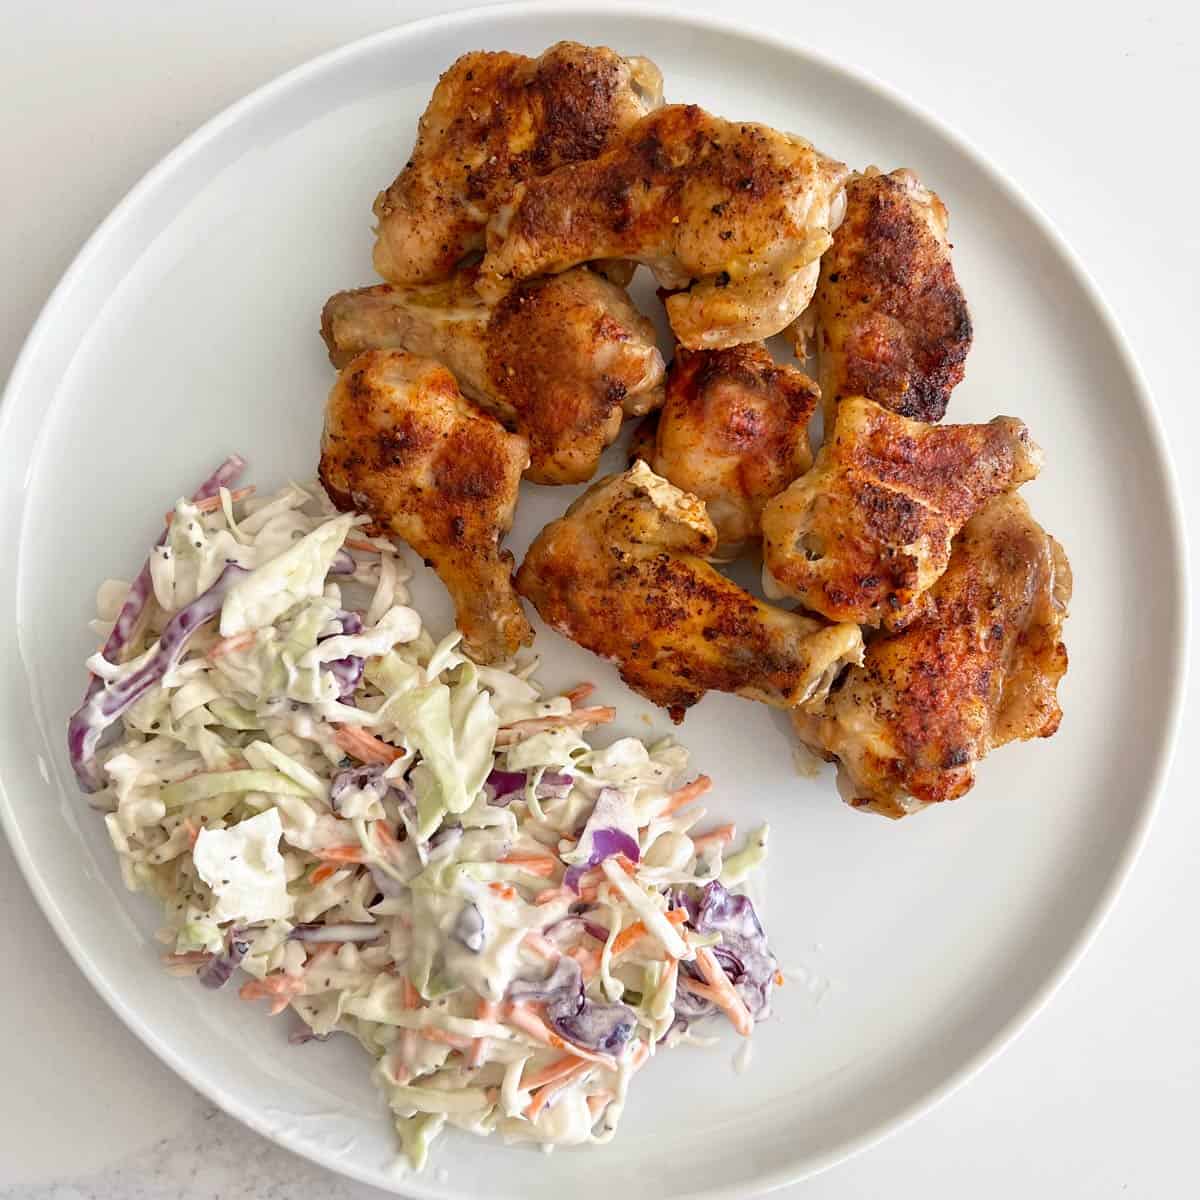
These wings are the perfect game-day appetizer, but I often serve them as our main course for dinner. Since I bake them in a 400°F oven, I like to serve them with a side dish I can cook in the same oven, such as:
They also pair well with salads, including cucumber salad, tomato salad, and coleslaw – as shown in the photo below:
You can keep the leftovers in an airtight container in the fridge for 3-4 days. Reheat them uncovered in a 350°F oven to re-crisp the skin.
You can also freeze the leftovers. Place the cooked wings in freezer bags and freeze them for up to three months. Thaw them overnight in the fridge, then reheat them.
More Chicken Wing Recipes
Sign up for weekly meal ideas, cooking tips, and real food recipes straight to your inbox! We wont send you spam. Unsubscribe at any time.

The SECRET To Crispy Oven Baked Chicken Wings
FAQ
What is the trick to getting crispy wings?
For Crispy Wings, DO THIS:
Use paper towels to blot away any moisture, pressing firmly on the wings. The less moisture left in the skin, the more crispy your wings will be! Use Baking Powder. Baking powder will help ensure that your wings brown nicely and it also helps create that desired crispy coating.
Is cornstarch or baking powder better for crispy wings?
Is it baking soda or baking powder that makes chicken crispy?