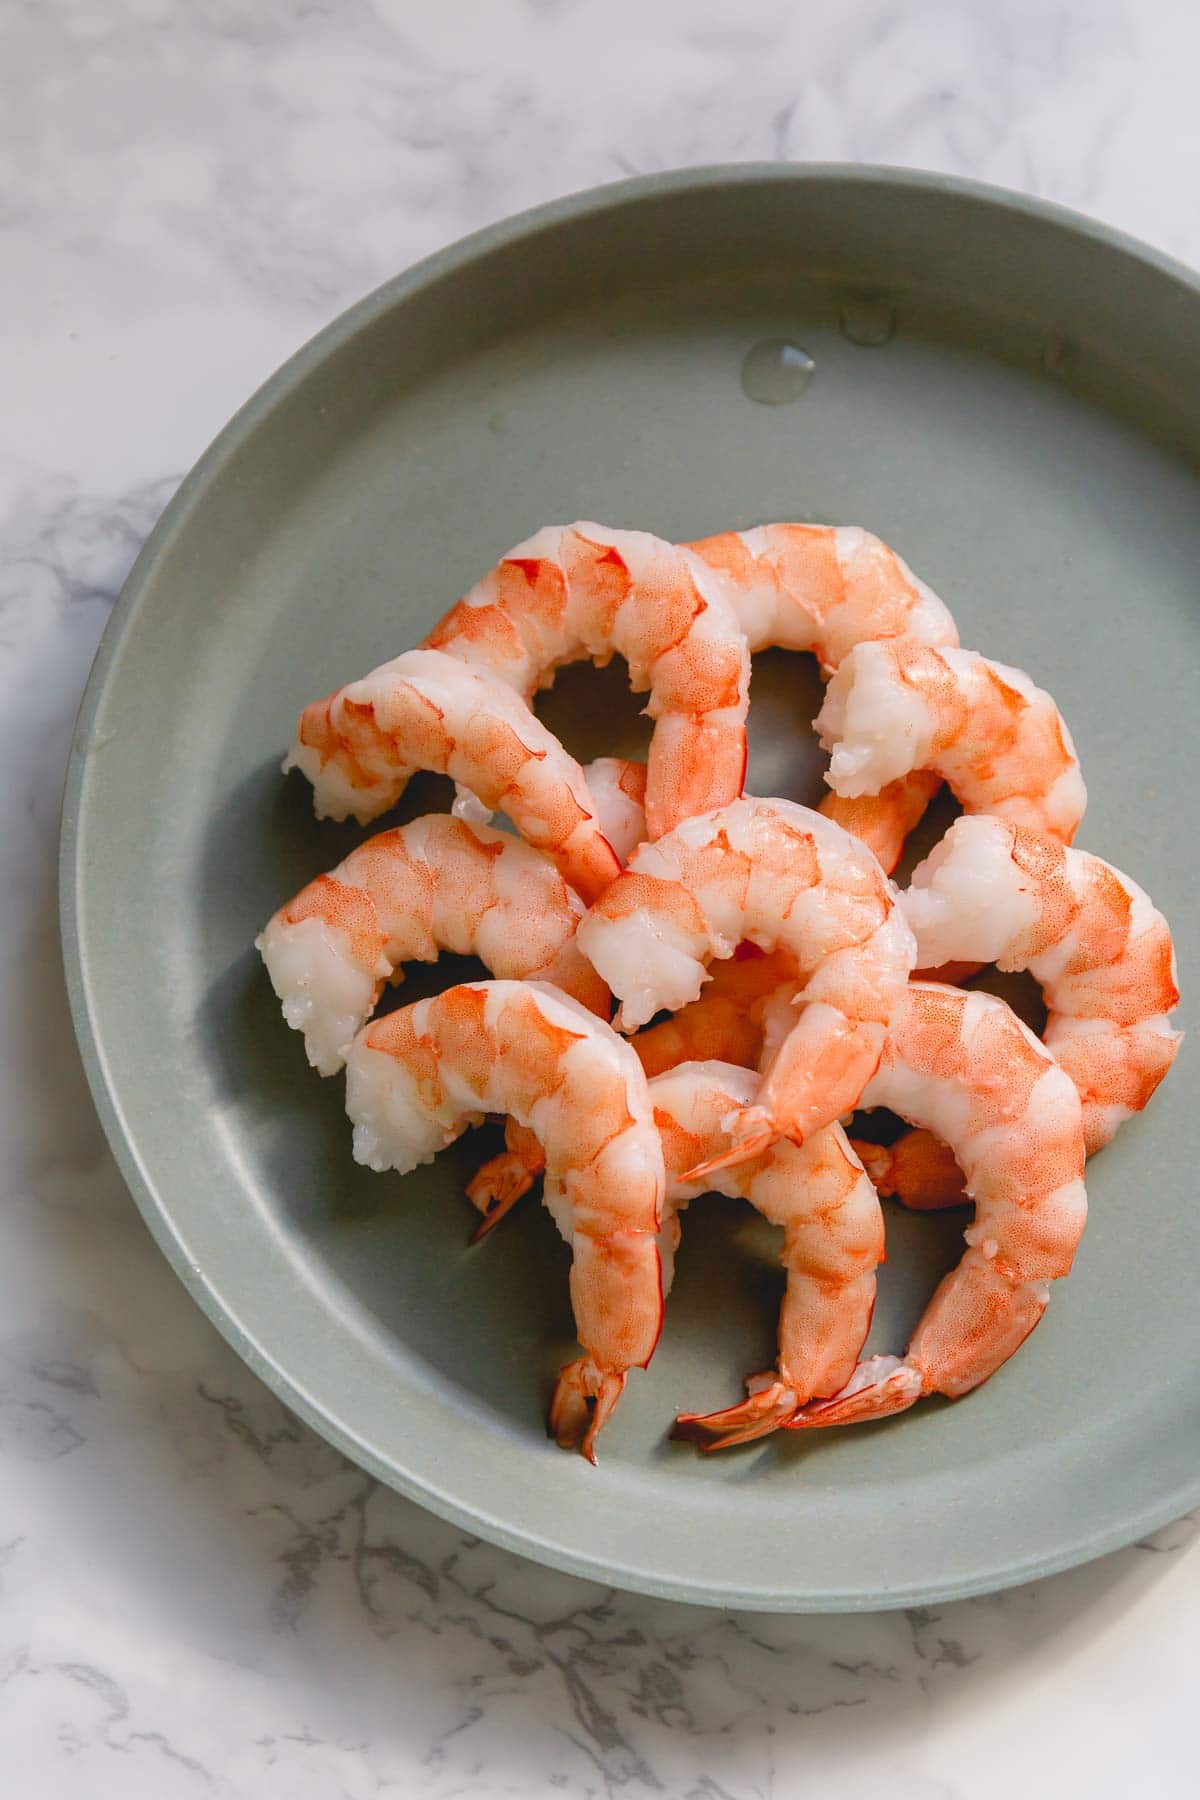
Listen up fellow shrimp lovers! I’ve got some amazing news that’ll make your dinner prep way easier. You can absolutely boil frozen shrimp without thawing them first! As someone who’s cooked countless shrimp dishes I’m super excited to share this game-changing cooking method with you.
Why Cook Frozen Shrimp Without Thawing?
Here’s why I love cooking frozen shrimp directly
- Saves precious time (no more waiting for shrimp to defrost!)
- Actually gives better texture in many cases
- Prevents shrimp from getting rubbery
- Super convenient for last-minute meals
What You’ll Need
Let’s gather our ingredients and tools:
Basic Ingredients:
- Frozen raw shrimp (peeled and deveined)
- Water
- Salt (1 tablespoon per 2 quarts water)
Optional Flavor Boosters:
- Lemon slices
- Black peppercorns
- Bay leaves
- Old Bay seasoning
- Fresh parsley
Equipment:
- Large pot
- Strainer
- Bowl for ice bath (if serving cold)
Step-by-Step Guide to Boiling Frozen Shrimp
1. Prepare Your Water
- Fill pot about 3/4 full (about 8 cups for 1 pound of shrimp)
- Add salt (this is super important for flavor!)
- Toss in any optional seasonings
2. Bring to Boil
- Set heat to high
- Cover pot to speed up boiling
- Wait for rapid boil
3. Add Frozen Shrimp
- Remove pot from heat
- Let boiling stop
- Add frozen shrimp
- Give a quick stir
- Cover pot
4. Cook Time
- Leave pot OFF the heat
- Let sit covered for:
- 2-3 minutes for medium shrimp
- 5-6 minutes for large shrimp
- 8-10 minutes for jumbo shrimp
5. Check for Doneness
Shrimp are ready when
- Color turns pink
- Flesh is opaque
- They form a loose “C” shape
Pro Tips from My Kitchen
- Choose the Right Shrimp
- Buy individually frozen shrimp (IQF)
- Make sure they’re deveined
- Peeled or easy-peel work best
-
Water Temperature Matters
Don’t keep boiling the shrimp! I learned this the hard way – continuing to boil will make them tough and rubbery. -
Season That Water
Y’all, don’t skip the salt! It’s crucial for bringing out the shrimp’s natural sweetness. I sometimes add Old Bay (about 1/4 cup per 2 quarts water) for extra flavor. -
Ice Bath Technique
If you’re making shrimp cocktail or want cold shrimp:
- Prepare ice bath while shrimp cook
- Use 2 cups ice + cold water
- Transfer shrimp immediately after cooking
- Let chill for 1-2 minutes
Common Mistakes to Avoid
-
Don’t Overcook!
If shrimp curl into tight O-shapes, they’re overcooked. We want that nice C-shape! -
Avoid Clumped Shrimp
Make sure your frozen shrimp aren’t stuck together in big clumps. Give the bag a gentle tap on the counter to separate them. -
Don’t Skip the Ice Bath
If serving cold, the ice bath stops the cooking process and gives perfect texture.
Storage Tips
- Cooked shrimp last 2-3 days in fridge
- Store in airtight container
- Can freeze for up to 3 months
- Best eaten within 1-2 days for optimal taste
Serving Suggestions
Your perfectly boiled shrimp can be used in:
- Classic shrimp cocktail
- Seafood salads
- Pasta dishes
- Cold appetizers
- Shrimp tacos
Final Thoughts
I gotta tell ya, this method has seriously changed my shrimp-cooking game! It’s so simple and reliable that I hardly ever thaw shrimp anymore. Just remember – don’t overcook them, season that water well, and you’ll have perfect shrimp every time.
Quick FAQ
Q: Will frozen shrimp taste different than thawed?
A: Nope! If anything, they often turn out better because they cook more evenly.
Q: Can I use this method for shell-on shrimp?
A: Yep! Just add an extra minute to cooking time.
Q: What if my shrimp seem mushy?
A: That usually means they need a bit more cooking time. Give them another minute or two!
Remember, cooking should be fun and stress-free. This method makes it super easy to get delicious shrimp on your table in no time!

Why you’ll love this boiled shrimp recipe
Have you ever wondered why someone would want to boil shrimp or even asked yourself, “Can you boil frozen shrimp?” Well, you definitely can, and boiled shrimp are incredibly versatile and can be used in many dishes, like homemade sushi rolls, or served as an appetizer. Shrimp cocktail, anyone?
Plus, this cooking method is so simple and quick!
- Failproof – I’ll walk you through the simple steps for boiling frozen shrimp and share all my tips and tricks for success.
- Flavorful – Say goodbye to bland shrimp for good! With just a few simple ingredients, we’re infusing our protein with a bright, savory, slightly herbaceous taste.
- Versatile – As mentioned, you can use boiled shrimp in SO many ways! It will become your new go-to protein source for all your favorite meals.
Put your shrimp to use in your favorite recipes. Or, pair them with a side of vegetable fried rice for a takeout-inspired meal you can have on the table in minutes!

- Shrimp – You’ll need one pound of raw extra large shrimp, either frozen or fresh. Frozen EZ peel deveined shrimp are my go-to, as they’re super easy to peel and prep. Just make sure to thaw frozen shrimp before cooking. High-quality shrimp will appear firm and have a clean, briny scent. Avoid any shrimp that looks mushy or slimy and smells fishy.
- Salt and pepper – Kosher salt and black peppercorns enhance the overall flavor of the shrimp.
- Lemon – Use lemon wedges to add a bright, citrusy taste.
- Bay leaves infuse the poaching water with an herbaceousness that passes into the shrimp as they cook.
Shrimp comes in many different sizes! If you’re planning on making a shrimp cocktail, I recommend jumbo shrimp. Look for the label that says 21/25, which means there are 21-25 shrimp per pound.
How to boil shrimp
- Bring a large pot of water with aromatics, if using, to a boil. Use about 2 quarts (2 liters) for every 1-2 pounds of shrimp.
- Add the shrimp, and simmer until they turn opaque and pink. This only takes about 2 minutes!
- Immediately transfer the boiled shrimp to a bowl of ice water. This stops the cooking process.
- Serve immediately, or drain, and use the shrimp in your recipe of choice.
