Are you tired of serving up chicken legs that are either still pink in the middle or dry as the Sahara? I know I was! After countless trials (and some embarrassing dinner party fails), I’ve finally cracked the code on how long to cook chicken legs on a pellet grill. Whether you’re rocking a Traeger Z Grills Pit Boss, or any other pellet grill, this guide will help you achieve that perfect balance of juicy meat and crispy skin that’ll have your guests begging for your secret.
Quick Answer: Chicken Leg Cooking Time on Pellet Grills
For those who just want the basics and are ready to fire up that grill right now
- Temperature: 375°F is the sweet spot
- Cooking Time: 35-45 minutes total
- Internal Temperature Goal: 165°F minimum (180-185°F for fall-off-the-bone tenderness)
- Flip Halfway: About 15 minutes per side
But if you’re like me and want to understand the why behind the what keep reading for all the juicy details!
Why Pellet Grills Are Perfect for Chicken Legs
Before we dive into cooking times, let’s quickly chat about why pellet grills are so amazing for cooking chicken legs:
- Consistent Temperature: Pellet grills maintain steady heat, eliminating the guesswork
- Flavor Versatility: Different wood pellets offer distinct flavor profiles
- Convenience: Set it and (mostly) forget it, unlike traditional grills that need constant attention
- Even Cooking: The circulation of heat and smoke ensures even results
My Traeger has completely changed my grilling game. The first time I used it for chicken legs, my wife thought I’d ordered takeout from that fancy BBQ joint down the street!
Preparation: Setting Your Chicken Legs Up for Success
Thawing and Marinating
First things first—properly thawed chicken is essential. Here’s what you need to know:
- Refrigerator Method: Allow 24 hours for complete thawing
- Cold Water Method: Place sealed chicken in cold water for 1-2 hours
- Marinating Time: At least 30 minutes, but up to 24 hours for maximum flavor
I once tried to rush this process and ended up with chicken that was still frozen in the middle but burnt on the outside. Trust me, patience pays off here!
Seasoning Like a Pro
The right seasoning makes all the difference between “meh” chicken and “wow, can I have that recipe?” chicken:
Basic Chicken Rub Recipe:
- 2 tablespoons salt
- 1.5 tablespoons granulated garlic
- 1 tablespoon granulated onion
- 1 teaspoon thyme
- 1.5 teaspoons paprika
- 1 teaspoon black pepper
- 1/2 teaspoon dry mustard
Simply toss your chicken legs in this mixture until evenly coated. For best results, let the seasoned chicken rest for about an hour before grilling to allow the flavors to penetrate.
The Main Event: Cooking Times and Temperatures
Temperature Settings Matter
Your pellet grill temperature dramatically affects cooking time. Here’s a handy reference:
| Cooking Temperature | Approximate Cooking Time | Internal Temp Goal |
|---|---|---|
| 350°F | 40-50 minutes | 165°F |
| 375°F | 35-45 minutes | 165°F |
| 400°F | 30-40 minutes | 165°F |
I personally prefer the 375°F setting—it’s the Goldilocks zone where you get juicy meat and crispy skin without the risk of burning.
Step-by-Step Cooking Process
- Preheat your pellet grill to 375°F. This takes about 10-15 minutes on most models.
- Place the chicken legs on the grill with the meaty side facing the outside edge of the grill (pellet grills are often hotter around the edges).
- Close the lid and let them cook for 15 minutes.
- Flip the legs and cook for another 15 minutes.
- Check the temperature with a digital meat thermometer. For safe consumption, chicken must reach at least 165°F, but for fall-off-the-bone tenderness, aim for 180-185°F.
- Optional sauce application: If you’re adding BBQ sauce or any glaze, do it in the last 1-2 minutes of cooking to prevent burning.
How to Tell When Chicken Legs Are Done
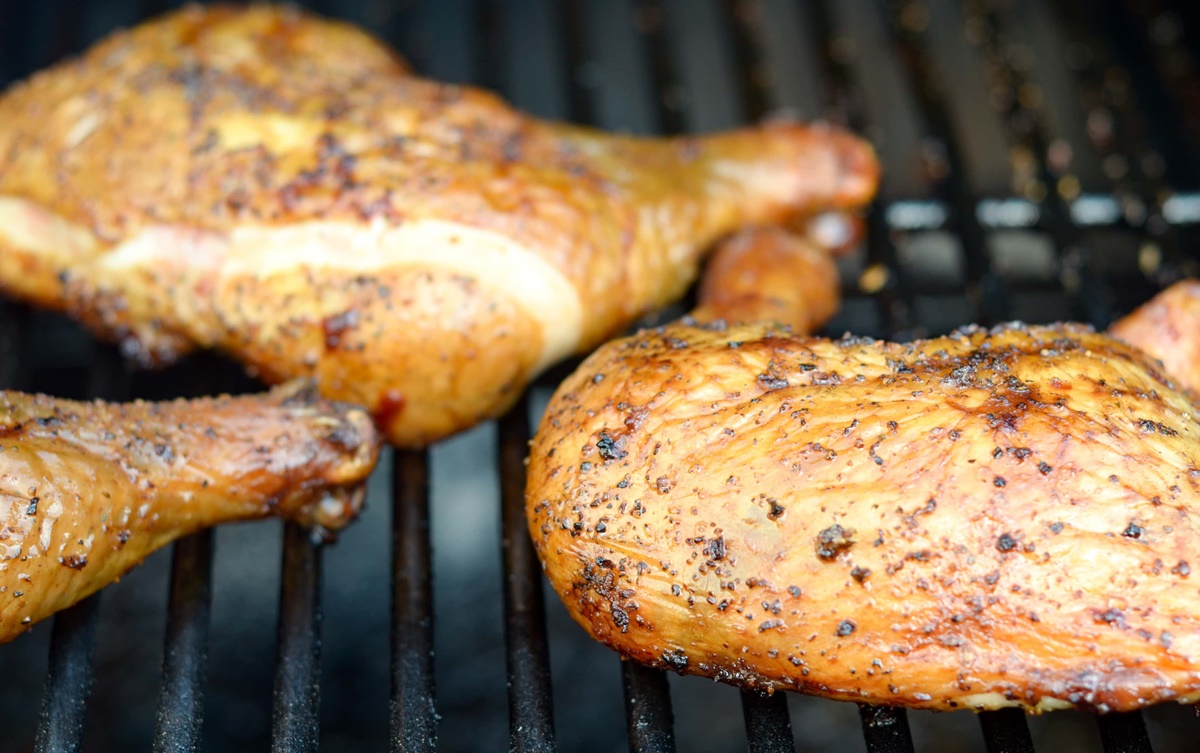
After you’ve cooked a few batches, you’ll develop a sixth sense for doneness. Here are some visual cues:
- The skin starts to split open
- Meat begins bubbling with juices
- Skin pulls back from the base of the leg
- When pierced, the juices run clear (not pink)
But until you develop that chef’s intuition, a good meat thermometer is your best friend!
Pro Tips for Pellet Grill Chicken Leg Success
1. Trim Those Legs
Using kitchen shears, trim half of the top and bottom knuckle off the chicken drum. This releases the tendons and ligaments, resulting in more tender meat and better smoke penetration.
2. The Secret to Extra Crispy Skin
Want that restaurant-quality crispy skin? Try this two-temperature approach:
- Start at 325°F for 25 minutes to render the fat
- Increase to 425°F for the final 10-15 minutes to crisp up the skin
3. The Pan Method for Extra Juicy Legs
For ultra-juicy results, try this competition-style technique:
- Cook directly on the grates for 30 minutes (15 minutes per side)
- Transfer to a pan, cover with foil, and cook for another 45 minutes
- Remove the foil, add sauce, and cook for a final 15 minutes
4. Wood Pellet Selection
Different pellets = different flavors:
- Hickory: Bold, traditional BBQ flavor
- Apple or Cherry: Milder, slightly sweet flavor
- Pecan: Medium intensity with nutty undertones
I personally love Royal Oak charcoal pellets for chicken legs, but don’t be afraid to experiment!
Common Mistakes to Avoid
We’ve all been there—here are some pitfalls to watch out for:
- Cooking straight from frozen: This leads to uneven cooking and potentially unsafe chicken
- Adding sauce too early: Sugar-based sauces burn easily; add them in the last few minutes
- Opening the lid too often: Every peek adds 5-10 minutes to your cooking time
- Overcrowding the grill: Leave space between each leg for proper air circulation
Perfect Pairings for Your Pellet Grilled Chicken Legs
Now that you’ve mastered the timing, complete your meal with these complementary sides:
- Creamy coleslaw (the cool crunch balances the smoky meat)
- Grilled corn on the cob (throw it on the grill alongside your chicken)
- Mac and cheese (because what doesn’t go with mac and cheese?)
- Fresh green salad with vinaigrette (cuts through the richness)
Frequently Asked Questions
Q: Can I use this same timing for chicken thighs?
A: Chicken thighs typically take about the same amount of time, but they have more fat, so they’re a bit more forgiving if you overcook them slightly.
Q: Do I need to flip the chicken legs while cooking?
A: Yes! Flipping halfway through ensures even cooking and browning on all sides.
Q: What’s the best way to store leftover grilled chicken legs?
A: Store in an airtight container in the refrigerator for up to 3-4 days. They’re amazing cold or reheated!
Q: Can I smoke chicken legs at a lower temperature for longer?
A: Absolutely! For a smokier flavor, try 225°F for about 1.5-2 hours, then finish at 375°F for 15 minutes to crisp up the skin.
Conclusion: Perfection Takes Practice
Mastering the art of perfectly cooked chicken legs on your pellet grill won’t happen overnight, but with these guidelines, you’re well on your way to becoming the neighborhood grill master. Remember that the times I’ve suggested are starting points—your specific grill, the size of the chicken legs, and even the weather can affect cooking times.
The beauty of pellet grilling is in the journey as much as the destination. Each time you fire up that grill, you’ll learn something new about your equipment and your preferences. And trust me, there’s nothing more satisfying than watching your friends and family devour chicken legs that YOU cooked to perfection.
So what are you waiting for? Grab those chicken legs, fire up your pellet grill, and get cooking! And if you have any amazing rubs or sauces that take your chicken legs to the next level, drop them in the comments below—I’m always looking to up my grilling game!
Happy grilling, y’all!
Ingredients for Smoked Chicken Drumsticks
To make a standard amount of delicious smoked chicken drumsticks, you will need a few essential ingredients in addition to your preferred Z Grills model. The recipe calls for only three ingredients to create its incredible flavor.
- Chicken Drumsticks (12)
- Seasoning (to taste—don’t be shy!)
- Vegetable Oil (amount may vary)
The incredible flavor behind these tasty smoked chicken drumsticks is Lane’s BBQ Sweet Lemon Pepper Rub/Seasoning. This delicious seasoning blends together lemon, pepper, and a hint of honey that provides a surprising amount of flavor. Even better, it can be used on a variety of foods with different results—not just smoking chicken drumsticks!
How to Make Smoked Chicken Drumsticks on a Pellet Grill
Making the smoked chicken drumsticks is a quick and simple process. You will need to begin by assembling all of the ingredients, as well as your Z Grills and cooking grate.
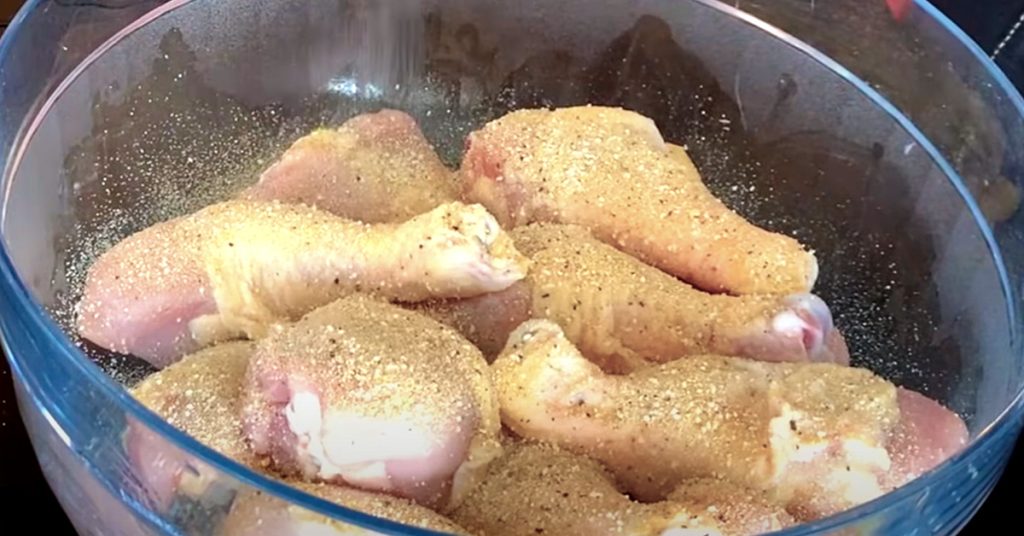
1. Begin with a large bowl. You will want to ensure that the bowl is big enough to hold all 12 of the chicken drumsticks comfortably.
2. Place the chicken drumsticks inside of the bowl, spreading them out as evenly as possible.
3. Add the vegetable oil. The amount that you use may vary, but it should be enough to lightly coat all of the drumsticks evenly.
4. Add the Lane’s BBQ Sweet Lemon Pepper Rub/Seasoning. Once again, the amount that you use may vary. Apply the seasoning to taste, ensuring that each drumstick has an adequate amount of coating across it. With how great this rub tastes, many people find that adding more can provide a wonderful flavor boost.
5. With a pair of gloves, rub the seasoning over the chicken drumsticks and toss until they are evenly coated.
6. Move your grates close to the bowl for easy transportation of the chicken drumsticks to the grates.
7. Using a fresh pair of gloves to avoid contamination and mess, carefully grab each chicken drumstick one drumstick at a time and set them down in a simple and organized fashion on the grate. Be sure to avoid putting the chicken drumsticks too close together, and try to separate them evenly.
8. Preheat your Z Grills to 275 degrees using Competition Blend Pellets. This will provide your smoked drumsticks with an added flavor that blends nicely with the seasoning.
9. When the Z Grills is up to temperature, add the chicken by carefully spreading out the grates inside the grill.
10. Close the lid of the Z Grills to ensures even cooking.
11. To begin, check on your chicken drumsticks after 1 hour to assess how they are cooking.
12. Using a meat thermometer, determine the internal temperature of your chicken. The ideal internal temperature for your chicken drumsticks is 180 degrees. Your reading should come from a thick piece on the chicken to get an accurate gauge of the internal temperature of other pieces. You will need to do this step each time that you make these smoked drumsticks since cook times can vary from one batch to the next.
13. It is possible that at this time your internal temperature might be fairly close to the desired temperature. Continue to cook the chicken in 5 to 10-minute intervals in order to see how they are progressing, testing the internal temperature each time.
14. When the chicken drumsticks meet or pass the desired temperature, remove them from the pellet grill and place them on the counter or a comparable clean surface.
15. Turn off your Z Grills pellet grill, then get ready to enjoy your chicken drumsticks.
16. Be sure to let the drumsticks cool down to some extent to avoid burning your mouth prior to eating. Remember that the chicken drumsticks that have more meat will take more time to cool and will remain hot for longer than the others.
17. Enjoy your smoked chicken drumsticks!
Knowing how long to smoke chicken drumsticks is an important step. The cook time for these chicken drumsticks is roughly 1 hour. After the first hour, you will begin to check the temperature of the drumsticks for 5 to 10-minutes to ensure that the ideal internal temperature is reached.
Estimated Cook Time: 1 Hour
When cooking these drumsticks, you will need to consider two important temperatures. Your Z Grills should be set to 275 degrees for cooking. When your chicken drumsticks are done cooking, they should be 180 – 185 degrees.
Cooking Temperature: 275 Degrees
Internal Temperature for Drumsticks: 180 Degrees