Have you ever stared at a package of chicken legs wondering how to transform them into a mouthwatering dinner without spending hours in the kitchen? Well, I’ve been there too! After years of kitchen experiments (and yes a few smoky failures) I’m sharing everything you need to know about broiling chicken legs to perfection.
Broiling is like the indoor version of grilling – it gives you that amazing crispy exterior while keeping the meat juicy inside And the best part? It’s super quick compared to baking!
The Short Answer
Generally, you’ll want to broil chicken legs for about 15-20 minutes total, flipping halfway through. But honestly, there’s a bit more to it than that if you want truly stellar results
Why Choose Broiling for Chicken Legs?
Before we dive into the how-to, let’s talk about why broiling is such a great cooking method for chicken legs:
- Speed: Much faster than baking (about half the time!)
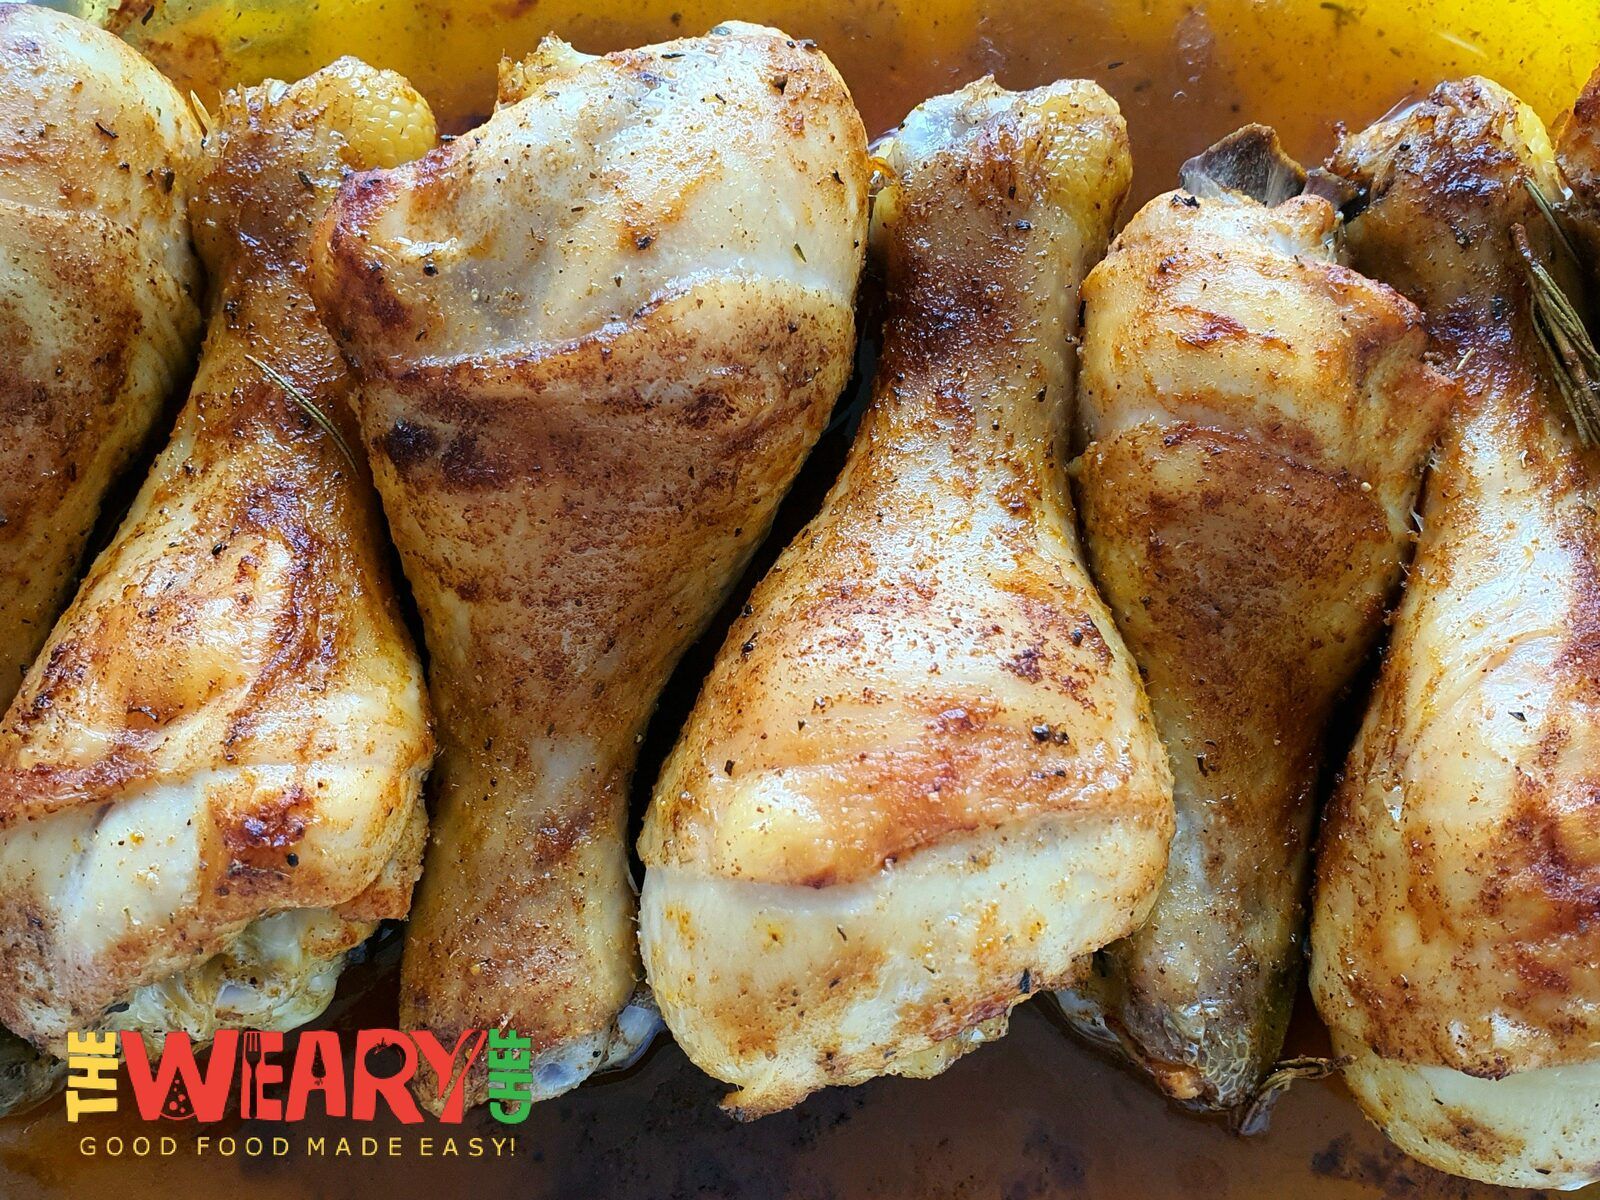
- Texture: Creates that crispy, slightly charred exterior that’s irresistible
- Flavor: Concentrates flavors and can mimic that grilled taste
- Convenience: No need to fire up the grill or use multiple pans
My husband (who’s quite the food critic) once told me, “I think this is the best chicken I’ve ever had” after trying my garlic broiled chicken legs. That’s when I knew I had to perfect this technique!
Essential Equipment for Broiling Chicken Legs
You don’t need fancy equipment, but a few basics will help:
- Broiling pan or baking sheet with a wire rack (helps fat drip away)
- Aluminum foil (for easy cleanup)
- Meat thermometer (absolutely essential for perfect doneness)
- Tongs (for flipping without piercing the meat)
- Microwave-safe bowl (if making a butter-based sauce)
The Perfect Broiling Time: Breaking It Down
Here’s where things get interesting! The actual time depends on several factors:
Standard Broiling Method (Garlic Butter Chicken Legs)
- Total time: 20 minutes
- First 5 minutes: Top rack position
- Next 5 minutes: Middle rack position
- Flip and baste chicken
- Next 5 minutes: Top rack position
- Final 5 minutes: Middle rack position
This pattern of switching between racks helps achieve the perfect balance of crispy exterior and juicy interior. It’s like having your own temperature control system!
Alternative Baking Method
If your broiler isn’t working properly or you prefer a more hands-off approach:
- Bake at 400°F for 35-45 minutes
- Turn halfway through for even browning
Step-by-Step Broiling Instructions
- Preheat your broiler to high (around 500°F)
- Prepare your sauce/marinade – For a killer garlic sauce, mix:
- 1/2 cup butter
- 1/4 cup chopped garlic
- 3 Tbsp soy sauce
- 1/4 tsp salt
- 1/2 Tbsp ground ginger
- 1/2 Tbsp dried basil
- Microwave sauce for 2 minutes until butter melts
- Line a baking sheet with foil (trust me, cleanup will be so much easier)
- Dip chicken legs in the mixture, coating thoroughly
- Arrange on the pan, leaving space between pieces
- Reserve remaining sauce for basting halfway through
- Broil following the pattern: 5 mins top rack, 5 mins middle rack, flip & baste, 5 mins top rack, 5 mins middle rack
- Check for doneness using a meat thermometer (165°F is the magic number)
- Rest for 5 minutes before serving (this redistributes the juices)
How to Know When Chicken Legs Are Done
Don’t guess! Here are the foolproof ways to check:
- Internal temperature: 165°F (74°C) at the thickest part (avoid touching bone)
- Visual cues: Golden-brown crust, juices run clear when pierced
- Texture: Meat should feel firm but still tender
One time I served slightly undercooked chicken to guests and spent the rest of the night worrying about food poisoning. Never again! A good meat thermometer is worth every penny.
Common Broiling Problems & Solutions
| Problem | Solution |
|---|---|
| Burning on top but raw inside | Lower the rack position or tent with foil |
| Not browning enough | Move rack closer to broiler |
| Sticking to the pan | Line with foil and spray with cooking oil |
| Overcooking | Use a meat thermometer and watch closely |
| Uneven cooking | Ensure chicken legs are similar in size |
Seasoning Ideas to Elevate Your Broiled Chicken Legs
While the garlic butter sauce is amazing, don’t be afraid to experiment! Some winning combinations:
- Mediterranean: Olive oil, lemon zest, minced garlic, dried thyme, salt
- Spicy: Smoked paprika, chipotle peppers in adobo sauce, cumin
- Korean-inspired: Soy sauce, brown sugar, ginger, rice vinegar
- Simple classic: Olive oil, salt, pepper, oregano, lemon juice
FAQs About Broiling Chicken Legs
Can I broil frozen chicken legs?
It’s technically possible but not recommended. The outsides will likely burn before the insides cook through. If you must, expect a much longer cooking time and uneven results. Thawing first is definitely the way to go!
What’s the difference between broiling and baking chicken legs?
Broiling uses intense direct heat from above (like grilling upside down), creating a crispy exterior quickly. Baking uses more gentle, indirect heat from all sides, resulting in more even cooking but less crisping. Broiling is faster but requires more attention.
Can I use a convection oven for broiling?
Yes! Set your convection oven to 425°F with the convection setting enabled. Place chicken legs on the center rack and broil for 15-20 minutes until they reach an internal temperature of 165°F. The circulating air helps create an even crisper exterior.
Can I use boneless chicken thighs instead of legs?
Absolutely! Just adjust the cooking time as boneless pieces cook faster – usually 12-15 minutes total. They’re leaner, so watch carefully to prevent drying out.
What sides pair well with broiled chicken legs?
Some of our family favorites:
- Roasted garlic mashed potatoes
- Summer corn salad
- Sautéed spinach with garlic
- Crispy fried okra
- Simple garden salad
Final Tips for Broiled Chicken Leg Success
- Pat the chicken dry before seasoning for maximum crispiness
- Don’t overcrowd the pan – this causes steaming instead of broiling
- Keep a close eye on the chicken – broilers can go from perfect to burnt in seconds
- Let the chicken rest after cooking to keep it juicy
- Store leftovers in an airtight container for up to 3-4 days
Broiling chicken legs might seem intimidating at first, but once you get the hang of it, you’ll wonder why you ever cooked them any other way. That perfect combination of crispy skin and juicy meat is hard to beat, especially when it takes just 20 minutes!
I’d love to hear about your broiling adventures – drop me a comment if you try this method or have any questions!
Ingredients List for Crispy Chicken Legs
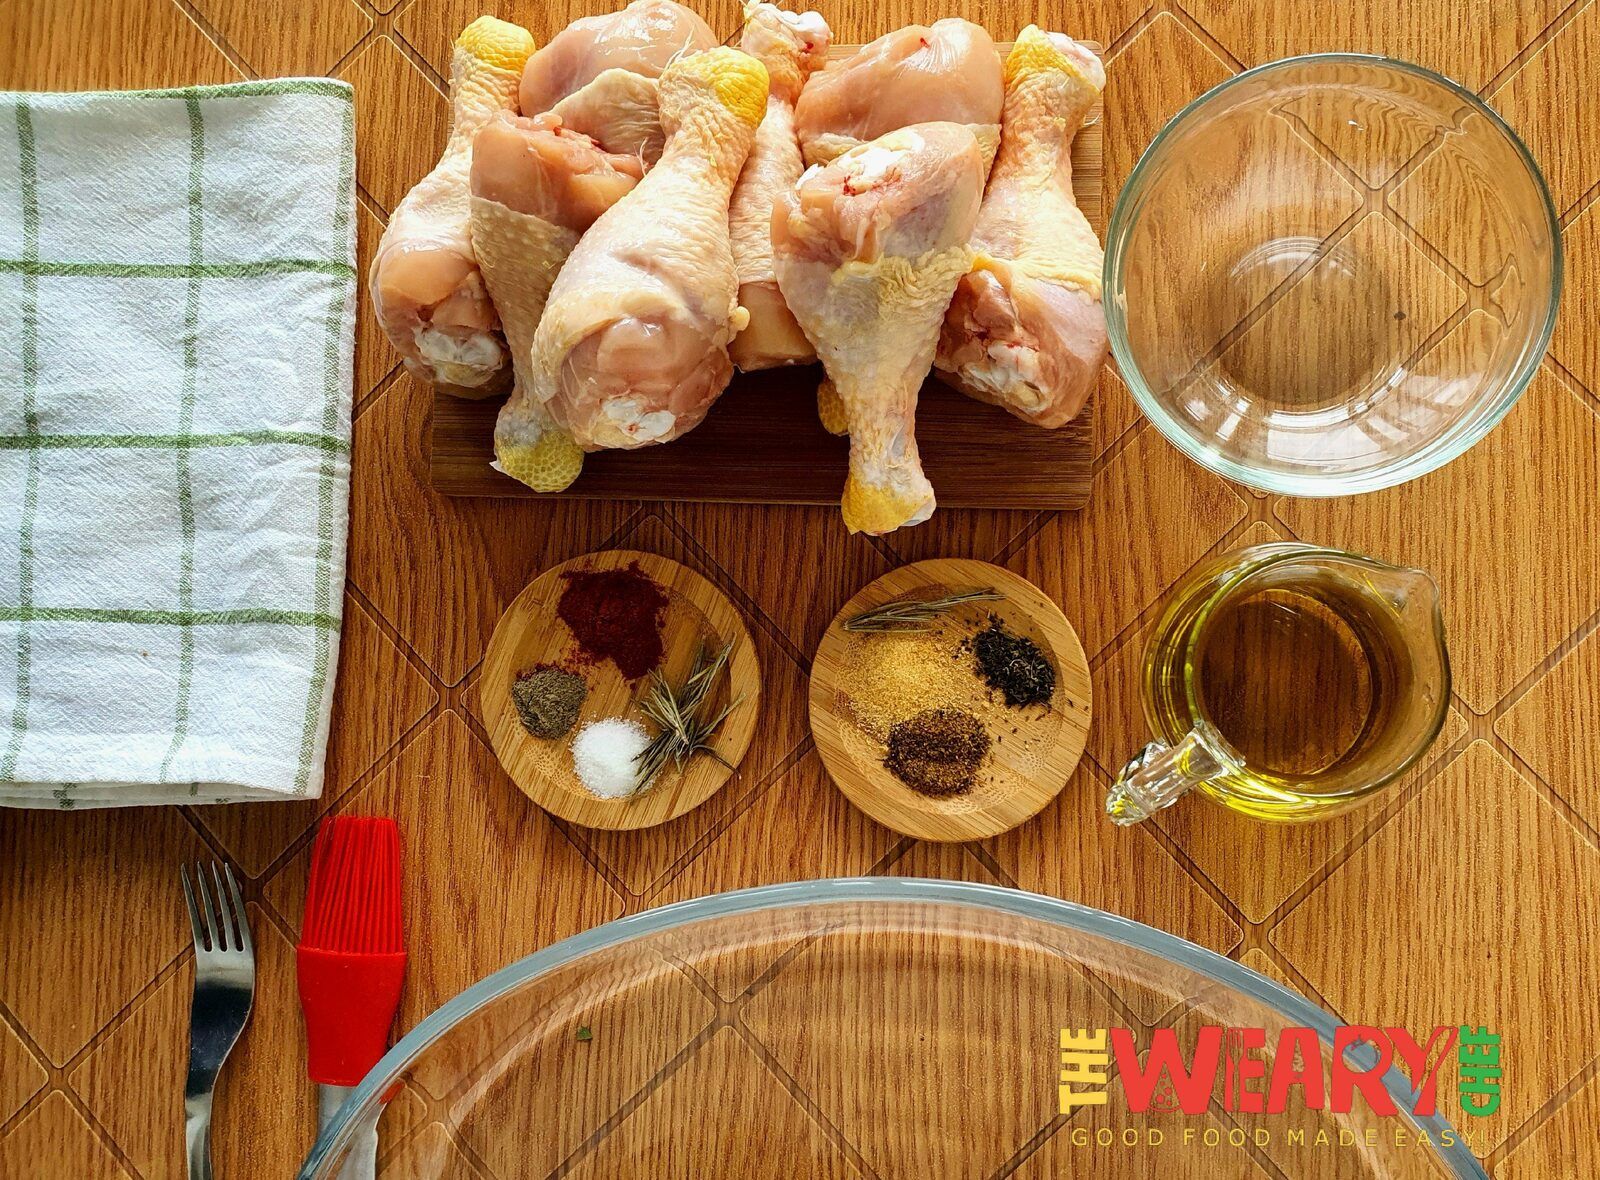
- 8 skin-on chicken drumsticks (about 2 lb. total weight);
- 2 tablespoons olive oil;
- 1 teaspoon salt;
- ½ teaspoon black pepper;
- 1 teaspoon garlic powder;
- 1 teaspoon onion powder;
- 1 teaspoon smoked paprika;
- ¼ teaspoon cayenne pepper;
- ½ teaspoon rosemary.
How to Store Chicken Drumsticks Leftovers?
To maximize the shelf life of cooked chicken legs, refrigerate them in shallow, airtight containers or wrap them tightly with heavy-duty aluminum foil or plastic wrap. Properly stored, cooked chicken meat will last for 3 to 5 days in the refrigerator. However, trust me, they won’t last this long! My little monsters will eat them all during one family dinner.
Also, if you want to know more details about safely storing chicken and turkey meat, you can take a look at these guys’ tips and tricks.