Have you ever spent time carefully coating chicken pieces with a delicious breading mixture, only to find half of it sitting at the bottom of your pan after cooking? Trust me, we’ve all been there! As someone who’s battled with slippery breading more times than I’d like to admit I’ve gathered some crucial insights on why this happens and how to prevent it.
The Science Behind Breading Adhesion
Before diving into the solutions it helps to understand what’s actually happening. Breading falls off chicken primarily because the binding process is flawed. Creating that perfect crispy coating isn’t just about tossing some breadcrumbs on chicken – it’s about building a strong foundation that can withstand the cooking process.
Successful breading requires creating both chemical and physical bonds between your chicken’s surface and that golden crispy coating we all crave. Let’s break down the common culprits and solutions!
1. Your Chicken Isn’t Dry Enough
The most common reason breading slides right off is excess moisture on the chicken’s surface. This moisture creates a barrier between the meat and your coating.
How to fix it:
- Pat your chicken completely dry with paper towels before starting the breading process
- Take your time and ensure all sides are thoroughly dried
- Remember: Excess moisture = soggy flour = poor adhesion
As Chef Julie at Chef’s Resource explains, “Chicken, by its nature, is relatively moist. However, this inherent moisture needs to be managed.” When the surface is too wet, the initial layer of flour becomes soggy instead of creating that crucial first bond.
2. Not Shaking Off Excess Flour
Another frequent mistake is leaving too much flour on the chicken after the first dredging step.
How to fix it:
- After coating with flour, gently shake off any excess
- A light, even layer is what you want
- Too much flour prevents the egg mixture from properly adhering to the chicken
The egg wash needs to make direct contact with both the chicken and the flour to create that binding effect. When excess flour builds up, it creates a loose layer that easily separates during cooking.
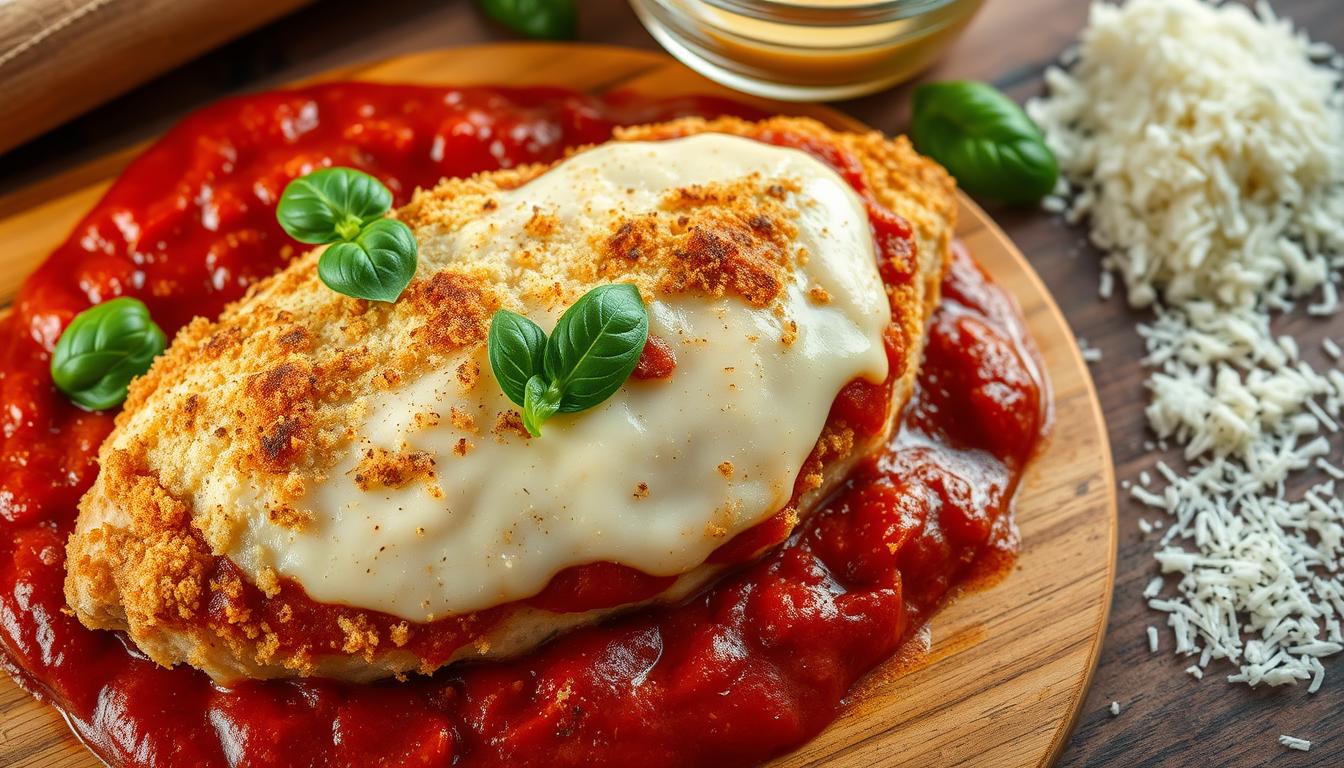
3. Skimping on Your Breading Layers
The traditional three-step breading process exists for a reason – each component plays a vital role:
The Breading Trifecta:
- Flour: Absorbs remaining moisture and creates a surface for egg to grip
- Egg Wash: Acts as the “glue” that binds everything together
- Breadcrumbs: Provides the texture and crunch we all love
How to fix it:
- Be thorough with each layer
- Cover the chicken completely and evenly with breadcrumbs
- Consider trying Panko breadcrumbs for extra crispiness
When you skip steps or apply uneven coatings, you’re essentially building a house with a weak foundation. Take your time with each step for best results.
4. Forgetting the Final Pat
This might seem like a minor detail, but it makes a big difference!
How to fix it:
- After breading the chicken, gently pat down all sides
- This pressure helps the breadcrumbs stick firmly to the egg layer
- Think of it as “setting” your breading in place
According to Taste of Home, “Well-coated chicken is the key to crunchy cutlets, so make sure the breading is patted down before cooking.” This simple step ensures the coating adheres uniformly and stays put during cooking.
5. Being Too Impatient During Cooking
The way you handle chicken during cooking can make or break your breading success.
How to fix it:
- Let the chicken cook undisturbed before flipping
- Only flip once when you see a golden rim forming on the edges
- Maintain proper oil temperature (350-375°F is ideal for frying)
- Give pieces plenty of space in the pan
As Laura Denby from Taste of Home points out, “The more you touch the chicken with tongs, the more likely the breading is to fall off. If the cutlets are touching each other, the more likely the breading is to come off.”
The Perfect Breading Method: Step-by-Step
Now that we understand what goes wrong, let’s put it all together with this foolproof method:
- Pat the chicken completely dry with paper towels
- Dredge in flour, shaking off any excess
- Dip in egg wash, allowing excess to drip off
- Coat thoroughly in breadcrumbs, pressing gently to adhere
- Rest the breaded chicken for 15-30 minutes before cooking (this is a game-changer!)
- Cook at the proper temperature, minimizing handling
That resting period is often overlooked but makes a huge difference. It gives the breading time to set and adhere more strongly to the chicken.
Pro Tips for Extra-Crispy Breading That Stays Put
Want to take your breaded chicken to the next level? Try these expert suggestions:
- Season each layer: Add flavor to your flour, egg wash, AND breadcrumbs
- Try double breading: For stubborn cases, go through the egg and breadcrumb steps twice
- Add a bit of oil to your egg wash: This helps promote browning and adhesion
- Consider buttermilk: It can be used instead of egg wash for a tangy flavor (though it might not adhere quite as well)
- Rest after cooking: Let your chicken rest on a wire rack instead of paper towels to maintain crispiness
FAQ: Your Breading Questions Answered
Can I freeze breaded chicken?
Yes! It’s best to freeze it before cooking. Arrange pieces in a single layer, freeze until solid, then transfer to a freezer bag.
What’s better – pan-frying or deep-frying?
Deep-frying generally provides more even cooking and crispier breading since the chicken is fully submerged. However, pan-frying uses less oil and can still give excellent results with proper technique.
Can I use an air fryer for breaded chicken?
Absolutely! Air fryers are great for breaded chicken. Just lightly spray the breaded pieces with oil before air frying for best results.
What if my breading is still falling off despite following all these steps?
Try double breading (flour, egg, crumbs, then egg and crumbs again) for an extra-secure coating, or check your oil temperature – it might be too low.
The Final Word on Breading That Stays Put
Achieving that perfect crispy coating on chicken doesn’t have to be frustrating. By understanding the science behind adhesion and following these key steps, you’ll be serving up beautifully breaded chicken that maintains its coating from the first bite to the last.
Remember: dry chicken, proper dredging, even coating, gentle patting, patience during cooking, and that crucial resting period are your tickets to breading success!
What’s your biggest breading challenge? Have you tried any of these techniques with success? I’d love to hear about your breaded chicken adventures in the comments below!
You Don’t Start Dry
The first step to breading chicken is crucial; make sure the chicken is completely dry before starting the dredging process. Using a paper towel, pat the meat dry on all sides. Excess moisture will cause the flour to get soggy and thus will not adhere properly to the chicken.
Not Shaking Off the Flour
Be sure to shake off any excess flour on the chicken. Excess flour will create a coating that prevents the egg mixture from latching on to the chicken, which ultimately will prevent the breading from sticking properly. For crispy, flavorful chicken, make sure to remove any excess flour before proceeding.