Have you ever stared at a pack of chicken wondering how to transform that bland-looking meat into something mouthwatering? I’ve been there too! For years, I kept making the same boring chicken dishes over and over until I realized I was missing some crucial preparation steps.
Chicken is the ultimate weeknight protein – affordable, versatile, and healthy. But let’s be honest – without proper prep, it can be super boring Today I’m sharing everything you need to know about preparing chicken before cooking, so you can make juicy, flavorful chicken every single time!
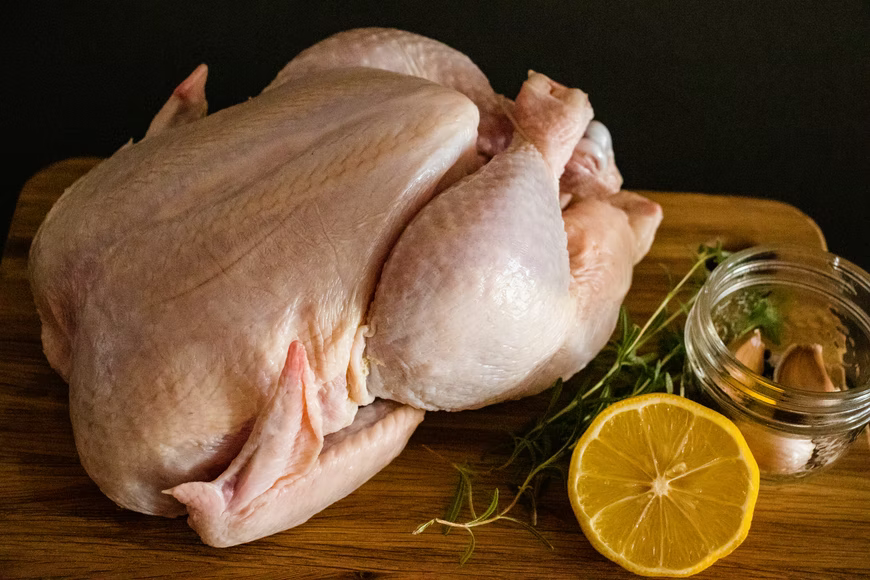
Step 1: Selecting the Right Chicken
Before you even think about preparation, you gotta start with good quality chicken. Here’s what to look for:
- Check the color: Fresh chicken should have a pinkish hue, never gray or transparent
- Feel the temperature: It should feel cold to the touch
- Check the “best by” date: The further out, the better
- Look at the fat: Chicken fat should be white or yellow, never gray
I personally prefer organic, free-range chicken because it tastes way better and the chickens have a better quality of life. But I get it – that stuff can be expensive! Find what works for your budget and taste preferences.
Step 2: Cleaning and Trimming
OK so this is actually a bit controversial! According to the USDA it’s best to thoroughly cook chicken without washing it first, as washing raw chicken can spread bacteria around your kitchen. Despite this, chicken-washing remains common.
If you do wash your chicken (I sometimes still do out of habit), be super careful about splashing and sanitize everything afterward.
What you definitely SHOULD do is:
- Pat the chicken dry completely with paper towels
- Trim off excess fat or large chunks of fat (though you can leave some skin on for flavor)
- Remove any remaining feathers or debris
Step 3: Getting Even Thickness
Have you ever had chicken that’s overcooked on the outside and still pink in the middle? Super annoying, right? The solution is evening out the thickness.
For chicken breasts especially, try:
- Butterflying: Cutting horizontally through the breast to create two thinner pieces
- Pounding: Place chicken between two sheets of plastic wrap or parchment paper and gently pound with a meat mallet or heavy pan until it has uniform thickness
This simple step makes SUCH a difference in getting evenly cooked chicken!
Step 4: Seasoning and Flavoring
Now for the fun part – adding flavor! Here are some options:
Basic Seasoning
A simple rub with salt, pepper, and other seasonings works great. Some good all-purpose seasonings include:
- Garlic powder
- Onion powder
- Paprika
- Oregano
- Basil
- Cayenne pepper (if you like it spicy!)
Pro tip: Season under the skin too for maximum flavor penetration!
Brining (Optional but Amazing)
Brining is basically soaking chicken in a saltwater solution for 1-2 hours. This helps the chicken retain moisture so it stays juicy when cooked. A basic brine is:
- 1 cup salt dissolved in 1 gallon cold water
Marinating (Optional)
While marinating isn’t actually necessary (it mostly flavors just the surface), it can still add nice flavor. Popular marinade ingredients include:
- Olive oil
- Garlic
- Ginger
- Soy sauce
- Mustard
- Lemon juice
- Yogurt
If you do marinate, keep it in the fridge (not on the counter) for anywhere from 30 minutes to overnight.
Step 5: Specialized Techniques for Whole Chickens
If you’re preparing a whole bird, consider these additional techniques:
Spatchcocking
This is just a fancy word for removing the backbone so the chicken lays flat. This makes it cook quicker and more evenly. Use kitchen shears to cut out the backbone, then turn the chicken over and press down to flatten it.
Trussing
For roasting a whole chicken, trussing keeps everything held together nicely. Just tuck the wing tips under the chicken and tie the legs together with kitchen string.
Step 6: Let It Come to Room Temperature
This is something I learned the hard way! For more even cooking, let your chicken sit out for 15-45 minutes (depending on size) before cooking. This helps it cook more evenly since it won’t be ice cold in the center.
7 Common Mistakes to Avoid When Preparing Chicken
- Not drying the chicken: Excess moisture prevents browning
- Cooking straight from the fridge: Creates uneven cooking
- Not brining: Missing out on juicier chicken
- Not letting it rest after cooking: All those juices flow out
- Using a dull knife: Makes cutting and trimming harder
- Cross-contamination: Always clean surfaces that touched raw chicken
- Overcrowding the pan: This causes steaming instead of browning
FAQs About Preparing Chicken
Do you need to wash chicken before cooking?
It’s actually best NOT to wash chicken. The USDA recommends just cooking it thoroughly to kill any bacteria rather than washing, which can spread bacteria around your kitchen.
How long can I store raw chicken in the fridge?
According to the USDA, raw chicken can be stored in the refrigerator for 1-2 days. If you’re not going to use it within that time frame, freeze it.
What’s the best way to thaw frozen chicken?
The safest way is in the refrigerator (24 hours for parts, 2-3 days for whole chickens). For quicker thawing, place sealed chicken in cold water, changing the water every 30 minutes.
How can I prevent chicken from drying out?
Brining helps a lot! Also, make sure you don’t overcook it. Use a meat thermometer to check for doneness – chicken is safe at 165°F.
What are the tastiest cuts of chicken?
I think thighs are the tastiest! They’re also the fattiest cuts (funny how that happens), so not necessarily the healthiest option but definitely the most flavorful.
Wrapping It Up
Preparing chicken properly before cooking makes ALL the difference between a bland, dry dinner and a juicy, flavorful meal your family will actually want to eat! The key steps to remember are:
- Start with good quality chicken
- Trim and dry it thoroughly
- Even out the thickness
- Season generously
- Consider brining for extra juiciness
- Let it come to room temperature before cooking
Follow these steps, and I promise your chicken game will level up significantly! No more boring chicken dinners in your future.
What’s your favorite way to prepare chicken? Do you have any special tricks that make your chicken dishes stand out? Drop me a comment below – I’d love to hear your chicken prep secrets!
What is the healthiest way to prepare chicken?
All the methods listed can be considered healthy. The one method to avoid from a health standpoint is frying. But this isn’t outlined in this article because we believe you should feel great every day. And cooking food in fatty, processed oil doesn’t help you achieve that goal.
The Bottom Line On Buying Chicken
So, that’s a lot of options, but I have good news: Ultimately, you can rely on your taste buds because happier, healthier chickens produce tastier meat.
The best chicken you can get is from a local organic farm. It will taste better, be better for the chicken, and be better for the environment. But, it will cost you.
At the grocery store, the best chicken you can buy will be organic, free-range or pasture raised, antibiotic free, and air-chilled. This combo is the winner, winner chicken dinner.
If you’re looking for a more affordable option, I suggest trying out different varieties from different grocery stores until you find one that tastes great at your price point. You can then research the producer online to learn more about their farming techniques if you’re interested.
For more on buying chicken, check out this article on everything you need to know about buying chicken.
